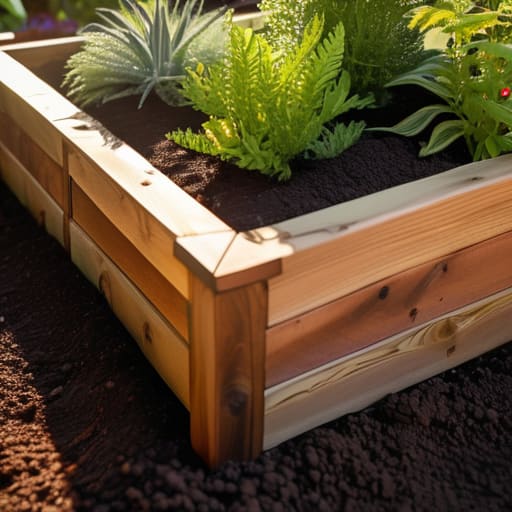
I remember standing in my tiny backyard three years ago, staring at a patch of stubborn, compacted dirt and feeling completely overwhelmed by the chaos of my corporate life. I thought that learning how to build a raised planter would be this massive, complicated construction project that required a shed full of expensive power tools and a weekend of pure exhaustion. But here is the truth I discovered while searching for a way to ground myself: gardening isn’t about the complexity of the build; it’s about creating a container for growth, both for your plants and your own peace of mind.
In this guide, I’m stripping away the intimidation and sharing a straightforward, soulful approach to how to build a raised planter that actually works for your lifestyle. I won’t bore you with endless technical jargon or suggest you buy every gadget at the hardware store; instead, I’ll walk you through the essential materials and simple steps to create something sturdy and beautiful. We’re going to focus on a process that feels as rewarding as the first harvest, turning a weekend task into a meaningful ritual of connection with the earth.
Table of Contents
- Step-by-Step Instructions
- Choosing Cedar Wood for Garden Beds to Ensure Longevity
- Mastering Vegetable Garden Construction With Essential Assembly Tools
- Nurturing Your Creation: 5 Soulful Tips for a Flourishing Planter
- Cultivating Your Sanctuary: Three Reflections for Your Gardening Journey
- ## More Than Just Wood and Soil
- Nurturing Your New Sanctuary
- Frequently Asked Questions
Guide Overview
Tools & Supplies
- Measuring tape for marking wood lengths
- Drill/Driver for assembling boards
- Saw for cutting wood to size
- Level to ensure even ground placement
- Untreated cedar or redwood boards (approx. 4-6 pieces)
- Exterior-grade wood screws (1 box)
- Garden soil/compost mix (enough to fill volume)
- Landscape fabric (to line the bottom)
Step-by-Step Instructions
- 1. Before we dive into the heavy lifting, let’s gather our materials with intention. You’ll need untreated cedar or redwood—these are my absolute favorites because they are naturally rot-resistant without needing harsh chemicals that could seep into your soil. Grab some galvanized screws, a drill, a level, and your chosen lumber. Think of this gathering phase as a way to set your intention for the project; you aren’t just collecting wood, you’re gathering the ingredients for a new sanctuary.
- 2. Once your materials are laid out, it’s time to measure and cut. I find that working with precision in the beginning helps quiet the mind later on. Measure your boards to your desired length, and if you don’t have a saw at home, most local hardware stores are more than happy to make those cuts for you. As you work, try to stay present in the tactile sensation of the wood; there’s something incredibly grounding about the scent of fresh cedar.
- 3. Now, let’s begin the assembly. Lay your first two boards on a flat surface to form a corner and pre-drill your holes—this is a small but vital step to prevent the wood from splitting, which can be so frustrating if you’re already feeling rushed. Drive your screws in firmly but gently. As you join these pieces together, imagine you are building a sturdy foundation, not just for your plants, but for your own daily rituals of growth.
- 4. Continue building out the rectangle, attaching the side boards to your corner pieces. I always recommend using a level frequently during this stage. It might feel tedious, but ensuring your planter is perfectly even is a beautiful metaphor for finding your own equilibrium in a chaotic world. If the base is uneven, the water won’t flow correctly, and your plants will struggle to find their balance just as we do when we skip our morning breathwork.
- 5. Once the frame is standing strong, choose a location that receives the right amount of sunlight for what you intend to grow. Before you set it down, I like to clear the area of any debris, creating a clean slate for your new endeavor. If you’re placing this directly on the ground, you might want to line the bottom with a layer of cardboard; it’s a wonderful, eco-friendly way to suppress weeds while allowing the earth to breathe.
- 6. The final, most rewarding step is the filling. Don’t just reach for the cheapest bag of dirt you can find; instead, curate a high-quality mix of compost, peat moss, and perlite. As you layer the soil into your new planter, notice the weight of it and the richness of the texture. You are literally nurturing life from the ground up, creating a vessel that will sustain your herbs, flowers, or vegetables for seasons to come.
Choosing Cedar Wood for Garden Beds to Ensure Longevity
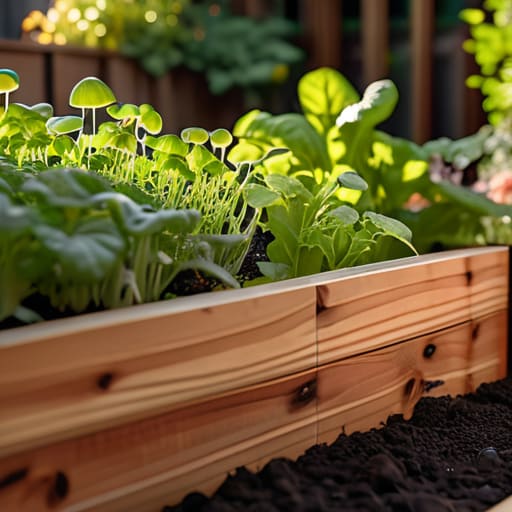
When you’re standing in the lumber aisle, it can feel a bit overwhelming, but I always tell my clients to think of this as an investment in your future self. While there are cheaper alternatives out there, I highly recommend opting for cedar wood for garden beds if you want to avoid the constant cycle of rebuilding. Cedar is naturally packed with tannins, which act as a built-in defense system. This is a total game-changer for preventing wood rot without having to slather your beautiful timber in harsh, synthetic chemicals that might leach into your organic veggies.
I remember my first attempt at vegetable garden construction; I used pressure-treated pine, and within two seasons, the boards were bowing and decaying. It was such a disheartening lesson in “doing it once, doing it right.” By choosing cedar, you’re choosing a material that breathes with the earth rather than fighting against it. It’s about creating a sustainable sanctuary that lasts, allowing you to focus your energy on the joy of watching your seedlings sprout rather than worrying about the structural integrity of your garden.
Mastering Vegetable Garden Construction With Essential Assembly Tools
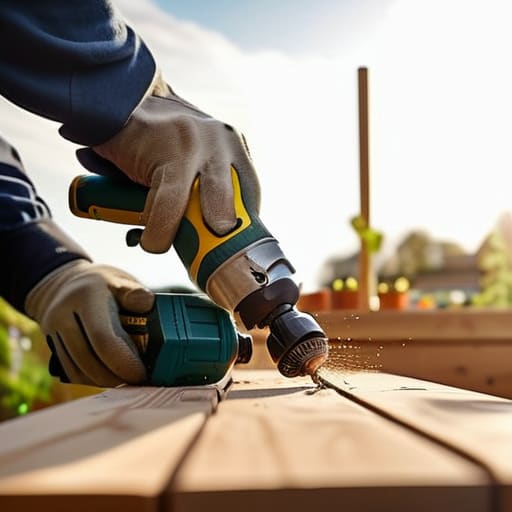
When it comes to vegetable garden construction, I’ve learned that the quality of your experience is often determined by the tools you hold in your hands. It’s easy to underestimate this part, but having the right raised bed assembly tools—like a high-quality cordless drill and a level that actually stays true—can turn a frustrating afternoon into a meditative flow. I remember my first attempt at this; I tried to wing it with a manual screwdriver, and let me tell you, my wrist was protesting for a week! Taking the time to gather a sturdy impact driver and some galvanized screws ensures that your structure is stable and secure from day one.
Beyond the heavy lifting, don’t overlook the smaller, thoughtful details that make a difference in the long run. I always suggest having a pair of heavy-duty shears and a staple gun handy for your landscape fabric installation. Laying down a quality barrier at the base is a game-changer for managing weeds and protecting your soil structure. Think of these tools not just as hardware, but as your partners in creating a sanctuary where your plants—and your spirit—can truly thrive.
Nurturing Your Creation: 5 Soulful Tips for a Flourishing Planter
- Prioritize your back and your peace by choosing an ideal height; building a planter that sits slightly above the ground isn’t just about ergonomic ease, it’s about creating a space where you can tend to your plants without feeling physically drained.
- Think about the “social life” of your garden by considering sun exposure; before you secure those final boards, observe how the light dances across your yard throughout the day to ensure your future green friends get the energy they need to thrive.
- Don’t forget the importance of drainage—just as we need to let go of heavy emotions to stay balanced, your plants need a way to release excess water to prevent root rot and keep their foundation healthy.
- Layer your soil like you would layer your daily intentions, starting with organic matter at the bottom; using a “lasagna gardening” method with compost and dried leaves creates a nutrient-rich ecosystem that feeds your plants from the ground up.
- Create a sense of rhythm by incorporating a small walking path or stepping stones around your new bed; this prevents soil compaction and allows you to move mindfully through your garden without disrupting the delicate life you’ve worked so hard to cultivate.
Cultivating Your Sanctuary: Three Reflections for Your Gardening Journey
Remember that the process of building is just as vital as the harvest; allow yourself to find a meditative rhythm in the assembly, treating each screw and plank as an opportunity to practice mindfulness.
Invest in quality from the start by choosing durable, natural materials like cedar, because creating a space that lasts is a beautiful way to honor your long-term commitment to growth and sustainability.
View your raised planter not just as a construction project, but as a living vessel for your well-being, designed to bridge the gap between your busy daily life and the grounding peace of the natural world.
## More Than Just Wood and Soil
“Building a raised planter isn’t just about constructing a container for your vegetables; it’s about creating a dedicated sanctuary where you can practice the art of patience, grounding yourself in the slow, beautiful rhythm of growth.”
Sophia Reynolds
Nurturing Your New Sanctuary
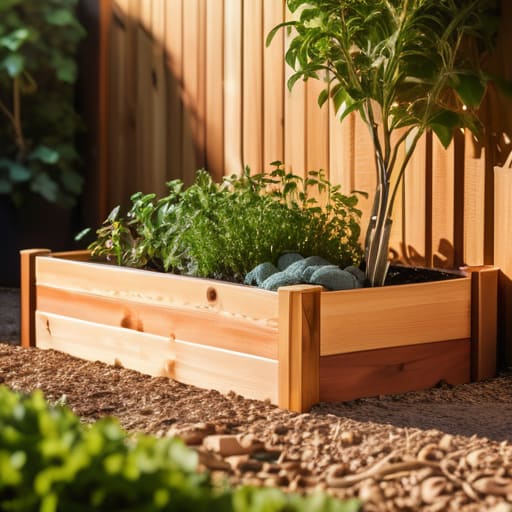
As you step back to look at your finished raised planter, take a moment to appreciate the tangible result of your focus and intention. From selecting the resilient, rot-resistant beauty of cedar to carefully assembling each piece with the right tools, you haven’t just built a container for soil; you’ve constructed a foundation for growth. By prioritizing quality materials and a steady, mindful approach to construction, you have ensured that this garden bed will stand as a lasting testament to your dedication. You’ve moved through the technicalities of measurements and assembly, and now the hard work of the build is complete, leaving you ready to transition from the role of builder to the role of nurturer.
Beyond the wood and the screws, I hope you remember that this project was as much about your internal landscape as it was about the garden. In my own journey, I’ve found that the most profound healing often happens when we engage our hands in something rhythmic and real. This planter is your invitation to slow down, to get your hands a little dirty, and to witness the quiet miracle of life unfolding right before your eyes. May your new garden be a place where you can truly cultivate peace, one seedling at a time, and find a sense of harmony that extends far beyond the garden gate.
Frequently Asked Questions
How can I ensure the soil I use stays nutrient-rich and doesn't compact over time?
Think of your soil as the foundation of your well-being; it needs breathing room to thrive. To prevent that heavy compaction, I always recommend mixing in plenty of organic matter—like compost or aged manure—to keep things airy and light. It’s a bit like practicing mindfulness; you want to create space for growth. Also, try to avoid stepping directly on the beds. Keeping the soil undisturbed allows those vital nutrients to circulate beautifully.
Are there specific ways to protect my planter from pests without using harsh chemicals that might disrupt the garden's ecosystem?
Protecting your little sanctuary doesn’t have to mean reaching for a chemical spray. I always tell my clients that a healthy ecosystem is your best defense! Try companion planting—like tucking marigolds near your veggies to naturally deter pests. You can also use neem oil or simple soap sprays for more targeted help. It’s all about working with nature, not against it, to keep your garden thriving and your conscience clear.
What are the best ways to position my new planter to maximize sunlight while still creating a space that feels peaceful to work in?
Finding that sweet spot is all about balancing the sun’s energy with your own need for calm. I always suggest observing your yard at different times of day; you want at least six hours of direct light for most veggies, but try to place the planter where you won’t feel “exposed” or rushed. Positioning it near a quiet corner or a soft breeze creates a little sanctuary, turning gardening into a meditative ritual rather than just another chore.
