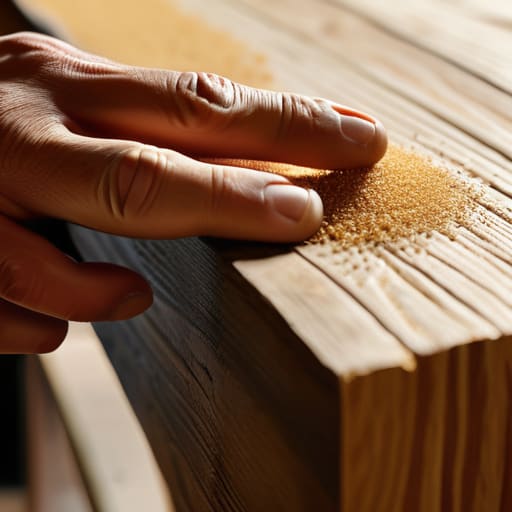
I remember standing in my tiny kitchen back in Oregon, staring at a beautiful piece of reclaimed oak that I had completely ruined because I was in too much of a rush. I thought if I just applied more pressure and moved faster, I’d finish sooner, but all I ended up with were deep, jagged gouges that no amount of stain could hide. We often treat DIY projects like a race to the finish line, but learning how to sand wood properly isn’t about speed; it’s actually about slowing down to respect the material. When we rush, we aren’t just damaging the wood; we’re missing the meditative rhythm that makes crafting something truly special.
In this guide, I’m stripping away the complex jargon to give you the honest, practical steps you actually need. We’re going to walk through everything from choosing the right grit sequence to mastering that gentle, circular motion that prevents swirl marks. I promise to share my no-nonsense approach to achieving a flawless, professional finish without the burnout. Let’s turn this task from a frustrating chore into a moment of intentional creation.
Table of Contents
- Step-by-Step Instructions
- Respecting the Flow Mastering Wood Grain Direction
- A Mindful Approach to Removing Old Finish
- Small Rituals for a Flawless Finish: My Top 5 Sanding Secrets
- Embracing the Process: Lessons from the Grain
- The Zen of the Surface
- The Beauty in the Process
- Frequently Asked Questions
Guide Overview
Tools & Supplies
- Orbital Sander (for efficient surface leveling)
- Sanding Blocks (for manual control and flat surfaces)
- Dust Mask (to prevent inhaling fine particles)
- Sandpaper Assortment (various grits from 80 to 220)
- Tack Cloth (to remove fine dust before finishing)
Step-by-Step Instructions
- 1. First, let’s start with the heavy lifting. Grab a coarse grit sandpaper—I usually recommend something around 60 or 80—to tackle those stubborn imperfections or uneven patches. Think of this as the deep exhale of the process; you’re clearing away the old tension to make room for something new. Always move in the direction of the grain, never across it, to avoid leaving scratches that will haunt you later.
- 2. Once the surface feels relatively level, it’s time to transition to a medium grit, like 120. This step is all about refinement and smoothing out the initial marks left by the coarse paper. I like to think of this as the bridge between chaos and calm, where you begin to see the true character of the wood emerging through the dust.
- 3. Now, we move into the finer details with a high-grit sandpaper, perhaps 180 or 220. At this stage, you’ll want to use much lighter, more intentional strokes. It’s almost like a form of moving meditation; you aren’t forcing the wood to change anymore, you are simply polishing its natural essence until it feels velvety under your fingertips.
- 4. Before you even think about moving to the next grit, take a moment to perform a “dust audit.” Use a tack cloth or a slightly damp microfiber cloth to wipe away every last speck of debris. If you leave even a tiny bit of grit behind, it will act like sandpaper itself during the next phase, and we want to avoid unnecessary friction in our journey toward perfection.
- 5. If you’re working on a piece that requires an extra level of sophistication, don’t be afraid to go even higher, perhaps up to 320 or 400. This is where the magic really happens, especially if you’re planning on a clear finish. It’s a bit like mindful breathing—it takes a little more time and patience, but the clarity it provides is absolutely worth the investment.
- 6. Finally, once you’ve reached your desired smoothness, give the entire piece one last, gentle wipe-down. I always tell my clients that the way we finish a task is just as important as how we start it. Take a second to run your hand over the wood; if it feels consistent and soothing, you’ve successfully honored the material and are ready to move on to the finishing stage.
Respecting the Flow Mastering Wood Grain Direction
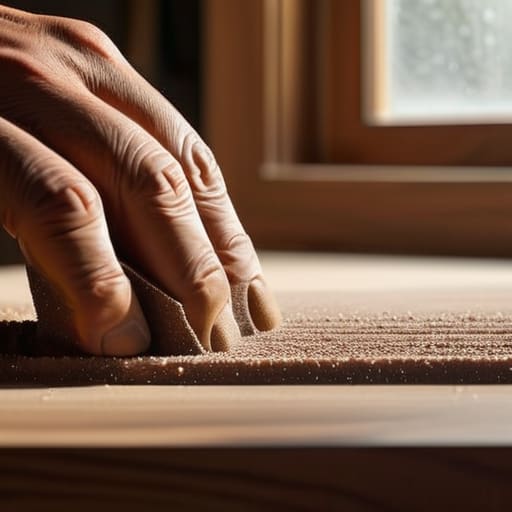
If there’s one thing my time in mindfulness taught me, it’s that resistance usually comes from fighting against the natural flow of things. The same goes for woodworking. When you’re working on a piece, you have to pay close attention to the wood grain direction. If you sand across those beautiful, natural lines, you aren’t just making a mistake; you’re creating tiny, permanent scratches that will scream at you the moment you apply a stain. It’s a bit like trying to force a conversation when the other person isn’t ready—you’re just creating friction where there should be harmony.
I remember a project back in my studio where I was so focused on speed that I completely ignored this rule. I ended up with these frustrating swirl marks that no amount of extra work could fully hide. To avoid that same frustration, especially if you’re using orbital sander techniques, remember that even with a machine, your final passes should always follow those long, graceful lines of the timber. Think of it as listening to the wood and moving in rhythm with it, rather than trying to conquer it.
A Mindful Approach to Removing Old Finish
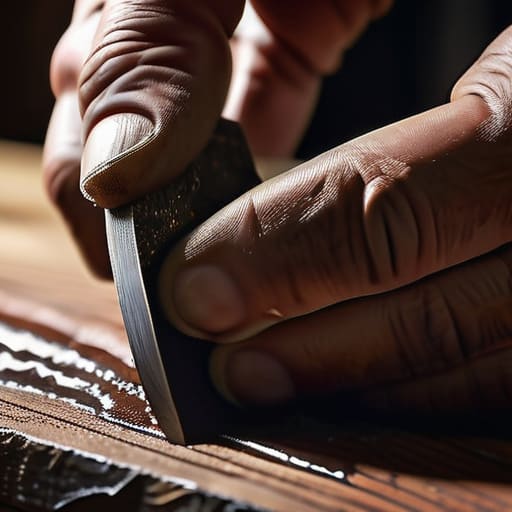
Before you dive into the actual reshaping of the wood, there is a delicate, almost meditative phase that requires your full presence: removing old finish. I remember my first major DIY project—a vintage walnut side table I’d found at a thrift store. I was so eager to get to the “real” work that I rushed the stripping process, only to find that the old lacquer was still clinging to the fibers, sabotaging my progress later on. When you’re stripping away layers of varnish or paint, try to view it as a way of clearing space. It’s about shedding what no longer serves the piece to reveal the true character underneath.
As you work, I highly recommend staying mindful of your orbital sander techniques to avoid any sudden, aggressive movements that might gouge the surface. If you’re working by hand, take a moment to breathe and notice the resistance of the material. If you feel the texture changing, you’re doing it right. This stage is less about speed and more about gentle persistence; if you rush the removal, you’ll likely find yourself fighting stubborn patches of residue during your final sanding passes.
Small Rituals for a Flawless Finish: My Top 5 Sanding Secrets
- Listen to the rhythm of your tools; if you’re using a power sander, don’t let it do all the heavy lifting. Let the machine glide, but keep your hand present to feel if you’re applying too much pressure, which can actually create heat and damage the wood’s natural oils.
- Embrace the “Grit Progression” as a lesson in patience. It’s tempting to jump straight to the fine stuff when you’re feeling ambitious, but skipping those middle steps is like trying to run a marathon without training—you’ll end up with a surface that looks okay but lacks that deep, professional soul.
- Don’t underestimate the power of a clean slate. I always tell my clients that “dust is the enemy of detail,” so make sure to vacuum and wipe down your piece between every single grit change; even a tiny speck of coarse grit left behind can act like a miniature wrecking ball on your smooth surface.
- Use your senses, not just your eyes. Sometimes a surface looks perfect under bright lights, but if you run your hand across it and feel even the slightest snag, trust your touch over your sight. That tactile connection is where the real quality lives.
- Create a sanctuary for your work. Sanding can be messy and loud, which can spike your cortisol levels, so try to set up a space with good airflow and perhaps a calming playlist. When you approach your project with a calm nervous system, your movements become more intentional and your results more beautiful.
Embracing the Process: Lessons from the Grain
Remember that sanding is a meditative practice, not just a chore; when you slow down and truly feel the texture changing under your hand, you transition from simply working to truly creating.
Respecting the wood’s natural direction is a lesson in alignment—just as we find more flow in our lives when we work with our natural rhythms rather than against them, your finish will only shine when you honor the grain.
Patience is your most valuable tool in the workshop; rushing through the grits is like skipping the foundational work in our own wellness journeys—it might feel faster, but you’ll eventually have to face the unevenness you left behind.
The Zen of the Surface
“When we sand, we aren’t just smoothing out imperfections; we are practicing the art of presence. It’s about slowing down enough to feel the resistance of the grain, honoring the history of the wood, and realizing that true beauty isn’t rushed—it’s revealed through patience and a gentle touch.”
Sophia Reynolds
The Beauty in the Process
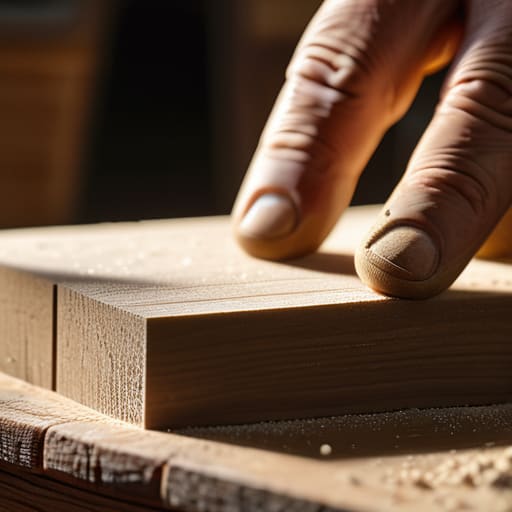
As we bring this project to a close, I want you to take a moment to look back at the surface you’ve transformed. We’ve covered a lot of ground—from the technical necessity of choosing the right grit progression to the quiet discipline of following the natural grain and the patience required to strip away the old to make room for the new. It’s easy to view sanding as a tedious chore, a mere hurdle between you and the final stain, but when you approach it with intention, it becomes something much more profound. By mastering these steps, you haven’t just prepared a piece of lumber; you have ensured that the foundation of your craftsmanship is seamless, smooth, and ready to hold the beauty of whatever comes next.
Ultimately, I hope this experience reminded you that there is a profound sense of peace to be found in the slow, rhythmic work of our hands. In our high-speed, digital world, there is something incredibly healing about a task that cannot be rushed. Whether you are restoring a family heirloom or building something entirely new, remember that the quality of your life, much like the quality of your finish, is determined by the care you pour into the details. So, take a deep breath, celebrate the progress you’ve made, and step into your next creative chapter with a steady heart and a clear mind.
Frequently Asked Questions
How can I tell if I've skipped a grit level, and will it leave visible scratches once I apply the finish?
It’s a common worry, but don’t let it steal your peace! The best way to tell is by running your hand very gently over the surface—if it feels “jumpy” or catches your skin, you’ve likely skipped a step. Those tiny, uneven ridges act like little valleys that catch the light once the finish hits, revealing scratches. If it feels silky and consistent, you’re golden. Trust your touch; it’s your best guide.
Is there a way to manage the dust without feeling like I'm suffocating in my own workspace?
Oh, I hear you. There is nothing that kills your creative flow faster than feeling like you’re breathing in your project! When I was working in corporate wellness, we talked a lot about “environmental stressors,” and dust is a huge one. Try pairing a vacuum with a sander if you can, or even just a simple shop vac nearby. It keeps the air clear so you can actually focus on the rhythm of your work.
How do I know when I've sanded "enough"—how can I tell the wood is truly ready for its next chapter?
It’s so easy to fall into the trap of “just one more pass,” but knowing when to stop is an art in itself. I always tell my clients to trust their senses: run your hands—very gently—over the surface. It should feel like silk, not paper. If you see any swirling scratches under a bright light, keep going. But once it feels uniform and calm, trust your intuition. You’ve prepared the soul of the wood; now, let it rest.