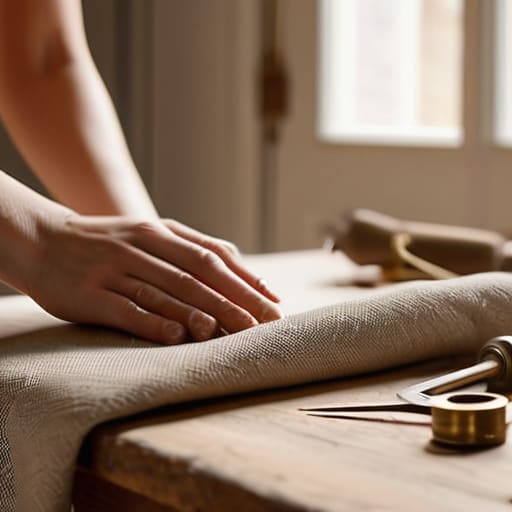
I remember sitting on my floor in my first tiny apartment in San Francisco, surrounded by half-empty coffee cups and the overwhelming glow of a harsh, clinical overhead light that made my soul feel just as tired as my body. I desperately wanted a space that felt like a sanctuary, but every lamp I found in the big-box stores felt impersonal and cold. That’s when I realized that learning how to make a fabric lampshade wasn’t just about home decor; it was about reclaiming my environment. I used to think you needed a professional studio and expensive industrial tools to get that high-end, boutique look, but I quickly learned that the most beautiful transformations actually come from a place of quiet, intentional handiwork.
In this guide, I’m stripping away the intimidation and sharing the exact, soulful process I use to create custom lighting. We aren’t going to chase perfection or get lost in complicated jargon; instead, I’ll walk you through the practical, step-by-step rhythm of selecting textures and securing your fabric with ease. You’ll gain the confidence to turn a simple frame into a radiant centerpiece that truly reflects your personality. Let’s slow down, grab some fabric, and start creating something that makes your home feel like a true retreat.
Table of Contents
Guide Overview
Tools & Supplies
- Fabric scissors for clean cutting
- Hot glue gun for securing edges
- Ruler or measuring tape for accuracy
- Spray adhesive or fabric glue for bonding
- Existing lampshade frame (wire structure)
- Fabric (approx. 1-2 yards depending on size)
- Adhesive (spray adhesive or fabric glue)
- Trim or ribbon for concealing edges
Step-by-Step Instructions
- 1. To begin, I like to gather all my supplies in one place, creating a little dedicated sanctuary for the project ahead. You’ll need your lampshade frame (either a drum or a tapered style), your chosen fabric, some high-quality adhesive spray or fabric glue, sharp fabric scissors, and a long ruler. I always find that having everything within reach helps me stay present in the process rather than feeling rushed.
- 2. Next, we need to measure our fabric with intention. Lay your fabric out on a clean surface and place your frame on top of it. You’ll want to add about two to three inches of extra fabric around all sides; this isn’t just for coverage, but to give you that beautiful, soft fold that wraps around the edges. It’s a lovely way to ensure the finish looks professional and intentional.
- 3. Now, let’s prepare the frame by applying our adhesive. If you’re using a spray adhesive, give the frame a gentle, even coat—not too much, or it can get messy, but enough to ensure a strong bond. I find that working in a well-ventilated space makes this part much more pleasant. As you spray, take a deep breath and remind yourself that this is your time to create something unique.
- 4. Once the adhesive is ready, carefully drape your fabric over the frame. Start from the center and work your way outwards, using your hands to smooth out any air bubbles or wrinkles. Think of this as a miniature mindfulness exercise; as you press the fabric against the frame, feel the tension and the texture, ensuring every inch is perfectly snug and smooth.
- 5. Now comes the part that requires a bit of focus: trimming the excess. Using your sharp scissors, carefully cut away the extra fabric around the top and bottom rings of the frame. I always suggest leaving a tiny bit of overlap to tuck into the lip of the frame, which creates a seamless, polished look. It’s all about those small, mindful details that make a difference.
- 6. To finish, we’ll tuck those raw edges inward for a clean look. Using a small tool or even just your fingertip, gently fold the excess fabric over the metal rim and press it down firmly into the adhesive. This final step is so satisfying—it’s like putting the finishing touches on a meditation, where everything finally clicks into place and becomes whole.
Gathering Your Lampshade Making Supplies With Intention
Gathering Your Lampshade Making Supplies with Intention
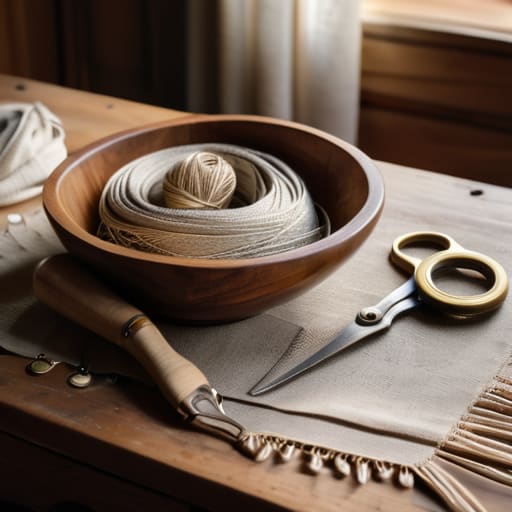
Before we dive into the technicalities, I want to invite you to shift your mindset from “running an errand” to “curating an experience.” When you’re sourcing your lampshade making supplies, try to view each item as a building block for your sanctuary. Instead of a rushed trip to a big-box store, perhaps wander through a local textile shop. Feeling the weight of a linen or the softness of a cotton can be incredibly grounding. I always tell my clients that the energy we bring to a task dictates the quality of the result; if you approach your materials with curiosity and care, that intention will radiate through your finished piece.
As you compile your toolkit, don’t overlook the importance of the small, functional details. While we often focus on the aesthetics, having the right fabric glue for lampshades or a high-quality adhesive ensures your hard work stands the test of time. I remember a time during my corporate years when I tried to rush a DIY project using whatever was in my junk drawer—it was a stressful mess! Now, I make sure my workspace is organized and my tools are ready before I even touch the fabric. This preparation is a form of mindful readiness, allowing you to stay present in the creative flow.
The Gentle Art of Measuring Fabric for Shades
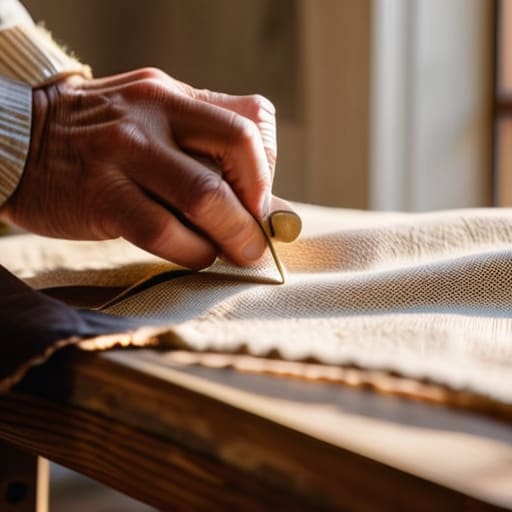
Before you even pick up your scissors, I want you to take a deep breath. I remember back in my corporate days, I used to rush through every task just to check it off a list, only to realize I’d made a mess of things. When it comes to measuring fabric for shades, rushing is your biggest enemy. Start by wrapping a piece of paper around your frame to create a template. This small, mindful step ensures you aren’t just guessing, but truly understanding the geometry of your project. It’s much more rewarding to measure twice and cut once than to feel the frustration of a gap in your beautiful design.
As you prepare your layout, remember to add about an inch of “breathing room” around your template. This extra margin is vital for folding the edges neatly over the rim during your diy lampshade tutorial process. If you’re working with a particularly delicate silk or a heavy linen, consider how the grain of the fabric will fall. I always find that treating the fabric with respect—aligning it carefully with the frame—makes the final result feel less like a craft project and more like a piece of intentional art.
Little Rituals for a Flawless Finish
- Before you even touch your fabric, take a moment to steam it. It’s not just about removing wrinkles; it’s about smoothing out the energy of the material so it lays flat and follows the curves of your shade with grace.
- Don’t rush the glue. I used to think faster was better when I was in the corporate world, but here, patience is your best friend. Apply your adhesive in thin, even layers to avoid those pesky lumps that can disrupt the visual harmony of your creation.
- Always keep a small pair of precision scissors nearby for those tiny, unexpected snips. Think of it as fine-tuning a melody; those small adjustments are what transform a “good” lampshade into a piece of art that feels truly intentional.
- Pay close attention to the direction of your pattern. Whether it’s a delicate floral or a bold geometric print, ensuring the grain flows naturally around the frame creates a sense of movement that feels much more organic and soothing to the eye.
- Remember to breathe through the tricky parts, like tucking the edges into the trim. If you feel tension rising in your shoulders, step back, grab a cup of herbal tea, and return when your hands feel steady and your mind feels calm.
Embracing the Ritual of Creation
Remember that this project isn’t just about a new piece of decor; it’s about the mindful practice of slowing down and pouring your own energy into something tangible and beautiful.
Treat your workspace as a sanctuary by gathering your tools with intention, allowing the preparation phase to be a calming transition into your creative flow.
Focus on the sensory details—the feel of the fabric and the precision of your measurements—to turn a simple DIY task into a grounding meditative experience.
Finding Light in the Small Things
“When we take the time to wrap a lampshade in fabric by hand, we aren’t just decorating a room; we are practicing the art of presence, turning a simple household task into a mindful ritual that illuminates both our homes and our spirits.”
Sophia Reynolds
Bringing Your Vision to Light
As you step back to look at your finished creation, take a moment to appreciate the journey you just took. From the initial, mindful gathering of your materials to the delicate process of measuring and shaping that fabric, you have transformed raw components into something truly unique. It isn’t just about following a set of instructions; it’s about how you navigated the tiny details—the way you smoothed the edges and the patience you practiced during those tricky measurements. By combining your chosen textures with the structure of the shade, you’ve successfully integrated a piece of your own creativity into the very fabric of your home.
I hope this project serves as a gentle reminder that we have the power to shape our own environments, one small, intentional step at a time. In our fast-paced lives, we often forget that the things we surround ourselves with can be sources of profound peace and personal connection. Your new lampshade is more than just a functional object; it is a testament to your ability to slow down and create. So, as you turn on that light for the first time tonight, let its warm glow remind you that beauty is often found in the quiet moments of making, and that you are more than capable of crafting a life—and a home—that truly shines.
Frequently Asked Questions
I’m a bit nervous about the technical side—how do I make sure the fabric stays taut and smooth without getting any awkward wrinkles?
Oh, I completely hear you. I remember feeling that same knot of anxiety during my first DIY project! To keep things smooth, think of it like a mindful breathing exercise: slow and steady. As you pull the fabric over the frame, work in small, overlapping sections rather than one big stretch. Use a bit of spray adhesive for grip, and always smooth outward from the center. Taking that extra moment ensures a calm, wrinkle-free finish.
Since I want this to be a piece I cherish, what kind of fabric would you recommend that is both beautiful and durable enough to handle the heat from a lightbulb?
Oh, I love that you’re thinking about the longevity of this piece! Since you want something you’ll cherish, I’d lean toward a high-quality linen or a heavy cotton canvas. They have such a beautiful, organic texture that brings a sense of calm to a room. Just a little tip from my wellness toolkit: always opt for natural fibers and ensure you’re using LED bulbs to keep things cool. It’s all about creating beauty that’s built to last.
If I accidentally cut my fabric a little too short during the measuring process, is there a mindful way to pivot or fix it without feeling like I've ruined the whole project?
Oh, please breathe—it is not ruined! I’ve been there myself, staring at a piece of silk feeling like I’d failed. Instead of seeing it as a mistake, see it as a creative pivot. Could you embrace a slightly smaller, more delicate shade? Or perhaps, use that extra bit of fabric to create a matching decorative accent? Perfection is an illusion; intention is what matters. Embrace the detour; it’s where the real magic happens.
