I remember sitting on my kitchen floor back in Oregon, surrounded by a sticky, chaotic mess of spilled oils and a sense of utter defeat, wondering why every tutorial made it seem so easy. We’ve been told that soap making is this high-stakes chemistry experiment reserved for experts, but I’m here to tell you that’s a total myth. Learning how to make soap at home isn’t actually about mastering complex equations; it’s about reclaiming a sense of rhythmic, tactile creativity that grounds you after a long day of staring at screens. When I finally found my flow, it wasn’t just about the soap—it was about the quiet magic of the process itself.
In this guide, I’m stripping away the intimidating jargon and the unnecessary fluff to give you a clear, soulful roadmap. I’ll walk you through the essential tools, the safety basics, and the simple science of saponification without any of the usual overwhelm. My goal is to help you move past the fear of making a mistake so you can enjoy the intentional ritual of crafting something beautiful and nourishing with your own two hands.
Table of Contents
- Step-by-Step Instructions
- Honoring Nature Through Pure Natural Soap Ingredients
- Mastering the Saponification Process Explained With Intention
- Little Rituals for a Seamless Soap-Making Journey
- Finding Your Flow: Bringing Intention to Every Batch
- ## The Ritual of Creation
- Embracing the Glow of Your Creation
- Frequently Asked Questions
Guide Overview
Tools & Supplies
- Digital scale for precise measurements
- Immersion blender for emulsification
- Heat-resistant glass beaker or pot
- Silicone soap molds
- Coconut oil (approx. 500g)
- Olive oil (approx. 500g)
- Sodium hydroxide/Lye (approx. 140g)
- Distilled water (approx. 330g)
- Essential oils (30ml)
Step-by-Step Instructions
- 1. Before we touch a single ingredient, let’s set the stage for a safe and mindful experience. Since we’re working with lye—which can be a bit intimidating—I want you to prioritize your safety by putting on your gloves, long sleeves, and eye protection. Set up your workspace in a well-ventilated area, perhaps near an open window, to ensure the air stays fresh and clear as we begin this process.
- 2. Once you feel grounded and ready, it’s time to carefully mix your lye and water. Always remember the golden rule of soap making: add the lye to the water, never the other way around, to prevent any unexpected reactions. As you stir the mixture, you’ll notice it getting quite warm; I like to treat this moment as a lesson in observing change, watching how two simple elements transform into something entirely new.
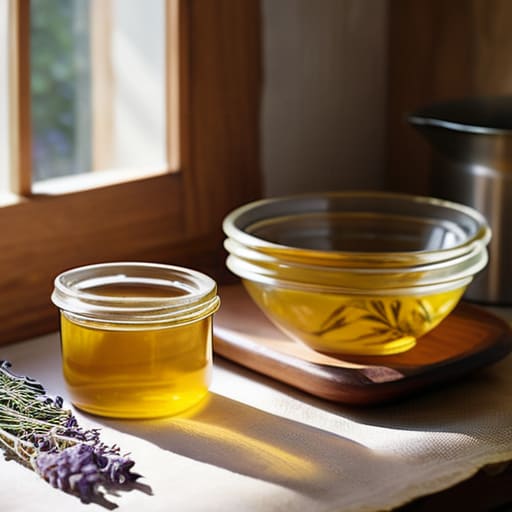
- 3. Now, let’s bring in the nourishment. Gently melt your solid oils, like coconut or shea butter, and combine them with your liquid oils in a large stainless steel bowl. I find that the scent of warming oils is incredibly soothing to the senses, so take a deep breath and just enjoy that rich, natural aroma before we move into the next phase.
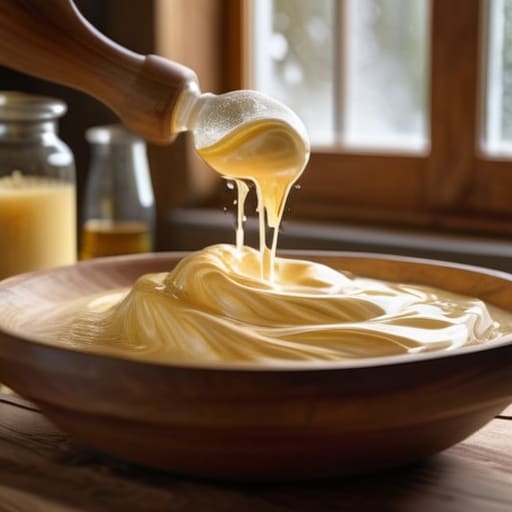
- 4. This is where the magic truly happens: the emulsification. Slowly pour your lye-water mixture into your oils, and grab your stick blender. You’ll want to pulse the blender in short bursts, moving it rhythmically through the liquid until it reaches “trace”—that beautiful moment when the mixture thickens to a custard-like consistency. It’s a wonderful metaphor for life; sometimes you have to keep stirring and staying present before everything finally clicks into place.
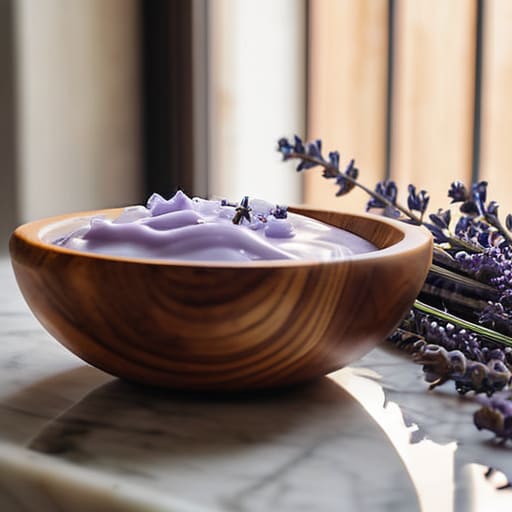
- 5. Now comes the part where you can truly infuse your creation with intention. This is your window to stir in your favorite essential oils or natural clays for color. I personally love using lavender for its calming properties, but feel free to choose whatever resonates with your soul today. Stir them in by hand to ensure they are evenly distributed throughout the batter.
- 6. Once your soap batter is perfectly scented, pour it into your prepared mold with a steady, graceful hand. If you see any air bubbles, you can gently tap the mold on the counter to help them rise to the surface. I like to think of this as releasing tension, letting any trapped bubbles escape so the final product can be smooth and serene.
- 7. Finally, we must practice the hardest skill of all: patience. Cover your mold with a piece of cardboard and a towel to insulate it, then let it sit undisturbed for 24 to 48 hours. While you wait, I encourage you to step away from the kitchen and engage in a little mindfulness or yoga; your soap needs time to cure, and so do you.
Honoring Nature Through Pure Natural Soap Ingredients
When I first started my journey into DIY wellness, I realized that soap making isn’t just about cleaning our skin; it’s about a conscious reconnection to the earth. Choosing high-quality natural soap ingredients allows you to turn a mundane chore into a sacred ritual of self-care. Instead of reaching for synthetic fragrances that can disrupt our delicate hormonal balance, I love experimenting with pure essential oils for soap making. There is something incredibly grounding about the scent of cedarwood or lavender wafting through your kitchen, reminding you that you are creating something truly restorative.
I always tell my clients that the quality of what we put on our bodies is just as vital as what we put in them. As you curate your botanical blends, think about the intention behind each element. Are you looking for the soothing properties of calendula, or perhaps the deep hydration of raw shea butter? By selecting ingredients that are minimally processed, you are honoring the integrity of nature itself. It transforms the entire experience from a simple hobby into a meaningful practice of mindfulness and environmental stewardship.
Mastering the Saponification Process Explained With Intention
When we talk about the science behind our craft, the saponification process explained can sometimes feel a bit intimidating—like you’re stepping into a high school chemistry lab. But I like to view it differently. Instead of seeing it as a rigid chemical reaction, try to see it as a beautiful, transformative dance between fats and lye. It’s the moment where separate, raw elements surrender their individual identities to become something entirely new and nourishing. To ensure this dance goes smoothly, I always recommend using a reliable soap making recipe calculator before you even touch your ingredients; it takes the guesswork out of the math and allows you to focus entirely on the sensory experience.
As you move into the mixing phase, please remember that mindfulness also means being deeply aware of your surroundings. This is where sodium hydroxide safety precautions become your most important ritual. Wearing your gloves and goggles isn’t just a chore; it’s a way of honoring the power of the materials you’re working with. When we approach the process with respectful intention and the right safety gear, we create a sacred space where creativity can truly flourish without distraction.
Little Rituals for a Seamless Soap-Making Journey
- Honor the rhythm of your space by setting the mood before you begin; lighting a beeswax candle or playing some soft, ambient music can transform a technical task into a meditative experience that keeps your focus steady.
- Trust the science, but respect the timing—saponification can’t be rushed, so instead of checking your watch every five minutes, use that “waiting time” to practice a quick breathing exercise or step away from your screens.
- Keep a “sensory journal” next to your workspace to jot down how specific essential oils make you feel as you mix them, which will help you fine-tune your personal scent profiles for future batches.
- Safety isn’t just a checklist, it’s a form of self-care; always wear your goggles and gloves not just because the science demands it, but because you are honoring your physical well-being throughout the creative process.
- Embrace the “beautiful imperfections”—if a swirl isn’t quite as symmetrical as you imagined, remember that much like our own lives, there is a profound, unique beauty in the unexpected patterns that emerge when we let go of perfectionism.
Finding Your Flow: Bringing Intention to Every Batch
Remember that soap-making isn’t just a task on your to-do list; it’s a rhythmic, tactile ritual that invites you to practice presence and slow down.
By choosing pure, natural ingredients, you aren’t just crafting a product, you’re honoring your body and creating a mindful connection to the earth.
Trust the science of saponification, but lean into the patience the process requires, allowing yourself the grace to let things unfold in their own natural time.
## The Ritual of Creation
“Making soap at home isn’t just about the chemistry of oils and lye; it’s a beautiful, tactile meditation. When you slow down to stir, pour, and scent your creations, you aren’t just making a cleanser—you’re reclaiming a moment of stillness in a world that rarely asks us to pause.”
Sophia Reynolds
Embracing the Glow of Your Creation
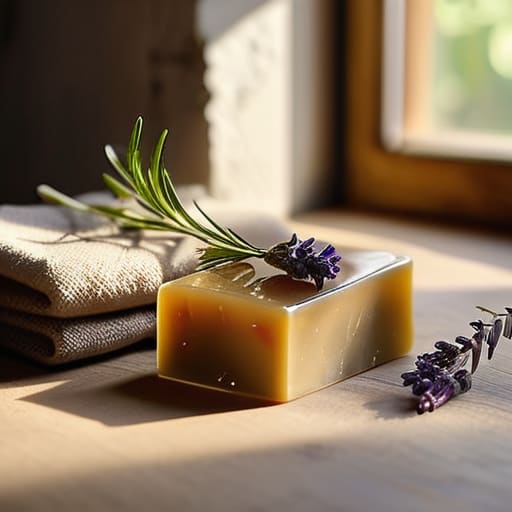
As we bring this journey to a close, take a moment to look at what you’ve actually achieved. You haven’t just followed a recipe; you’ve navigated the delicate science of saponification, curated a selection of pure, earth-derived ingredients, and practiced the kind of patience that our frantic, modern lives rarely demand. From selecting the perfect oils to understanding the rhythmic flow of the pour, you have transformed raw elements into something deeply personal. Remember, every batch is a unique reflection of the intention you poured into it, and even the “imperfect” bars carry the beautiful mark of your own handcrafted touch.
Beyond the wonderful scents and the creamy lather, I hope you carry something even more valuable away from this experience: the realization that you are capable of creating peace from scratch. In my years of coaching, I’ve seen how much we lose when we stop making things with our own hands, but today, you reclaimed that connection. Let this soap be a daily reminder to pause and breathe every time you step into your shower. You aren’t just washing away the day; you are honoring a ritual of self-care that you built with your own two hands. Keep creating, keep breathing, and most importantly, keep nourishing your soul.
Frequently Asked Questions
Is it safe to make soap at home if I'm worried about handling lye, or are there gentler ways to start?
I completely hear you—the thought of handling lye can feel a bit intimidating! It’s perfectly natural to feel a sense of hesitation. If you’re looking for a gentler entry point, I highly recommend starting with “melt and pour” soap bases. They are pre-made and safe, allowing you to focus on the joy of scent and color without the chemical intensity. It’s a beautiful way to practice mindfulness while easing into the craft.
How long do I really need to wait before I can actually use my handmade bars, and how can I tell when they're ready?
I know that feeling of wanting to reach for a freshly made bar immediately—the scent is just intoxicating! But here’s the thing: patience is actually part of the ritual. Most soaps need a curing period of four to six weeks. This allows the water to evaporate, making your bars harder and longer-lasting. You’ll know they’re ready when they feel firm to the touch and the pH has stabilized. Trust the process; your skin will thank you!
If I want to experiment with different scents, how do I balance essential oils without compromising the soap's quality or my skin's sensitivity?
Experimenting with scents is such a beautiful way to make your soap-making feel like a true sensory ritual! When playing with essential oils, I always recommend starting with a 1% to 3% dilution rate to keep things gentle on your skin. I love keeping a little “scent journal” to track my ratios; it’s a mindful way to see what works. Just remember to patch test first—your skin’s intuition is your best guide!
