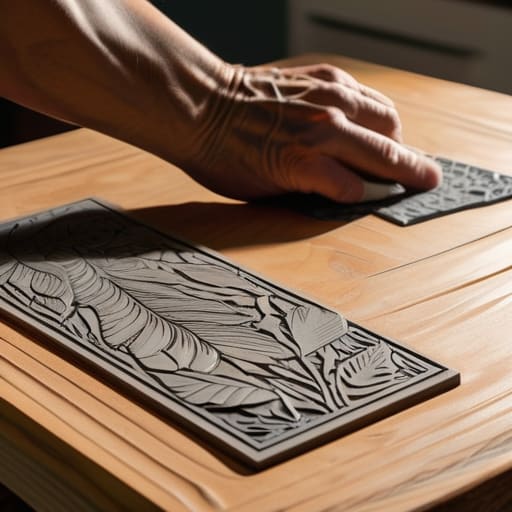
I remember sitting on my floor in my old apartment, surrounded by half-finished sketches and a growing sense of frustration, wondering why my hands wouldn’t just obey the vision in my head. I had watched dozens of tutorials, but they all made it look so effortless, so clinical, that I felt like I was failing before I even touched the linoleum. The truth is, learning how to make a lino print isn’t about achieving immediate, technical perfection; it’s actually about finding a rhythmic flow between your breath and the resistance of the material. It’s a tactile conversation, not a rigid set of instructions, and once you stop fighting the tool, the magic really starts to happen.
In this guide, I’m stripping away the intimidating jargon to give you a grounded, soulful approach to the craft. We aren’t just going to cover the mechanics; I’ll share the practical, no-nonsense steps to help you master the carving process while staying present in the moment. From choosing your first set of tools to the satisfying final reveal of your print, you’ll gain the confidence to embrace the beautiful imperfections that make handmade art so special.
Table of Contents
- Step-by-Step Instructions
- Preparing Your Canvas Transferring Designs to Lino
- Mastering the Relief Printmaking Process With Intention
- Small Shifts for a Soulful Print: My Top 5 Tips for Your Lino Journey
- Embracing the Rhythm of the Print
- The Soul in the Surface
- Embracing the Finished Print
- Frequently Asked Questions
Guide Overview
Tools & Supplies
- Linoleum block (the carving surface)
- Lino cutters (handles with various shaped blades)
- Brayer (rubber roller for applying ink)
- Baren or wooden spoon (to apply pressure for printing)
- Pencil (for sketching the design)
- Block printing ink (1 tube/jar)
- Lino block (1 piece)
- Printing paper (5-10 sheets)
- Inking plate or smooth glass (1 surface)
- Tracing paper (2-3 sheets)
Step-by-Step Instructions
- 1. First, we need to prepare our canvas—the linoleum block itself. I always like to start by gently warming my block with a hairdryer for just a minute; it makes the material much more supple and forgiving under the blade. Once it’s warm, take your design and transfer it onto the surface using carbon paper or a simple pencil sketch. Just remember, your final print will be a mirror image of what you draw, so if you’re including any words, make sure to flip them before you start carving!
- 2. Now, let’s gather our carving tools, which are really the extensions of our intention. You’ll want a set of linoleum cutters with different shaped nibs—V-tools for fine lines and U-tools for clearing out larger areas. As you pick them up, take a second to feel their weight and settle into the task. I find that treating these tools with respect helps me maintain a sense of mindful precision throughout the entire process.
- 3. When you’re ready to carve, always remember the golden rule of safety: never carve toward your hand. I always keep my non-dominant hand behind the tool or tucked safely away. Start by using a small V-tool to outline your design, tracing the edges of your shapes with delicate, purposeful strokes. This creates a “moat” that prevents the larger tools from slipping and ruining your hard work later on.
- 4. Once your outlines are established, it’s time to clear out the “negative space”—the areas you want to remain the color of the paper. Switch to a wider U-shaped gouge and begin sweeping away the excess material. I like to think of this stage as releasing the image from the block. Don’t worry about making it perfectly flat; sometimes a little texture in the background adds a beautiful, organic soul to the final print.
- 5. Next, we move into the rhythmic part of the process: inking. Squeeze a small amount of block printing ink onto a glass slab or a flat tray and use a brayer (a rubber roller) to spread it out. You’re looking for a specific sound—a soft, velvety tacky noise—that tells you the ink is perfectly distributed. Once your roller is coated, roll it over your carved block until the surface has a consistent, even sheen.
- 6. Finally, it’s time for the magic moment: the print itself. Place your chosen paper carefully over the inked block, trying not to let it shift once it makes contact. I personally love using a baren, but if you’re at home, a simple large spoon works wonders. Apply firm, circular pressure across the entire back of the paper, ensuring you reach every corner. When you slowly peel the paper away, it’s like unveiling a new part of yourself that you’ve just brought into the world.
Preparing Your Canvas Transferring Designs to Lino
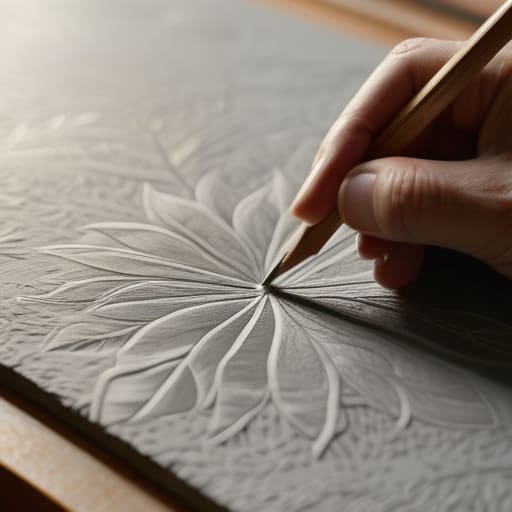
Before we pick up our tools, I want us to take a second to appreciate this transition. Moving from a sketch in a notebook to the physical surface of the block is where the magic—and the mindfulness—really begins. When you’re transferring designs to lino, I always suggest working in reverse. It’s a bit of a brain teaser, much like trying to navigate a new yoga flow, but once you grasp the concept of the mirror image, everything clicks. I personally love using carbon paper for a clean, precise transfer, but if you’re feeling a bit more tactile, a soft graphite rubbing works wonders too.
One thing I learned during my corporate years is that rushing the preparation phase often leads to unnecessary stress later on. If your design feels a bit “off,” don’t sweat it; this is part of the relief printmaking process. Take a deep breath, check your lines, and ensure your pattern is centered. This stage is your foundation. By being intentional now, you’re setting yourself up for a much more fluid and joyful experience once you finally start carving.
Mastering the Relief Printmaking Process With Intention
As you pick up your linoleum cutting tools, I want you to take a deep breath and really feel the weight of the moment. It’s so easy to rush through the carving, treating it like a task to be checked off a list, but I’ve found that the magic happens when you treat the relief printmaking process as a form of moving meditation. Instead of focusing solely on the final image, try to tune into the rhythmic sound of the blade gliding through the material. If you find your mind racing toward the finished product, gently bring your focus back to the sensory experience of the cut.
I also want to remind you that perfection is a myth we often chase at the expense of our peace. In block printing for beginners, it’s common to feel a sense of urgency to make every line flawless, but those tiny, unexpected marks are often where the soul of your print lives. Embrace the imperfections. If a slip occurs, don’t see it as a failure; see it as a unique moment in your creative journey. Remember, we aren’t just making art; we are cultivating presence through every stroke.
Small Shifts for a Soulful Print: My Top 5 Tips for Your Lino Journey
- Listen to the resistance of the material. I remember when I first started, I used to fight against the lino, trying to force the blade through. Now, I treat it like a conversation; if the tool feels like it’s struggling, take a breath, adjust your angle, and let the blade glide rather than push.
- Embrace the “happy accidents” in your lines. In my corporate days, I was obsessed with perfection, but in printmaking, a stray mark can actually add character and soul to your piece. If a cut goes a little deeper than intended, don’t scrap the block—incorporate that texture into your story.
- Mind your hand health with intentional breaks. This is a big one for me! Carving requires a lot of fine motor tension, so I always remind myself to use the “Pomodoro for Creativity” approach: every twenty minutes, set the tool down, stretch your fingers, and shake out your wrists to keep that tension from settling in.
- Test your ink density before committing. There’s nothing more frustrating than a muddy print, so I always recommend doing a “test pull” on a scrap piece of paper. It’s like a little mindfulness check—it forces you to pause and see exactly what you’ve created before you move forward.
- Curate your workspace for flow. I’ve found that my best work happens when my environment matches my intention. Clear away the clutter, maybe light a calming candle or put on some soft lo-fi beats, and treat this time not as a chore to complete, but as a sacred window of creative play.
Embracing the Rhythm of the Print
Remember that lino printing isn’t just about the final image; it’s about the meditative flow of the carving process, so allow yourself to slow down and find your rhythm.
Precision is important, but don’t let the pursuit of perfection steal your joy—embrace the organic imperfections that make every handmade print uniquely yours.
View each cut as an opportunity to practice mindfulness, turning a simple craft into a restorative ritual that helps you reconnect with your creative self.
The Soul in the Surface
“Lino printing isn’t just about carving away material; it’s about the intentional act of creating space. Every stroke of the tool is a moment of presence, reminding us that sometimes, to reveal something beautiful, we must first learn the art of letting go.”
Sophia Reynolds
Embracing the Finished Print
As we reach the end of this creative journey, take a moment to look down at the prints you’ve pulled. We’ve traveled from the initial spark of an idea and the careful transfer of your design, through the rhythmic, meditative carving of the lino block, to that final, breathtaking moment of peeling back the paper. Remember, lino printing isn’t just about the technical precision of the cut; it’s about the intentionality you brought to every stroke. Whether your lines are perfectly crisp or carry the beautiful, organic imperfections of a hand-carved piece, you have successfully translated an internal vision into a tangible, physical reality.
Beyond the ink and the pressure, I hope you carry the sense of presence you found at your carving station into the rest of your week. In my own life, I’ve found that when work feels overwhelming, returning to a tactile, slow-paced hobby like this acts as a vital anchor for my mental well-being. Don’t rush to the next project or worry about perfection. Instead, allow yourself to simply exist in the joy of creation. You aren’t just making art; you are practicing the art of being present, one beautiful, ink-stained impression at a time.
Frequently Asked Questions
I've noticed my lines sometimes look a bit jagged; how can I get a smoother, more intentional cut when I'm feeling a little rushed?
Oh, I’ve been there! When I was working in the corporate world, I used to carry that “hurry up and finish” energy into everything, even my yoga practice. When we rush, our hands lose their connection to our breath, and that tension shows up in jagged lines. Try this: before you touch the tool, take one deep, grounding breath. Slow down your physical tempo to match your exhale. Remember, the goal isn’t just the print; it’s the presence you bring to the cut.
What are your favorite eco-friendly or non-toxic ink options for those of us trying to keep our creative spaces as mindful and healthy as possible?
I am so glad you asked this! When we create, we want our environment to nourish us, not overwhelm us with harsh fumes. I personally swear by water-based relief inks; they’re incredibly easy to clean up with just soap and water, which keeps the process feeling light and breezy. If you’re looking for something more professional, soy-based inks are a wonderful, non-toxic alternative that still offers that beautiful, rich pigment we all crave.
How do I know when I've carved enough away, and how can I avoid that feeling of frustration if I accidentally take out too much of my design?
I’ve been there—that tiny moment of panic when a slip of the tool feels like a disaster. First, remember: your design isn’t ruined; it’s just evolving. To know when to stop, look at your shadows. You want the “valleys” to be deep enough that ink won’t touch them, but keep your “peaks” sturdy. If you over-carve, don’t fight the frustration. Take a breath, step back, and see if that new shape tells an even more beautiful, unexpected story.
