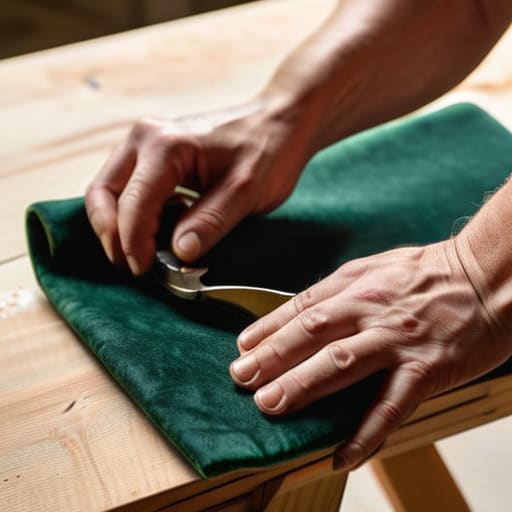
I was sitting on my floor last Tuesday, surrounded by scraps of velvet and a stubborn, sagging dining chair, feeling that familiar wave of corporate burnout crashing over me. For a long time, I thought that if I couldn’t master a task perfectly on the first try, it was a sign of failure—a mindset that served me poorly in my old high-pressure job. But as I struggled to figure out how to reupholster a chair seat without losing my mind, I realized that the magic isn’t in the flawless finish, but in the intentional pause the craft demands. We often think DIY is just about fixing things, but it’s actually a profound way to reclaim our agency in a world that feels increasingly out of our control.
In this guide, I’m stripping away the intimidating jargon and the “perfect” Pinterest illusions to give you a realistic, soulful roadmap. I’ll walk you through the essential tools you actually need, the tactile rhythm of stretching fabric, and those little mindfulness moments that turn a chore into a meditation. You aren’t just learning a skill; you are learning how to breathe life back into your home and yourself, one stitch at a time.
Table of Contents
- Step-by-Step Instructions
- Gathering Your Essentials Must Have Upholstery Tools for Beginners
- The Tactile Journey of Removing Old Chair Fabric
- The Gentle Art of the Finish: 5 Tips for a Soulful Transformation
- Finding Your Rhythm in the Craft
- The Rhythm of Renewal
- The Beauty in the Finished Seat
- Frequently Asked Questions
Guide Overview
Tools & Supplies
- Staple gun and staples for securing fabric
- Pliers for removing old staples and fabric
- Fabric shears or sharp scissors for cutting material
- Measuring tape for sizing fabric
- Upholstery fabric (approx. 1-2 yards)
- High-density foam padding (1 sheet)
- Batting or wadding (1 roll/sheet)
- Dust cover fabric or black cambric (small piece)
Step-by-Step Instructions
- 1. Before we dive into the transformation, we need to clear the space—both physically and mentally. Start by flipping your chair over and carefully removing the old fabric. As you pull away the staples or tacks, I want you to think of this as shedding the old layers that no longer serve you. Keep the old fabric if you can; it acts as a perfect template for the new piece you’re about to create.
- 2. Once the frame is bare, take a moment to inspect the foundation. Check the foam padding for any signs of wear or compression. If it feels a bit lifeless, this is your opportunity to add a fresh layer of high-density foam. I always find that treating the “bones” of the chair with intentional care makes the final result feel so much more luxurious and supportive.
- 3. Now, let’s prepare our new fabric, which is where the magic really begins. Lay your fabric out on a clean surface and place your old fabric template on top to ensure a perfect fit. When you cut the new material, remember to leave a few extra inches on all sides; having that graceful margin will make the stretching process much more forgiving and less stressful.
- 4. This is where we practice a little bit of patience. Center your new fabric over the seat and begin stapling. Start in the middle of each side, pulling the fabric taut but not so tight that it puckers. Think of it like a gentle exhale—you want the tension to be firm and even, creating a smooth surface that feels balanced and steady.
- 5. As you move toward the corners, slow down. The corners are the most technical part of the journey, requiring a bit of folding and tucking to keep everything looking neat. Instead of rushing to finish, focus on the rhythm of your movements. A well-tucked corner is the difference between a DIY project and a piece of furniture that looks like it was crafted with soul.
- 6. Once you’ve worked your way around the entire perimeter, do a final walkthrough of your work. Run your hands over the surface to feel for any unexpected bumps or loose spots. It’s a wonderful way to ground yourself in what you’ve accomplished. If everything feels smooth and secure, you can finally flip your chair back over and admire the beautiful renewal you’ve brought to your home.
Gathering Your Essentials Must Have Upholstery Tools for Beginners
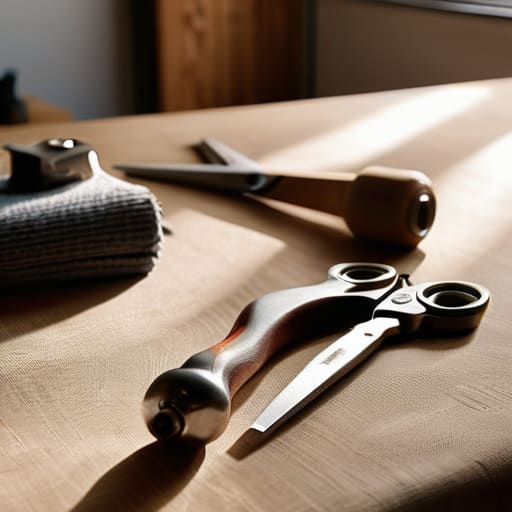
Before you dive into the actual transformation, I want you to take a deep breath and look at your workspace. Setting yourself up for success isn’t just about having the right gear; it’s about creating a sanctuary of preparation. When I first started, I thought I could wing it with a standard office stapler, but I quickly learned that investing in proper upholstery tools for beginners makes all the difference in your stress levels. You’ll definitely want a sturdy pair of heavy-duty shears for clean edges and, most importantly, a reliable staple gun. Learning how to use a heavy duty staple gun with confidence is a game-changer; it turns a frustrating struggle into a rhythmic, almost meditative process of securing your vision.
While you’re gathering your kit, don’t forget the “hidden” essentials that ensure long-term comfort. If your seat feels a bit flat, I highly recommend replacing chair cushion foam to restore that “sink-in” feeling we all crave. It’s like giving your furniture a fresh soul. Also, a quick tip from my wellness toolkit: always double-check your measurements with an upholstery fabric yardage calculator before you head to the store. There is nothing more disruptive to your creative flow than running out of fabric just inches from the finish line!
The Tactile Journey of Removing Old Chair Fabric
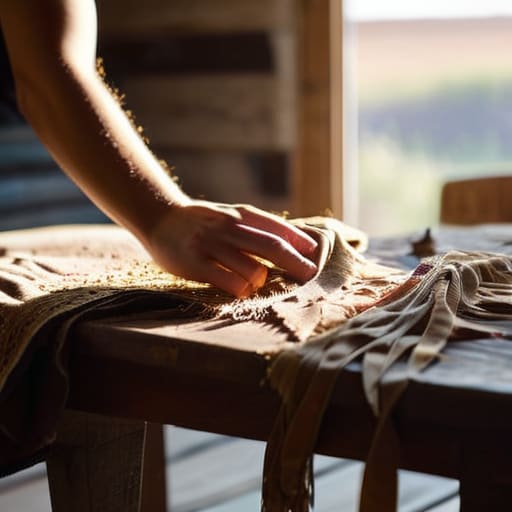
There is something surprisingly therapeutic about the process of removing old chair fabric. As I sit on my floor with my tools, I often remind myself that this isn’t just a chore; it’s a way of clearing out the old to make room for the new. As you begin pulling at those stubborn staples, try to stay present in the moment. You’ll likely find yourself discovering the hidden history of the piece—perhaps a stray thread or a worn corner that tells a story of years of shared meals and morning coffees.
As the old layers come away, pay close attention to what lies beneath. This is the perfect moment to evaluate if you’ll be replacing chair cushion foam as well. If the padding feels compressed or loses its shape when you press down, treat yourself to a fresh layer; it’s the secret to making your project feel as luxurious as it looks. Don’t rush this stage. Taking the time to strip the seat down to its barest essentials ensures you have a clean, honest canvas for the beautiful transformation that’s about to unfold.
The Gentle Art of the Finish: 5 Tips for a Soulful Transformation
- Treat your fabric like a delicate intention; before you make that first staple, lay the material out flat and let it breathe. Smoothing out every tiny wrinkle now is like setting a mindful foundation for your day—it prevents frustration later and ensures a calm, seamless finish.
- Don’t rush the symmetry. I remember during my high-stress corporate days, I used to skip the small details just to cross things off my list, but in upholstery, that’s a recipe for a crooked seat. Take a breath, find your center point, and pull the fabric evenly from all four corners to keep that beautiful balance.
- Listen to the tension. It’s a bit like a yoga flow—you want enough resistance to hold everything in place, but if you pull too hard, you’ll distort the fabric and lose that natural grace. Aim for a “firm but flexible” feel that honors the integrity of the material.
- Save your scraps like little treasures. I have a habit of keeping odd bits of fabric, and you’ll find they are lifesavers when you need to patch a small tear or reinforce a corner. Think of them as the small, unexpected joys that help hold the bigger picture together.
- Embrace the imperfections of the process. If a staple goes in slightly crooked, don’t let it ruin your peace. This is a tactile, human journey, not a factory line. A little bit of character only adds to the story of the piece and the love you poured into it.
Finding Your Rhythm in the Craft
Remember that reupholstery isn’t a race; treat each stitch and pull as a mindful moment to reconnect with your hands and your home.
Don’t be afraid to embrace the imperfections, because the true beauty of a handmade piece lies in the unique story and soul you breathe into it.
View the process of transformation—from old fabric to new life—as a gentle metaphor for your own capacity to renew and refresh yourself.
The Rhythm of Renewal
“Reupholstering a chair isn’t just about replacing worn-out fabric; it’s a meditative practice in restoration. As you pull each staple and smooth each seam, you’re actually practicing the art of intentionality—learning that with a little patience and a steady hand, we can breathe new life into the things we once thought were beyond repair.”
Sophia Reynolds
The Beauty in the Finished Seat
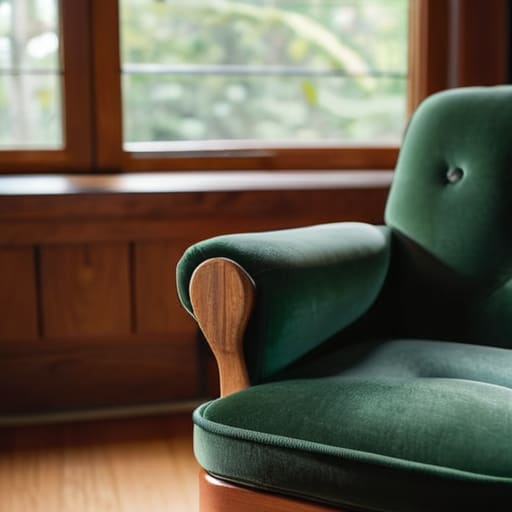
As you take a step back to admire your handiwork, take a moment to acknowledge everything you just accomplished. From the careful selection of your tools to the meditative process of stripping away the old, worn-out layers, you have navigated a complex journey of transformation. You didn’t just swap out some fabric; you mastered the tension of the staples, the precision of the cuts, and the patience required to see a project through to the end. By gathering your essentials and respecting the tactile nature of the materials, you’ve turned a daunting task into a tangible success that sits right there in your living room, ready to be used and loved.
Beyond the physical chair, I hope you realize that this process is a beautiful metaphor for how we handle our own lives. Just as we strip away the old to make room for something vibrant and new, we often need to shed our outdated habits to find our true center again. Reupholstering is more than a DIY project; it is an act of intentional creation that reminds us we have the power to reshape our surroundings. So, go ahead—sit down, take a deep breath, and enjoy the comfort of something you built with your own two hands. You have truly earned this moment of peace.
Frequently Asked Questions
I'm a bit worried about the foam—how do I know if my cushion padding is still supportive enough, or if it's time to replace it entirely?
I completely understand that hesitation—it’s like checking in with your own boundaries, isn’t it? A quick way to test your foam is the “five-second squeeze.” Press down firmly with your palm; if it bounces back instantly, you’re golden. But if it stays indented or feels “crunchy,” it’s lost its resilience. Honestly, if it feels tired, I’d recommend replacing it. Investing in fresh padding is such a beautiful act of self-care for your home.
What should I do if my chair has a really tricky, curved shape that makes it hard to pull the fabric tight without it bunching up?
Oh, I’ve been there! I remember trying to refresh an old velvet armchair during a particularly stressful week in San Francisco—the curves were relentless. When you’re dealing with those tricky contours, the secret is “small bites.” Instead of pulling large sections, work in tiny, incremental stretches from the center outward. Think of it like a mindful breathing exercise: slow, steady, and rhythmic. It prevents that frustrating bunching and keeps the tension beautifully even.
Is there a way to choose a fabric that looks beautiful but can actually withstand the daily wear and tear of a busy household?
Finding that “sweet spot” between aesthetic bliss and real-world durability is such a common struggle! I always tell my clients: look for “performance fabrics.” Think high-rub counts (Martindale scale) and tight weaves like velvet or heavy linens. I once spent months obsessing over a delicate silk for my living room, only to realize a sturdy, textured weave actually brought more peace to my home because I wasn’t constantly worrying about spills.
