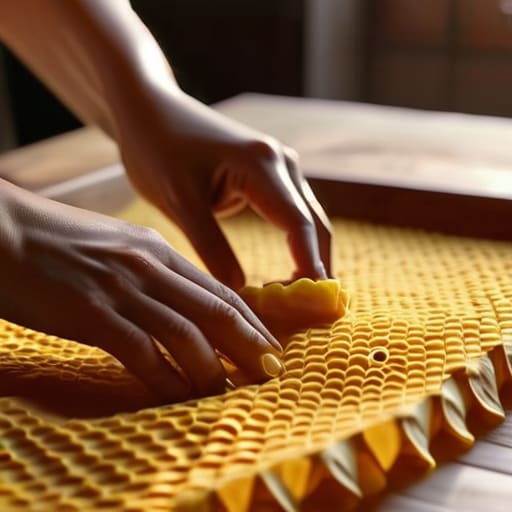
I remember standing in my kitchen a few years ago, staring at a mountain of single-use plastic wrap that felt like a physical weight on my conscience. I had this nagging feeling that being “productive” in my corporate life meant I had to accept this mindless cycle of waste, but my gut was telling me something else entirely. I realized that learning how to make beeswax wraps wasn’t just about saving a few dollars at the grocery store; it was about reclaiming a sense of intentionality in my daily rituals. It’s one of those small, tactile shifts that can completely change how you feel about your relationship with the planet and your home.
In this guide, I’m stripping away all the complicated fluff and getting straight to the heart of the process. I’ll walk you through the exact, stress-free method I use to create beautiful, durable wraps that actually work, without needing a professional kitchen setup. We’re going to focus on the simple joy of working with your hands, ensuring you walk away with practical, no-nonsense steps to master this sustainable craft once and for all.
Table of Contents
- Step-by-Step Instructions
- Choosing the Perfect Cotton Fabric for Beeswax Wraps
- Discovering Jojoba Oil Benefits for Wax and Longevity
- Little Nuances, Big Impact: My Secret Tips for Bee-Perfect Wraps
- Embracing the Ritual: My Final Thoughts for Your Journey
- The Ritual of Creation
- Embracing a More Intentional Kitchen
- Frequently Asked Questions
Guide Overview
Tools & Supplies
- Baking sheet used for holding fabric
- Oven or hairdryer used for melting wax
- Pastry brush used for spreading wax
- Cotton fabric scraps (cut into squares)
- Beeswax pellets or shavings (1/2 cup per wrap)
- Jojoba oil or pine resin (optional for texture)
Step-by-Step Instructions
- 1. To begin this little ritual, gather your supplies: pieces of 100% cotton fabric (I love using colorful scraps from old shirts!), organic beeswax pellets, parchment paper, and a cheesecloth. Before we dive in, take a quick deep breath to center yourself; we aren’t just making kitchen tools, we’re creating something intentional.
- 2. First, cut your fabric into the specific shapes you’ll need—squares for sandwiches or circles for covering bowls. I’ve found that having your workspace completely organized before you start helps maintain that sense of calm flow we’re aiming for.
- 3. Lay a piece of parchment paper down on a baking sheet and place your fabric piece right in the center. Sprinkle a generous, even layer of beeswax pellets over the fabric, making sure to cover it from edge to edge so there are no bare spots left behind.
- 4. Slide your baking sheet into a preheated oven at a very low temperature, around 200°F (95°C). Watch through the oven window as the wax begins to melt and soak into the fibers; it’s a beautiful, slow transformation that reminds me so much of practicing patience in our own daily lives.
- 5. Once the wax has melted and the fabric looks saturated, carefully remove the tray using oven mitts. Use a clean paintbrush or a piece of cheesecloth to spread any excess wax that might have pooled in the corners, ensuring the coverage is even across the entire surface.
- 6. While the wrap is still warm and pliable, peel it away from the parchment paper and lay it flat on a fresh piece of parchment or a clean towel to cool. This is the part where you might feel the urge to rush, but let the wax set naturally to ensure the best texture.
- 7. Once they are completely cool and slightly stiff, your wraps are ready to use! Store them in a cool, dry place, and remember that when they lose their “stick,” you can simply refresh them in the oven—it’s a wonderful metaphor for how we, too, can always recharge our energy when we feel a little worn down.
Choosing the Perfect Cotton Fabric for Beeswax Wraps
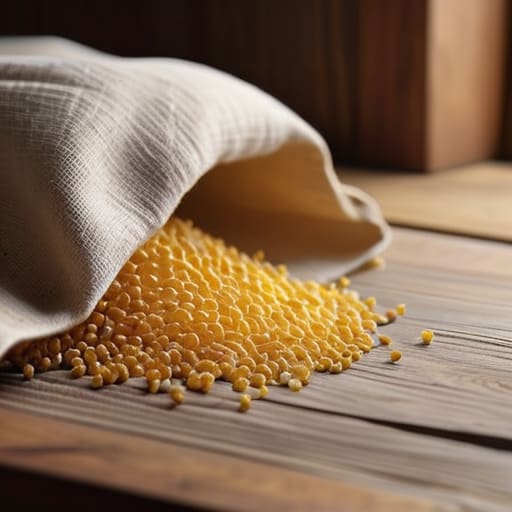
When I first started experimenting with eco-friendly food storage DIY projects, I quickly realized that the foundation of a great wrap isn’t actually the wax—it’s the fabric. You can’t just grab any old scrap from the sewing bin and expect magic to happen. For these to work effectively, you really need a tightly woven 100% cotton fabric. If the weave is too loose, the wax will seep right through the fibers, making a mess of your counters rather than creating a beautiful, functional seal.
I always recommend looking for lightweight cotton calico or even old, clean bedsheets that have that classic, breathable feel. I remember once trying to use a heavy linen blend, and it was just too stubborn to mold around my bowls! Choosing the right cotton fabric for beeswax wraps is about finding that “Goldilocks” zone: thick enough to hold the wax, but supple enough to wrap around a piece of fruit with ease. Pro tip: if you’re repurposing vintage linens, just give them a good pre-wash to ensure no leftover fabric softeners interfere with how the wax adheres to the threads.
Discovering Jojoba Oil Benefits for Wax and Longevity
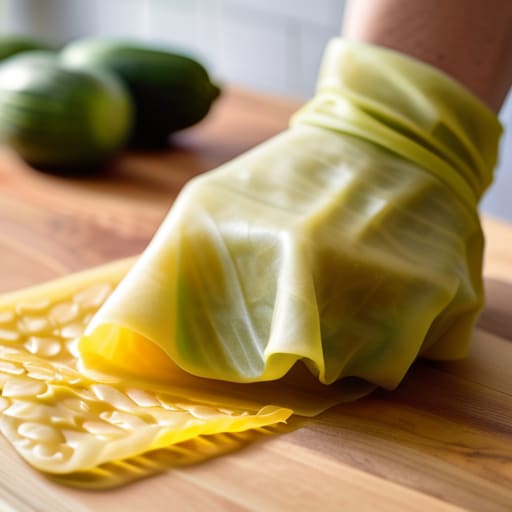
Now, here is a little secret I picked up during my time as a wellness consultant that many guides tend to overlook: the magic of adding a touch of oil to your mixture. While pure beeswax is wonderful, I’ve found that incorporating a bit of jojoba oil completely transforms the texture. One of the most significant jojoba oil benefits for wax is that it prevents the wraps from becoming too brittle or cracking as they age. Instead, you get a supple, flexible wrap that hugs your food perfectly, making your eco-friendly food storage DIY much more effective and durable.
Think of it as adding a bit of “soul” to your creation. When we use jojoba oil, we aren’t just making a tool; we are practicing a form of natural food preservation that feels intentional and high-quality. It helps the wax adhere more smoothly to your cotton fabric, ensuring that the coating remains even throughout its life. By taking this extra step in your homemade beeswax wrap tutorial, you’re essentially investing in the longevity of your wraps, ensuring they stay a staple in your kitchen for months to come.
Little Nuances, Big Impact: My Secret Tips for Bee-Perfect Wraps
- Don’t be afraid to experiment with the temperature of your oven; I’ve found that a lower, slower heat often results in a much more even wax distribution, preventing those pesky little clumps.
- Keep a small scrap of your chosen fabric nearby to test your wax-to-oil ratio before you commit to the whole batch—it’s a tiny moment of mindfulness that saves so much frustration later!
- Remember that less is truly more when it comes to the wax itself; if you overdo it, your wraps can become stiff and lose that beautiful, pliable “hug” that makes them so wonderful to use.
- When you’re pressing the wax into the fibers, try to do it with intention and patience rather than rushing; it actually helps the wax settle more deeply into the weave for better longevity.
- If you notice a tiny bit of wax spilling onto your baking sheet, don’t sweat it! Just wait for it to cool and gently peel it off—it’s a small reminder that even in our DIY journeys, perfection isn’t the goal, progress is.
Embracing the Ritual: My Final Thoughts for Your Journey
Remember that this process is about more than just reducing waste; it’s a beautiful opportunity to practice mindfulness and reclaim a sense of agency over your daily environment.
Don’t be discouraged if your first batch isn’t “perfect”—the joy lies in the intentionality of the act and the small, sustainable impact you’re making on the planet.
Treat your beeswax wraps with the same care you give your wellness routine, and they will serve as a long-lasting, soulful reminder of your commitment to a more balanced life.
The Ritual of Creation
“Making your own beeswax wraps isn’t just about reducing plastic waste; it’s a beautiful, tactile ritual that invites us to slow down and pour intention into the very things that nourish us every single day.”
Sophia Reynolds
Embracing a More Intentional Kitchen
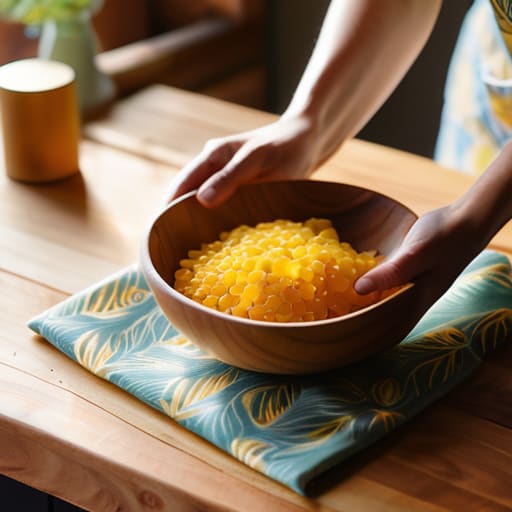
As we wrap up our little DIY journey, I hope you feel a sense of accomplishment in knowing that you’ve just created something truly special. By selecting the right cotton fabric, incorporating the nourishing benefits of jojoba oil, and following those simple melting steps, you’ve moved beyond mere food preservation. You have successfully transitioned from a consumer to a mindful creator. These beeswax wraps are more than just a sustainable alternative to plastic; they are a tangible result of your commitment to intentional living and reducing your environmental footprint, one kitchen staple at a time.
I often tell my clients that big changes rarely happen in giant leaps; instead, they are built through these small, quiet moments of connection with our environment. Taking an afternoon to craft these wraps might seem like a minor task in the grand scheme of a busy week, but it is actually a beautiful way to reclaim your rhythm. As you use your new wraps to keep your food fresh, I hope you remember that every small, sustainable choice you make is a profound act of self-care and respect for our planet. You are doing amazing work, so keep breathing, keep creating, and keep shining.
Frequently Asked Questions
How long do my beeswax wraps typically last, and what are the signs that it's time to refresh them with more wax?
When you’re crafting something with intention, it’s natural to wonder how long that care will last. Typically, a well-maintained set of beeswax wraps can serve you for about six months to a year. Keep an eye out for signs like a loss of scent, a tacky or “sticky” texture, or if they start feeling a bit brittle and lose their ability to hold a shape. When that happens, don’t worry—it’s just time for a quick, mindful refresh with a little more wax!
Can I safely use these wraps for hot foods, or should I wait for everything to cool down completely first?
That is such a thoughtful question! I actually learned this the hard way during one of my early attempts at mindful living—I tried to wrap a warm bowl of leftovers and ended up with a sticky, melted mess. To keep your wraps in peak condition, definitely wait for your food to cool down completely. Using them on hot food can break down the wax and oil, shortening their lifespan. Let’s protect our creations so they stay beautiful and functional!
I'm a bit worried about the cleanup—how do I properly wash them without melting the wax or ruining the fabric?
I completely hear you—the last thing we want is to see all that beautiful, intentional work melt away down the drain! Honestly, I used to worry about this too. Just remember: treat them with the same gentle care you’d give your favorite yoga gear. Use cool or lukewarm water and a mild, unscented soap. Avoid the dishwasher at all costs, and never use hot water. Gently hand-wash, pat dry, and let them air dry. Easy peasy!
