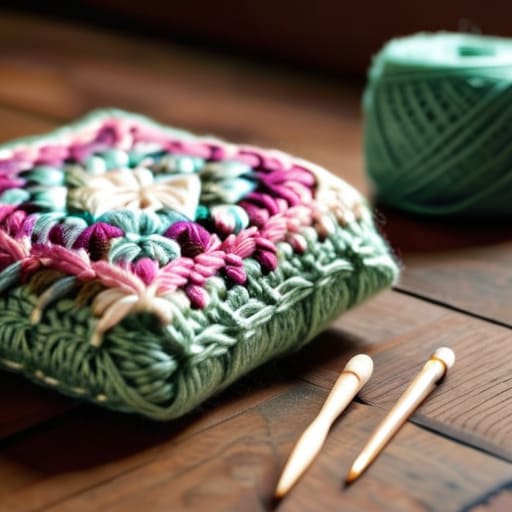
I remember sitting on my floor in a tiny, sun-drenched apartment in San Francisco, surrounded by half-finished projects and a mounting sense of frustration. I had watched dozens of tutorials, yet every time I tried to learn how to crochet a granny square, I ended up with a tangled, wonky mess that looked more like a crumpled napkin than a geometric masterpiece. We’re often told that crochet is about technical precision and following rigid patterns, but I’ve learned that the real secret is actually finding your flow. When we treat the craft as a rhythmic, meditative practice rather than a stressful math problem, the stitches finally start to behave.
In this guide, I’m stripping away the complex jargon and the intimidating “expert” fluff to give you a clear, soulful roadmap. I’ll walk you through the fundamental stitches and those tiny, crucial tension adjustments that make all the difference, ensuring you move from frustration to creative confidence. Whether you’re looking for a way to quiet your mind after a long workday or you’re ready to build something beautiful with your own two hands, we’re going to master this together, one intentional loop at a time.
Table of Contents
- Step-by-Step Instructions
- Choosing Your Companion the Perfect Yarn Weight for Beginners
- Mastering the Dance a Double Crochet Technique for Soulful Stitching
- Finding Your Flow: 5 Little Secrets for a Soulful Stitch
- Finding Your Flow: Three Heartfelt Reminders for Your Crochet Journey
- ## The Rhythm of the Stitch
- Embracing the Pattern: Your Journey Ahead
- Frequently Asked Questions
Guide Overview
Tools & Supplies
- Crochet hook (size matching your yarn)
- Tapestry needle (for weaving in ends)
- Scissors (for cutting yarn)
- Yarn (approx. 50-100 yards)
- Stitch marker (to mark the start of rounds)
Step-by-Step Instructions
- 1. To begin, we need to create our foundation, which is a simple magic ring or a slip knot. I always tell my clients that the beginning of any project is like the start of a new habit—it might feel a little tight or tricky at first, but once you find your tension, everything else starts to flow. If you’re using a magic ring, pull that tail tight to secure your center; if you’re more comfortable with a slip knot, just loop your yarn and pull it through to create a small circle that you can work into.
- 2. Once your ring is ready, we’re going to build our first “round” by working a series of double crochets. Think of this as setting your intention for the square. Chain three stitches to act as your first double crochet, and then continue working more double crochets into the center of the ring until you have a small, lovely cluster of stitches. If you find yourself getting frustrated because the stitches feel too loose or too tight, just stop, take a breath, and remember that progress isn’t perfection.
- 3. After your first round of stitches is complete, we need to create the “corners” that give the granny square its iconic shape. To do this, chain three, work three more double crochets into that same space, chain two, and then work another three double crochets into that same corner spot. This creates a little pocket of space that allows the square to grow outward rather than curling into a bowl shape.
- 4. Now, we move into the repetitive, meditative rhythm of the subsequent rounds. You’ll be working your double crochets into the “spaces” between the clusters from the previous round, rather than into the tops of the stitches themselves. I call this “working with the gaps,” and it’s a wonderful way to practice mindful presence; as you move from one space to the next, try to focus solely on the tactile sensation of the yarn moving through your fingers.
- 5. As you approach each corner, repeat that same magic formula: three double crochets, two chains, and three more double crochets. It’s in these corner turns that the square truly begins to manifest. I often find that during these repetitive rounds, my mind starts to wander, so I use this time to practice a little visualization or simply enjoy the quiet hum of my own thoughts.
- 6. To finish your square, you’ll want to “fasten off” by cutting your yarn, leaving a small tail, and pulling it through the final loop. Don’t worry if it looks a little unfinished right now; the real magic happens in the weaving. Take your tapestry needle and slowly weave those loose ends back into your stitches, making sure they are securely tucked away so your hard work can stand the test of time.
Choosing Your Companion the Perfect Yarn Weight for Beginners
Choosing Your Companion: The Perfect Yarn Weight for Beginners
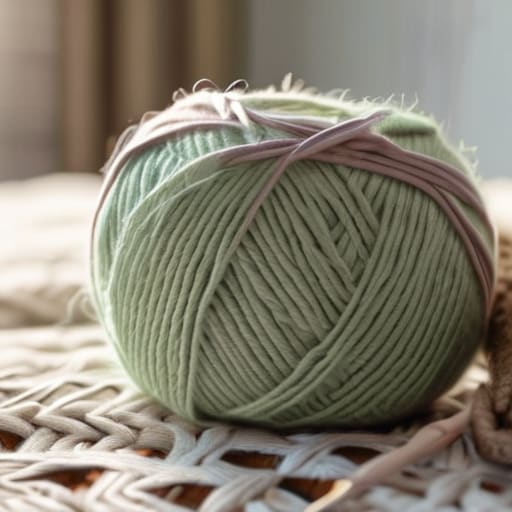
I remember when I first picked up a crochet hook back in my tiny Oregon hometown; I was so eager to create that I grabbed the thinnest, most delicate lace yarn I could find. Long story short, I ended up frustrated and ready to quit! If you want to avoid that burnout, choosing the right yarn weight for beginners is absolutely vital. I always recommend starting with a medium weight, often called “worsted weight.” It’s substantial enough to feel between your fingers, which makes it so much easier to see exactly where your hook needs to go as you’re working in the round.
As you settle into your practice, pay close attention to how the yarn moves. If you find your hands cramping or the stitches feeling impossibly tight, you might need to adjust your crochet tension tips or perhaps switch to a slightly smoother cotton blend. A smoother yarn allows you to focus on the rhythm of the movement rather than fighting against the fibers. Think of your yarn as a partner in this meditative process; when you choose a companion that flows easily, the entire experience transforms from a chore into a soulful escape.
Mastering the Dance a Double Crochet Technique for Soulful Stitching
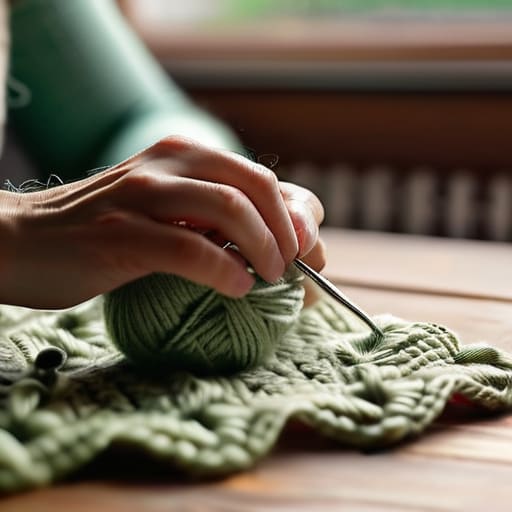
Now that you’ve selected your yarn, it’s time to find your flow with the actual movement of the hook. When you’re working in the round, the transition from the starting chain to your first set of stitches can feel a little frantic, like you’re trying to catch your breath mid-run. I remember my first attempt at a granny square; I was so focused on the math that I completely forgot to breathe, and my stitches ended up tighter than a drum! To avoid this, try to view the double crochet technique not as a rigid set of rules, but as a rhythmic dance. Instead of forcing the hook through the loop, let the weight of the yarn guide your motion.
A little secret I learned back in my corporate wellness days is that tension is as much mental as it is physical. If you notice your stitches are becoming bunched or uneven, it’s often a sign that you’re holding onto stress. Take a moment to loosen your grip and focus on your exhale. When you find that sweet spot where your hands feel light and your movements are fluid, you aren’t just creating a pattern—you’re practicing a form of moving meditation.
Finding Your Flow: 5 Little Secrets for a Soulful Stitch
- Listen to your tension; if you feel your shoulders creeping up toward your ears, it’s a sign you’re pulling too tight. Take a moment to drop your breath, relax your hands, and remember that the yarn wants to move freely with you, not be fought.
- Embrace the “magic ring” with patience. I remember struggling with this during my first week of mindful practice—it felt like a knot of frustration—but once you find that rhythmic circle, it becomes a beautiful, meditative foundation for every square you create.
- Don’t fear the “mistake” stitch. In my years studying positive psychology, I’ve learned that perfectionism is often the enemy of progress. If you realize you missed a stitch, don’t unravel the whole thing in a panic; just see it as a unique texture in your journey and keep moving forward.
- Curate your environment for creativity. Just as I set up a dedicated space for my morning yoga, try to create a little “crochet sanctuary” with soft lighting and perhaps a calming playlist; it transforms a simple task into a ritual of self-care.
- Count your stitches like you count your breaths. It might feel a bit technical at first, but staying mindful of your stitch count keeps you grounded in the present moment and prevents those “where did that extra loop come from?” moments of mental clutter.
Finding Your Flow: Three Heartfelt Reminders for Your Crochet Journey
Remember that perfection is a myth; the beauty of a granny square lies in the unique rhythm of your own hands, even if your tension isn’t quite “textbook” yet.
View each stitch as a tiny moment of mindfulness, using the repetitive motion to ground yourself and quiet the mental chatter of a busy day.
Don’t rush the process—the magic happens in the slow, intentional transition from a single loop of yarn to a beautiful, finished pattern.
## The Rhythm of the Stitch
“When you’re working on your first granny square, try not to focus solely on the finished shape; instead, listen to the rhythmic click of your hook and the soft pull of the yarn. It’s a beautiful reminder that even the most intricate patterns in life are built one intentional, mindful stitch at a time.”
Sophia Reynolds
Embracing the Pattern: Your Journey Ahead
As we pull that final strand of yarn through your last loop, take a moment to look back at what you’ve actually accomplished. You’ve navigated the delicate selection of the perfect yarn weight, found your footing with the double crochet technique, and successfully built the foundational geometry of a granny square from nothing but a single thread. It’s easy to get caught up in the technicalities of tension and stitch counts, but remember that every small mistake was just a part of learning the rhythm of the craft. You’ve moved past the initial intimidation and stepped into a space of intentional creation, proving that you have the patience and the presence to master something beautiful.
Beyond the colorful squares and the cozy blankets waiting to be made, I hope you carry something even more valuable away from this guide: the realization that you can slow down. In our hyper-connected, high-speed world, choosing to sit with a hook and yarn is a radical act of self-care. Let these stitches be a reminder that growth doesn’t always have to be loud or fast; sometimes, the most profound progress happens in the quiet, repetitive motions of a single afternoon. Keep stitching, keep breathing, and most importantly, be kind to yourself as you continue to grow your skills and your soul.
Frequently Asked Questions
I’m struggling to keep my squares looking even—how can I tell if my tension is too tight or too loose as I go?
I’ve been there—I remember my first attempt at a project where I was so focused on perfection that my stitches felt like they were made of steel! If your hook feels like it’s fighting you or the stitches look tiny and stiff, you’re likely pulling too tight. If they’re drooping or gaping, you’re too loose. Try taking a deep breath and loosening your grip; let the yarn flow naturally, like a gentle exhale.
Once I’ve mastered the basic square, what are some gentle ways I can start playing with different colors without feeling overwhelmed?
Oh, I remember that feeling so well—that little flutter of “what if I mess this up?” when looking at a basket of colorful yarn. My advice? Start with a “gradient of calm.” Try picking just two colors that live in the same family, like a soft sage and a deep forest green. It keeps the visual noise low while letting you feel that beautiful magic of a color change. Just one new shade at a time, breathe, and enjoy the rhythm.
My edges look a little wonky and uneven; is there a trick to making sure every corner stays perfectly symmetrical?
Oh, I have been exactly where you are! I remember my first few attempts—they looked more like abstract art than actual squares. Honestly, the secret isn’t just in your hands, but in your tension. Try to breathe through each corner; if you pull too tight when turning, the edges will pull inward. I always find that using a stitch marker to keep track of my corner stitches helps maintain that beautiful, rhythmic symmetry we’re aiming for.
