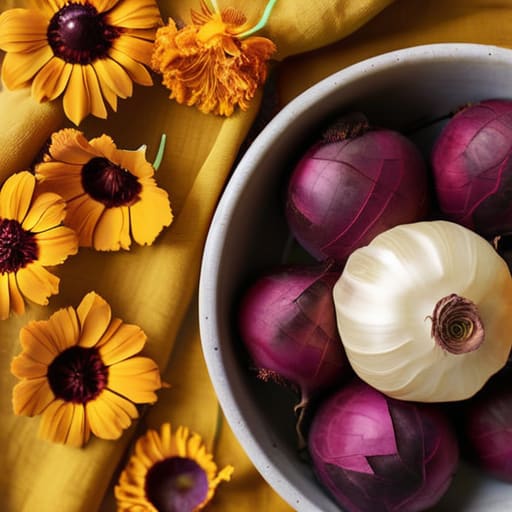
I remember sitting on my kitchen floor in my old apartment, surrounded by stained towels and a sense of utter defeat, wondering why my “eco-friendly” DIY project looked more like muddy dishwater than the vibrant sunset hues I’d seen online. We’ve been told that learning how to dye fabric naturally has to be this incredibly complex, expensive, or even messy ordeal that requires a chemistry degree. But here’s the truth I discovered after a lot of trial and error: it’s actually about reconnecting with the rhythm of nature, not mastering a complicated laboratory setup.
In this guide, I’m stripping away the fluff and the intimidating jargon to show you the real, soulful way to bring color to your textiles. I’ll walk you through the essential steps—from choosing the right plant sources to mastering the art of mordants—so you can achieve deep, lasting pigments without the toxic chemicals. Whether you’re looking to upcycle an old linen shirt or start a whole new creative ritual, I promise to give you the practical, no-nonsense tools you need to transform your fabrics with intention and ease.
Table of Contents
- Step-by-Step Instructions
- The Gentle Art of Extracting Pigment From Plants
- Mastering Natural Dye Mordants for Beginners
- Small Rituals for a Successful Dyeing Journey
- Embracing the Slow Rhythm of Natural Color
- Finding Color in the Quiet Moments
- Embracing the Colors of Your Journey
- Frequently Asked Questions
Guide Overview
Tools & Supplies
- Large stainless steel pot for boiling dye
- Fine mesh strainer to remove plant matter
- Measuring cups for liquid ratios
- Wooden spoon for stirring
- Natural dye source (e.g., 2 cups onion skins or turmeric)
- Fabric (100% natural fiber like cotton or silk)
- Mordant (e.g., 1/2 cup vinegar or salt)
- Water (sufficient to submerge fabric)
Step-by-Step Instructions
- 1. Before we even touch the dye, we need to prepare our canvas. I always suggest starting with natural fibers like cotton, linen, silk, or wool; synthetic blends just won’t hold onto the earth’s colors the way they should. Give your fabric a thorough wash to remove any factory residues or oils that might act as a barrier. Think of this as clearing your mental space before a meditation session—you want a clean, open slate for the magic to happen.
- 2. Next, we need to introduce a mordant, which is essentially a bridge that helps the color bond to the fibers. Without this step, your beautiful hues might wash away after the first rinse. You can use something as simple as salt for cellulose fibers (like cotton) or alum for protein fibers (like silk). I find that the process of stirring the mordant into the water is such a grounding, rhythmic ritual that it actually helps me settle into the task at hand.
- 3. Now comes the most sensory part of the journey: gathering and prepping your botanical ingredients. Whether you’re using avocado pits for a soft pink, onion skins for a warm gold, or turmeric for a vibrant sunburst, make sure to chop your materials into small pieces. This increases the surface area, allowing the essence of the plant to release more effectively into the water. As you chop, try to stay present with the scents and textures; it’s a wonderful way to practice mindful engagement.
- 4. Once your botanicals are ready, place them in a large stainless steel pot and cover them with water, bringing it to a gentle simmer. Let the plants dance in the heat for about an hour until the water becomes deeply saturated with color. I always recommend using a pot that you don’t mind staining, as this is where the alchemy of nature truly takes place. Once the water is rich and dark, strain out the plant matter so you’re left with a pure, pigmented liquid.
- 5. Submerge your pre-mordanted, damp fabric into the dye bath. It’s crucial to keep the fabric moving occasionally to ensure the color distributes evenly and you don’t end up with any “patchy” spots. This part requires a bit of patient observation; you’ll see the fabric slowly drinking in the color, transforming right before your eyes. If you want a deeper shade, you can let it soak overnight, allowing the colors to settle deeply into the heart of the fibers.
- 6. When you’re happy with the depth of the color, rinse your fabric in cool water until it runs clear. I like to use a gentle, pH-neutral soap during this stage to protect both the fabric and the delicate pigments you’ve worked so hard to create. This final rinse is a beautiful metaphor for letting go of the old to make room for the new, leaving you with a piece of art that feels as fresh as it is vibrant.
- 7. Finally, hang your creation in a shaded area to dry completely. Avoid direct sunlight during the drying process, as the UV rays can be a bit too aggressive and might fade your hard work prematurely. As you watch your fabric dry, take a moment to celebrate the process—not just the finished product, but the slow, intentional way you brought it into being.
The Gentle Art of Extracting Pigment From Plants
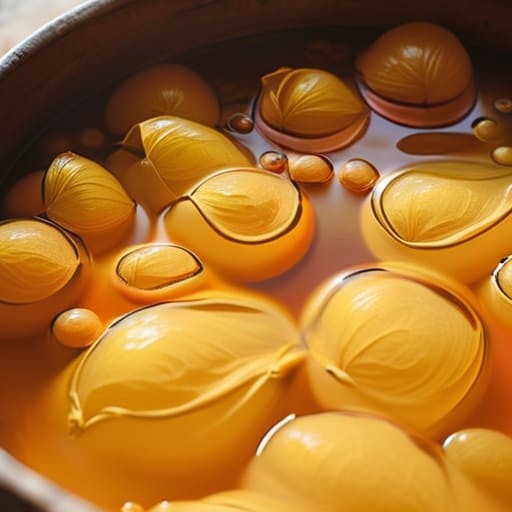
When I first started experimenting with plant colors back in my tiny apartment in Oregon, I realized that extracting pigment from plants is less about following a rigid formula and more about learning to listen to the ingredients. It’s a bit like mindfulness; you have to pay attention to the subtle shifts in color as the water simmers. I remember being so frustrated when my first batch of onion skin dye came out a muddy brown instead of a vibrant gold. I learned the hard way that temperature is everything. If you boil your botanicals too aggressively, you can actually “bruise” the color, resulting in a duller hue. Aim for a gentle, consistent simmer to truly coax the life out of your plants.
As you move deeper into eco-friendly textile coloring, keep in mind that the magic often happens in the preparation. To get those deep, soulful tones, you’ll want to maximize the surface area of your materials—chopping up roots or bruising leaves helps significantly. Also, don’t forget that your choice of fabric plays a massive role; for instance, dyeing silk and cotton naturally requires different approaches since protein and cellulose fibers absorb color so differently. It’s a beautiful, slow dance between nature and your creativity.
Mastering Natural Dye Mordants for Beginners
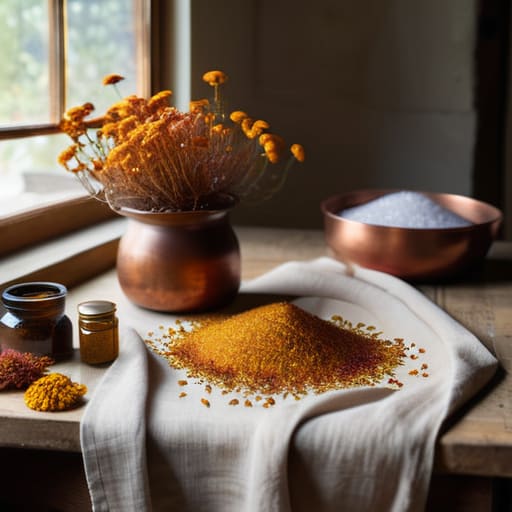
Now, if you’ve ever felt a little discouraged because your beautiful botanical colors seemed to wash away after just one cycle, please don’t lose heart. This is where we meet the unsung heroes of the process: mordants. Think of a mordant as the bridge between the plant’s soul and your fabric; it’s a substance that helps the pigment actually “bite” into the fibers. When I first started experimenting in my kitchen, I thought the color would just stick on its own, but I quickly learned that achieving lightfastness in natural dyes requires this essential preparatory step to ensure your creations stand the test of time.
For those just starting out, you don’t need a chemistry lab to find success. Using simple, accessible ingredients like alum is one of the most effective natural dye mordants for beginners. It’s gentle, reliable, and works beautifully whether you are dyeing silk and cotton naturally or working with more rugged linens. I always recommend taking a deep breath and treating this stage as a mindful ritual rather than a chore. By prepping your fibers with intention, you aren’t just preparing fabric; you are setting the foundation for a piece of art that will age gracefully alongside you.
Small Rituals for a Successful Dyeing Journey
- Listen to your fibers. Before you even touch a pot of dye, take a moment to feel the fabric you’re working with. Natural dyeing is a conversation between the plant and the textile; silk and wool tend to drink up color much more hungrily than cotton, so adjust your expectations and your timing accordingly.
- Embrace the beauty of imperfection. In my corporate days, I was obsessed with “flawless” results, but in the world of natural color, a little patchiness or an unexpected hue is where the soul lives. If a color turns out slightly more muted than you imagined, don’t see it as a failure—see it as a unique fingerprint of the earth.
- Keep a “Color Journal” as a way to ground yourself. I always recommend jotting down exactly what you used—the type of plant, the amount of mordant, and even how long you let it simmer. It’s not just about technical precision; it’s a wonderful way to practice mindfulness and track your creative evolution over time.
- Don’t rush the cooling process. It’s tempting to pull your fabric out of the dye bath the moment it looks “done,” but much like a deep meditation, the magic often happens in the stillness. Letting your fabric cool slowly in the liquid can lead to much deeper, more resonant shades.
- Respect the rhythm of the seasons. If you’re foraging for your own pigments, try to align your projects with what nature is offering right now. Using onion skins in the autumn or flower petals in the spring creates a beautiful, seasonal connection that makes the final piece feel even more intentional and alive.
Embracing the Slow Rhythm of Natural Color
Remember that natural dyeing is a practice of patience; instead of rushing for instant results, allow yourself to enjoy the slow, meditative process of watching colors emerge from nature.
View your mistakes as beautiful experiments, because in the world of botanical pigments, an unexpected shade can often become your most cherished and unique discovery.
Connect deeply with the seasonal rhythms of the earth by using what is currently blooming or growing around you, turning a simple craft into a grounding mindfulness practice.
Finding Color in the Quiet Moments
“When we choose to dye our fabrics with the gifts of the earth, we aren’t just coloring cloth; we are practicing a form of slow mindfulness, learning to see the vibrant, living soul within the very plants that surround us.”
Sophia Reynolds
Embracing the Colors of Your Journey
As we wrap up this creative exploration, I hope you feel more confident stepping into your own botanical dye studio. We’ve journeyed through the essential dance of preparing your fibers, the science of selecting the right mordants to ensure your colors stay vibrant, and the meditative process of extracting those beautiful, living pigments from the earth. Remember, natural dyeing isn’t about achieving a sterile, factory-perfect result; it’s about embracing the beautiful unpredictability of working with organic materials. Whether you’re using onion skins for a warm glow or avocado pits for a soft blush, you are now equipped with the fundamental tools to transform simple cloth into something truly unique.
Beyond the beautiful textiles, I want you to think about what this process actually represents for your well-being. In our fast-paced, digital-first world, taking the time to simmer plants and watch colors slowly bloom in a pot is a profound act of intentional presence. It is a way to reconnect with the rhythms of nature and find a sense of calm amidst the daily hustle. So, as you begin your first batch, I encourage you to breathe deeply, enjoy the slow pace, and let your creativity flow. You aren’t just making dyed fabric; you are cultivating a moment of peace and a more mindful way of living.
Frequently Asked Questions
Will these natural colors fade over time, and how can I make them last longer through washing?
It’s such a valid concern! Honestly, I used to worry about this constantly before I realized that natural dyes have their own beautiful, living rhythm. Yes, they may soften or shift over time—think of it as the fabric gaining character. To keep those hues vibrant, I recommend hand-washing in cool water with a pH-neutral soap and avoiding direct sunlight when drying. It’s just another way to practice mindfulness and care for the things we create.
Can I use leftover kitchen scraps like onion skins or avocado pits, or do I need to buy specific plants?
Oh, I love this question! It’s actually one of my favorite ways to practice “mindful consumption.” You absolutely don’t need to run to a specialty shop. In fact, your kitchen is a goldmine! Those onion skins create such a stunning, warm amber, and avocado pits yield the most unexpected, dreamy dusty pinks. It’s a beautiful way to turn what we usually call “waste” into something soulful and vibrant. Let’s embrace the magic in our leftovers!
Is it safe to use these natural dyes around my family and pets, and what kind of cleanup should I expect?
That’s such a thoughtful question! One of the reasons I fell in love with natural dyeing is how much more intentional it feels compared to synthetic chemicals. Generally, using food scraps or plants is very safe, but I always recommend a little mindfulness—especially with mordants like alum. Keep your workspace ventilated and keep curious pets away from the simmering pots. As for cleanup, it’s quite simple: just a warm soak and some mild soap, much like your regular kitchen routine!
