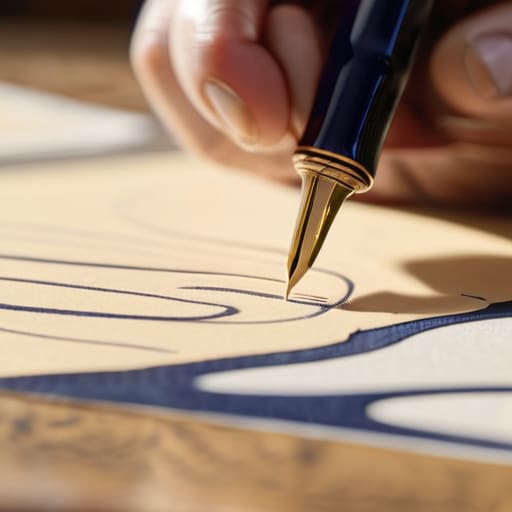
I remember sitting at my desk in San Francisco, surrounded by three monitors and a mountain of half-finished spreadsheets, feeling like my brain was vibrating at a frequency that was just wrong. I thought I needed a vacation, but what I actually needed was a way to ground myself. I picked up a cheap fountain pen, intending to just scribble, and suddenly, I was learning how to do calligraphy. Most people think you need expensive, specialized tools or a natural-born artistic gift to start, but that’s a total myth. In reality, calligraphy isn’t about perfection; it’s about the rhythmic connection between your breath and the ink on the page.
In this guide, I’m stripping away the intimidation factor and sharing the exact, gentle approach I used to turn this practice into my daily sanctuary. We’re going to skip the overwhelming technical jargon and focus on the foundational movements that actually matter. I’ll walk you through selecting your first basic kit, mastering the pressure of your strokes, and—most importantly—using this craft as a tool for mindful presence. Let’s dive in and find your flow together.
Table of Contents
- Step-by-Step Instructions
- Choosing Your Essentials Calligraphy Tools for Beginners
- The Gentle Rhythm of Pressure Control for Lettering
- Nurturing Your Practice: 5 Mindful Tips for Calligraphy Success
- Embracing the Journey: My Final Thoughts for Your Practice
- The Meditation in the Ink
- Finding Your Flow Beyond the Page
- Frequently Asked Questions
Guide Overview
Tools & Supplies
- Dip pen and nib for controlling ink flow
- Calligraphy marker for easy practice
- Brush pen for modern styles
- Calligraphy ink 1 bottle
- Smooth calligraphy paper 1 pad
- Practice guide sheets 1 set
Step-by-Step Instructions
- 1. Before we even touch a pen to paper, let’s talk about your sacred space. I remember when I was working those grueling 60-hour weeks in corporate consulting, I used to try and “relax” at my cluttered desk, but it never worked. Find a corner of your home that feels calm, perhaps near a window with some soft natural light, and clear away the digital distractions. You want to create an environment where your only focus is the rhythm of your breath and the movement of your hand.
- 2. Next, let’s gather our tools, but let’s do it with intention. You don’t need a professional studio to start; a simple fountain pen or even a fine-liner works beautifully for beginners. I always suggest grabbing some high-quality, smooth paper—something that feels luxurious under your touch—because the tactile sensation of the pen gliding across the page is a huge part of the meditative experience.
- 3. Now, let’s find our posture, which is really just a fancy way of saying let’s get comfortable. Sit up straight but avoid being rigid; think of it like your yoga practice where you want to be aligned yet relaxed. Rest your non-dominant hand gently on the paper to steady yourself, and ensure your shoulders aren’t creeping up toward your ears. If your body is tense, your lines will be too.
- 4. We’re going to start with something called “drills,” which sounds a bit clinical, but I like to think of them as warming up your soul. Instead of trying to write words right away, just practice drawing simple lines: thin upstrokes and thick, weighted downstrokes. This helps you understand the pressure and flow required for calligraphy, teaching your hand to dance between lightness and strength.
- 5. As you begin to form letters, I want you to focus on your breath synchronization. This is a little trick I picked up from my mindfulness studies: try to inhale as you prepare a stroke and exhale slowly as you execute it. When you link your movement to your breathing, the calligraphy stops being a task on a to-do list and becomes a moving meditation.
- 6. Don’t be afraid to embrace the beauty of imperfection. In my years of coaching, I’ve seen how much anxiety people feel when they can’t achieve a “perfect” line, but in calligraphy, the slight wobbles are where the humanity lives. If a stroke goes astray, simply pause, take a deep breath, and start again with grace rather than frustration.
- 7. Finally, wrap up your session by reflecting on the process. Once you’ve finished your practice, take a moment to look at what you’ve created—not to critique it, but to acknowledge the time you carved out for yourself. This tiny ritual of gratitude helps cement the practice as a source of nourishment rather than just another skill to master.
Choosing Your Essentials Calligraphy Tools for Beginners
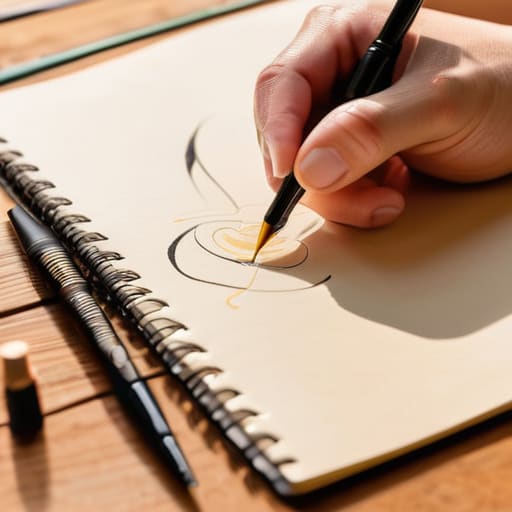
I remember when I first sat down to try this, I felt so overwhelmed by the sheer amount of gear available. It’s easy to fall into the trap of thinking you need a studio full of expensive equipment to start, but I promise you, that isn’t the case. When you’re hunting for calligraphy tools for beginners, I always suggest starting with a simple set of brush pens. They are incredibly forgiving and allow you to focus on the foundational pressure control for lettering without the steep learning curve of a traditional nib and inkwell.
Once you feel comfortable with the flow, you might find yourself gravitating toward more traditional setups. If you decide to explore the elegance of the copperplate script basics, you’ll want to invest in a decent quality of paper. This is where many people stumble; using standard printer paper can lead to frustrating ink bleeds that disrupt your meditative rhythm. I highly recommend seeking out specific calligraphy paper types that are smooth and bleed-resistant. Think of your tools as extensions of your intention—choose ones that invite you to linger in the moment rather than those that cause friction.
The Gentle Rhythm of Pressure Control for Lettering
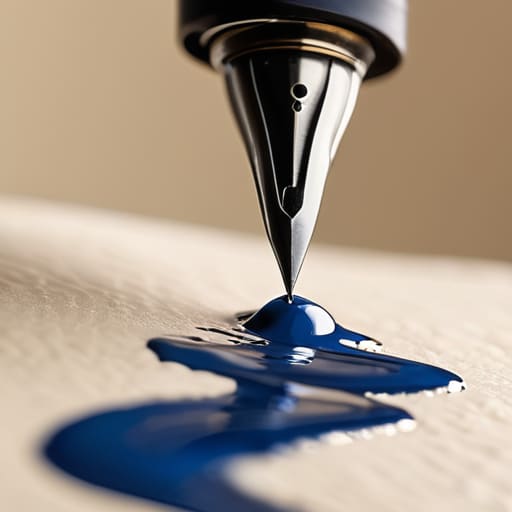
One of the most beautiful—and admittedly, most frustrating—parts of this journey is learning to dance with your pen. When I first started, I used to grip my pen so tightly that my hand would ache after just ten minutes. I was trying to force the ink onto the page, rather than letting it flow. The secret to mastering pressure control for lettering isn’t about strength; it’s about a rhythmic release. Think of it like your breath during a yoga flow: inhale as you move upward with a light, delicate touch, and exhale as you press down to create those lush, sweeping downstrokes.
As you experiment with different brush pen techniques, you’ll realize that your hand needs to stay incredibly relaxed. If you feel tension creeping into your knuckles, stop, take a deep breath, and shake your hands out. I always tell my clients that calligraphy is as much a moving meditation as it is a skill. By finding that sweet spot between a whisper and a bold statement, you aren’t just writing letters—you are cultivating a sense of presence in every single stroke.
Nurturing Your Practice: 5 Mindful Tips for Calligraphy Success
- Embrace the “imperfection” of your early strokes. I remember when I first started, I used to get so frustrated when a line wobbled, but I’ve learned that those little deviations are just part of your unique creative signature. Let the ink flow, even if it’s not perfect.
- Prioritize your posture to find your flow. Just like in my yoga practice, how you sit matters immensely. If you’re hunched over your paper, you’re creating tension in your shoulders that will eventually translate to your hand, making your strokes feel stiff rather than fluid.
- Practice “Micro-Sessions” to prevent burnout. Instead of forcing yourself into a grueling two-hour practice, try spending just fifteen minutes a day focusing on a single letter shape. It’s much more effective for muscle memory and keeps the process feeling like a treat rather than a chore.
- Listen to the rhythm of your breath. It sounds a bit “woo-woo,” I know, but I’ve found that syncing your downstrokes with an exhale helps steady your hand. It turns a technical exercise into a moving meditation, which is exactly where the magic happens.
- Curate a sensory-friendly environment. Since we’re working on fine motor skills, your brain needs to feel safe and calm. Put on some low-fi beats, light a lavender candle, and clear the mental clutter from your desk so you can truly settle into the stillness of the ink.
Embracing the Journey: My Final Thoughts for Your Practice
Remember that calligraphy is a moving meditation, not a race to perfection; focus on the breath and the rhythm of your strokes rather than just the final result.
Be patient with your hands as they build muscle memory, and treat every “mistake” as a gentle lesson in mindfulness and grace.
Create a dedicated, peaceful space for your practice to signal to your brain that it’s time to transition from the chaos of the day into a state of creative flow.
The Meditation in the Ink
“Calligraphy isn’t just about mastering the perfect curve of a letter; it’s about finding that beautiful, quiet space between your breath and the nib, where every stroke becomes a tiny act of mindfulness.”
Sophia Reynolds
Finding Your Flow Beyond the Page
As we wrap up this little journey together, I want you to take a moment to look back at how far you’ve come. We’ve covered everything from selecting your very first nibs and ink to mastering that delicate, almost meditative dance of pressure control. Remember, calligraphy isn’t just about the technicality of a perfect slant or the precision of a flourished loop; it is about the intentionality behind every single movement. By choosing the right tools and leaning into the rhythmic flow of your strokes, you aren’t just practicing a skill—you are cultivating a mindful practice that grounds you in the present moment.
My biggest piece of advice as you move forward is to be incredibly kind to yourself during the messy parts. There will be ink blots, shaky lines, and days when your hand just won’t cooperate, but please don’t see those as failures. In my own journey through the high-stress corporate world, I learned that the most beautiful growth often happens in the spaces where we allow ourselves to be imperfect. Let your calligraphy be a sanctuary, not a chore. Embrace the beauty of the process, and let each stroke be a reminder that you are allowed to slow down, breathe, and simply exist.
Frequently Asked Questions
I’m feeling a bit frustrated with my hand cramping; are there any stretches or mindfulness techniques to help me stay relaxed while I practice?
Oh, I hear you! I remember those early days in my corporate job when my hands would ache just from typing—it’s so frustrating when your body rebels against your creativity. First, let’s pause. Try the “prayer stretch”: press your palms together at chest height and slowly lower them toward your waist. While you do that, take three deep, belly breaths. This resets your nervous system and tells your muscles it’s okay to let go.
How do I know if I'm actually making progress, or if I'm just stuck in a loop of repetitive motions?
It’s so easy to feel like you’re just spinning your wheels, isn’t it? I used to feel that way during my corporate days—doing the motions without feeling the meaning. To see real growth, stop comparing your work to a finished masterpiece. Instead, look back at your sketches from two weeks ago. Are your lines steadier? Is your breathing more even? If you’re noticing subtle shifts in your control, you’re blooming, even if it feels slow.
Is it better to focus on mastering one specific style of lettering first, or should I try to explore different scripts to see what resonates with me?
Honestly, I’ve been down both paths! When I was first finding my flow, I felt this frantic urge to try everything at once. But here’s my little piece of wellness wisdom: start with one style to build your foundational “muscle memory.” It’s like yoga—you wouldn’t jump into a complex inversion before mastering your breath, right? Once you feel that rhythm, your creativity will naturally crave exploration. Focus on the foundation first; the variety will follow.
