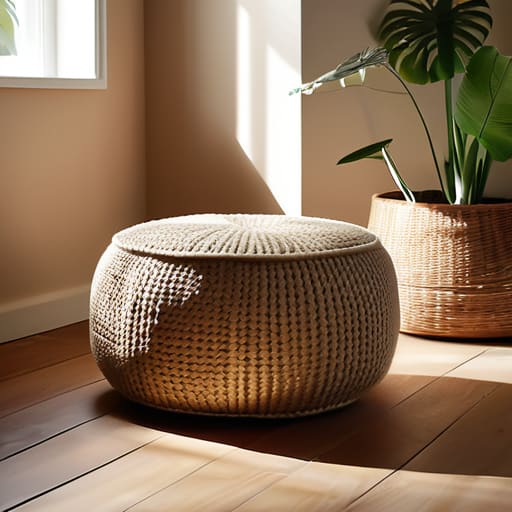
I remember sitting on my hardwood floor in my first tiny apartment, feeling completely ungrounded and overwhelmed by the clutter of my corporate life. I desperately needed a soft place to land, but every piece of furniture I saw online felt either impossibly expensive or incredibly sterile. I realized then that creating a sanctuary isn’t about buying perfection; it’s about the intentional act of making it yourself. Learning how to make a pouffe became my unexpected gateway into mindfulness, turning a simple DIY project into a meditative ritual that grounded me right when I needed it most.
In this guide, I’m stripping away the complicated jargon and the overwhelming “perfectionist” approach you see on social media. Instead, I’m sharing a practical, step-by-step roadmap to help you master how to make a pouffe that actually feels as good as it looks. We’ll focus on selecting textures that soothe the senses and techniques that work with your rhythm, not against it. My goal is to help you create a beautiful, functional piece of home decor that serves as a gentle reminder to slow down and breathe.
Table of Contents
- Step-by-Step Instructions
- Curating Your Sanctuary With a Diy Fabric Ottoman Project
- Selecting the Best Materials for Bean Bag Filling and Comfort
- Small Touches, Big Impact: My Pro-Tips for a Perfect Pouffe
- Finding Balance in Every Stitch
- The Soul of the Space
- Bringing Your Vision to Life
- Frequently Asked Questions
Guide Overview
Tools & Supplies
- Sewing machine for joining fabric panels
- Fabric scissors for precise cutting
- Measuring tape for dimensions
- Pins to hold fabric in place
- Heavyweight fabric (approx. 3 yards)
- Polyester fiberfill or foam scraps for stuffing
- Sewing thread matching fabric color
- Zipper or buttons for closure
Step-by-Step Instructions
- 1. First, let’s gather our materials, but think of this more as curating your workspace than just checking off a list. You’ll need a sturdy, heavy-duty fabric—I personally love a thick linen or a recycled cotton canvas because they feel so grounded—a sewing machine (or a needle and thread if you’re feeling extra meditative), fabric scissors, a measuring tape, and your filling. For the filling, you can use old clothes or scrap fabric, which is a beautiful way to practice mindful consumption by giving new life to things we might otherwise discard.
- 2. Once your space is set, it’s time to create your pattern. I find that starting with a large, circular shape works best for a classic, cozy pouffe. Lay your fabric flat on a clean surface and use a string tied to a pencil to draw a large circle, ensuring it’s about three inches wider than your desired final size to account for the seams. Taking this time to measure carefully is a wonderful way to practice presence, focusing entirely on the tactile sensation of the fabric beneath your hands.
- 3. Now, let’s move into the cutting phase. Using your fabric scissors, carefully cut along the line you’ve drawn, trying to keep your movements steady and rhythmic. As you work, try not to rush; instead, see this as a moving meditation. Once you have your main circle, cut a second, slightly smaller circle to serve as the top lid, which gives the pouffe that professional, structured look we’re aiming for.
- 4. It’s time to bring the pieces together with some sewing. Place your two largest fabric pieces right sides facing each other and pin them along the edges. Start sewing around the perimeter, but here is the most important part: leave a generous opening—about six to eight inches—unsewn. This opening is your gateway for the filling, and leaving it wide enough will make the next step feel much more fluid and stress-free.
- 5. Before we fill it, we need to turn our hard work right-side out. Reach through that opening you left and gently pull the fabric through, using a blunt tool like a chopstick to help push out the corners. It’s such a satisfying moment when the shape finally begins to emerge! Once it’s turned, give the fabric a good shake to settle the seams, and take a deep breath, acknowledging the creative energy you’ve just poured into this piece.
- 6. Now comes the most rewarding part: the filling. Begin stuffing your fabric scraps or poly-fill into the pouch, starting from the bottom and working your way up. I always suggest adding the filling in small, intentional layers rather than all at once; this ensures the pouffe stays firm and holds its shape rather than becoming lumpy. It’s a bit like building a foundation in life—you want it to be solid and well-supported from the very bottom up.
- 7. Finally, once your pouffe feels as plump and inviting as a cloud, it’s time to close the gap. Thread your needle and use a discreet ladder stitch to sew the opening shut by hand. This final touch is a lovely way to slow down and finish your project with intention. Once you’ve tucked in those last threads, place your new creation in your favorite corner, sit down, and simply be in the space you’ve created.
Curating Your Sanctuary With a Diy Fabric Ottoman Project
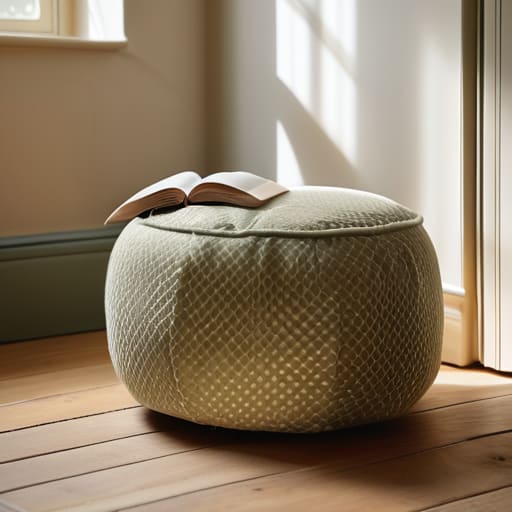
Beyond the technical steps of stitching and stuffing, I like to think of this as more than just a craft project; it’s an opportunity to intentionally design your environment. When you embark on a DIY fabric ottoman project, you aren’t just making furniture; you are curating a corner of your home that invites stillness. I remember when I first moved into my apartment in San Francisco, my space felt so clinical and rushed. I started upcycling fabric for home decor—using old linen curtains and vintage velvets—and suddenly, my living room felt like a sanctuary rather than just a place to crash.
As you move forward, consider how the texture of your chosen fabric affects your sensory experience. If you’re looking for something cozy for a reading nook, a chunky woven cotton is heavenly. If you want something more structured, a heavy canvas works wonders. This little sewing tutorial for floor cushions is really about giving yourself permission to slow down. By choosing materials that feel good against your skin, you’re creating a tactile reminder to breathe and settle into the present moment every time you sit down to rest.
Selecting the Best Materials for Bean Bag Filling and Comfort
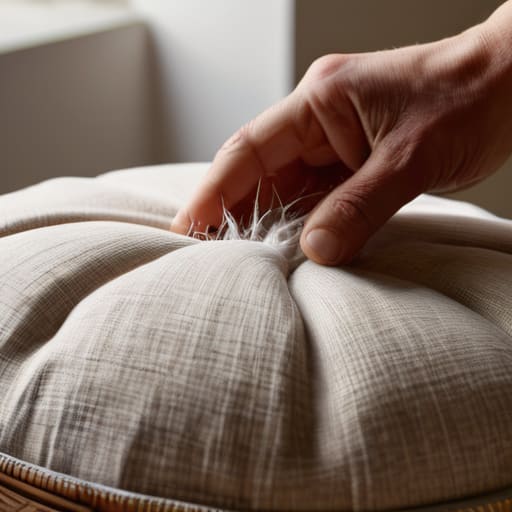
When it comes to the soul of your project, the filling is where the magic—and the comfort—really happens. I remember during my corporate days, I used to come home so physically drained that even a standard sofa felt uninviting. That’s when I realized that the quality of your comfortable floor seating DIY depends entirely on what’s hidden inside. While many people default to standard polystyrene beads, I often suggest looking into shredded memory foam or even high-quality recycled fiberfill if you want a more substantial, grounded feel. Choosing the best materials for bean bag filling isn’t just about softness; it’s about creating a sense of support that allows your body to truly decompress.
If you’re looking to stay eco-conscious, consider upcycling old fabric scraps or even soft pillows to create a unique density. This adds a beautiful layer of intention to your DIY fabric ottoman project, turning it from a simple piece of furniture into a mindful creation. Just remember to test a small handful of your chosen material first; you want that perfect balance of “cloud-like” and “supportive” so your sanctuary feels exactly as restorative as you imagined.
Small Touches, Big Impact: My Pro-Tips for a Perfect Pouffe
- Don’t underestimate the power of a “test sit.” Before you commit to your final stitching, I always suggest stuffing a small sample of your material to see how it feels against your skin. In my years of wellness consulting, I learned that tactile comfort is a huge, underrated component of reducing daily stress.
- Think about the “flow” of your room rather than just the function. When I was picking out fabrics for my own sanctuary back in Oregon, I realized that a pouffe shouldn’t just be a seat; it should be a visual exhale. Choose textures that invite you to slow down, like soft linen or chunky knits.
- Mind the tension in your seams. It’s tempting to rush through the sewing to get to the cozy part, but a loose seam is a recipe for a mid-afternoon “filling explosion.” Take a deep, mindful breath, steady your hands, and ensure your structural integrity is as solid as your intentions.
- Embrace the beauty of imperfection. If your stitching isn’t perfectly straight, don’t sweat it! One of the most beautiful things about DIY projects is the human element. That slight irregularity is a reminder that you created this with your own hands, which adds a layer of soul to your home that a store-bought item just can’t match.
- Layer your comfort with a “texture hack.” If you find your pouffe feels a little too firm, try mixing two different types of filling—like combining dense foam scraps with lightweight polystyrene beads. It creates a more dynamic, adaptive support that mimics the way our bodies naturally settle into rest.
Finding Balance in Every Stitch
Remember that this project isn’t just about furniture; it’s a mindful practice in slow living, allowing yourself the space to create something tactile and soothing for your home.
Don’t rush the material selection process—choosing textures that feel good against your skin is a small but powerful way to prioritize your sensory well-being.
View your finished pouffe as a dedicated tool for rest, a physical reminder to pause and breathe whenever you sink into it at the end of a busy day.
The Soul of the Space
Making a pouffe is so much more than just sewing fabric and stuffing it with beads; it’s about the intentional act of crafting a soft place for your soul to land at the end of a long, demanding day.
Sophia Reynolds
Bringing Your Vision to Life
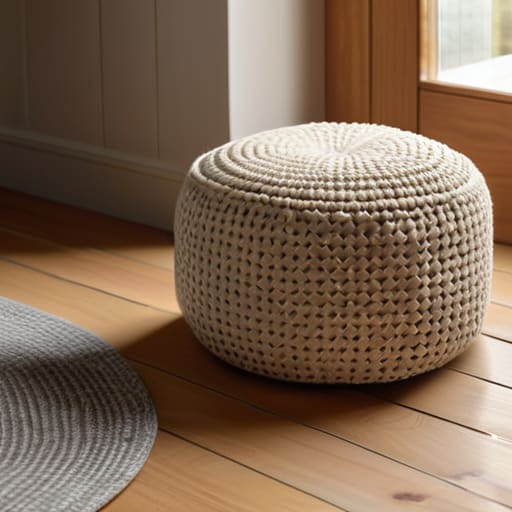
As we wrap up this little journey of creation, I hope you feel a sense of pride in what you’ve accomplished. We’ve navigated everything from selecting the perfect, tactile fabrics to finding that ideal balance of filling to ensure your pouffe offers the ultimate support. By choosing your own materials and taking the time to stitch your vision together, you haven’t just made a piece of furniture; you’ve curated a functional element of your home that speaks to your personal style. Remember, the secret to a truly comfortable space lies in the intentionality behind the details, whether that’s the softness of the texture or the way it sits perfectly in your reading nook.
Beyond the sewing and the stuffing, I want you to take a moment to appreciate the stillness you’ve created. In our fast-paced, digital-heavy lives, there is something profoundly healing about working with our hands to build a physical sanctuary. This pouffe is more than just a place to rest your feet; it is a tangible reminder to slow down and breathe. I encourage you to settle into your new creation, perhaps with a warm cup of tea and a good book, and simply exist in the space you’ve so thoughtfully built. You deserve this moment of peaceful presence.
Frequently Asked Questions
If I'm using a fabric with a lot of stretch, like a jersey knit, how can I make sure my pouffe doesn't lose its shape over time?
That is such a thoughtful question! When I was decorating my first apartment, I learned the hard way that stretchy fabrics can be a bit temperamental. To keep that lovely jersey knit from sagging, I highly recommend using a heavy-duty stabilizer or even a layer of interfacing inside your fabric before you start sewing. It adds just enough “backbone” to support the shape while still letting that soft, cozy texture shine through.
Is there a way to make the pouffe more eco-friendly by using recycled materials instead of traditional polystyrene beads?
Oh, I love that you’re thinking about this! It’s so easy to forget how our small choices ripple out into the world. Honestly, those polystyrene beads can feel a bit “heavy” on the conscience. I’ve found that using shredded old textiles or even natural buckwheat hulls is a total game-changer. It adds such a lovely, grounding texture to your space while being much kinder to our planet. Let’s create with intention!
I'm worried about the weight—how can I balance making it firm enough for sitting while still keeping it light enough to move around my living room?
I completely hear you—finding that “Goldilocks” balance between stability and mobility is such a common hurdle! I used to struggle with this when setting up my own meditation nook. My best tip? Mix your filling. Use a denser, more structural base of polystyrene beads for that firm seating support, but layer a generous amount of lightweight shredded memory foam or soft poly-fill on top. It gives you that cozy, grounded feel without the heavy lifting!
