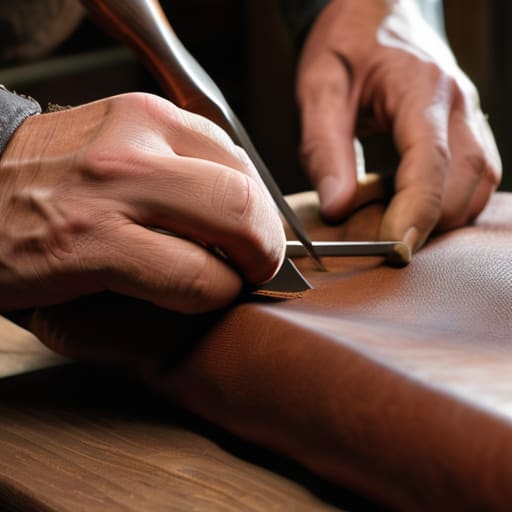
I remember sitting on my floor in a tiny, sun-drenched apartment in California, surrounded by scraps of hide and feeling completely overwhelmed by the sheer complexity of it all. I had watched dozens of tutorials, but they all made it seem like you needed a professional workshop to succeed. The truth is, learning how to make a leather wallet isn’t about having the most expensive tools or a pristine studio; it’s about the rhythmic, meditative connection between your hands and the material. When I finally finished my first piece, it wasn’t just a way to carry my cards—it was a tangible reminder that I could create something lasting out of a moment of stillness.
In this guide, I’m stripping away the intimidation factor to give you a clear, soulful roadmap to craftsmanship. I won’t overwhelm you with unnecessary jargon or high-priced equipment lists; instead, I’ll share the exact, practical steps I used to master the basics. We’re going to focus on the intentionality of every stitch and the joy of working with your hands. By the end of this, you won’t just know the mechanics; you’ll have the confidence to create something beautiful, functional, and uniquely yours.
Table of Contents
- Step-by-Step Instructions
- Choosing the Best Leather for Wallets and Essential Leathercraft Tools
- Mastering Hand Sewing Leather Techniques and Burnishing Leather Edges
- Finding Your Flow: 5 Mindful Tips for a Soulful Leathercrafting Experience
- Carrying Intentionality in Your Pocket
- Finding Stillness in the Stitch
- The Beauty of the Finished Piece
- Frequently Asked Questions
Guide Overview
Tools & Supplies
- Utility knife or rotary cutter for precise cutting
- Wing divider for marking stitch lines
- Stitching chisels or pricking irons to create holes
- Leather needles for hand-stitching
- Mallet for driving punches
- Leather scraps (vegetable tanned preferred) 2-3 sq ft
- Waxed polyester thread 1 spool
- Leather glue or contact cement 1 small bottle
- Edge beveler to smooth edges
Step-by-Step Instructions
- 1. First, we need to gather our materials, but let’s approach this like a mindful ritual rather than a chore. You’ll want a piece of high-quality vegetable-tanned leather, a sharp utility knife, some waxed thread, and two sturdy needles. I remember when I first started working with leather, I felt so rushed to get to the “result,” but I quickly learned that setting up your space with intention is half the battle.
- 2. Once your tools are laid out, it’s time to sketch your pattern. I always suggest using a pencil to lightly trace your shapes onto the back of the leather. This is your moment to visualize the finished product and ensure everything feels symmetrical. Take a deep breath and remember that there is no such thing as a mistake here, only opportunities to refine your vision.
- 3. Now, let’s move into the cutting phase. Using your knife, carefully follow your lines to create the main body and the card slots. I know it can feel a bit intimidating to make that first slice, but try to focus on the rhythmic movement of your hand. If you feel your tension rising, just pause and reset your grip; the leather responds much better to a calm touch.
- 4. After your pieces are cut, we need to prepare them for joining. Use a stitching pony or a simple clamp to hold the leather steady while you use a pricking iron to create your holes. This part requires a bit of patience, so think of it as a moving meditation. Instead of rushing through the holes, try to focus on the sound of the tool meeting the leather, grounding yourself in the present moment.
- 5. Now comes the most rewarding part: the saddle stitch. Thread your needles with that beautiful waxed thread and begin weaving them through the holes you’ve created. This is where the wallet truly starts to take shape, and it’s a wonderful way to practice focused concentration. As you pull each stitch tight, imagine you are weaving strength and intention into something that will last for years.
- 6. Once your stitching is complete, we need to address the edges. To get that professional, smooth finish, you’ll want to sand the edges and apply a bit of edge burnisher with some water or beeswax. Rubbing the edges is such a tactile, soothing process that I find incredibly grounding. It’s the final step in turning raw materials into a harmonious, finished piece of art.
Choosing the Best Leather for Wallets and Essential Leathercraft Tools
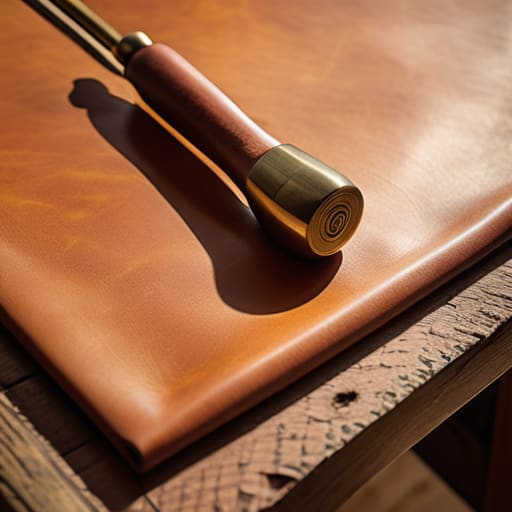
Before you dive into the assembly, let’s talk about the soul of your project: the material. When you’re starting out with leathercrafting for beginners, it’s tempting to grab whatever looks pretty, but I always tell my clients to think about the tactile experience. For a piece you’ll carry every single day, you want something that ages gracefully. I personally swear by vegetable-tanned leather; it has this beautiful way of developing a patina that tells the story of your life. Finding the best leather for wallets means looking for something with a consistent grain and enough “body” to hold its shape without feeling like a brick in your pocket.
As for your workspace, don’t feel like you need a professional workshop to begin. However, having a few essential leathercraft tools will make the process feel less like a struggle and more like a meditation. A sharp pair of shears, a sturdy stitching pony, and high-quality needles are your best friends here. I remember my first attempt—I tried to rush through it without proper tools, and let’s just say my stress levels skyrocketed! By investing in a few quality basics, you allow yourself to truly settle into the flow of the craft.
Mastering Hand Sewing Leather Techniques and Burnishing Leather Edges
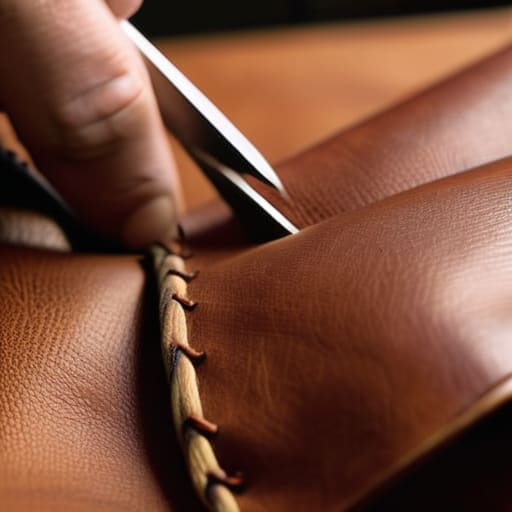
Now, let’s move into the most meditative part of the process: the stitching. When you’re practicing hand sewing leather techniques, like the saddle stitch, I want you to resist the urge to rush. I remember my first attempt at this; I was so focused on the finished product that I didn’t realize my tension was uneven, leaving my seams looking a bit wonky. Instead, try to view each stitch as a tiny moment of mindfulness. Focus on the rhythm of the needle passing through the leather. It’s incredibly grounding to feel that resistance and the steady pull of the waxed thread.
Once your stitching is complete, it’s time for the finishing touch: burnishing leather edges. This is where a simple project truly transforms into a piece of art. By applying a bit of wood slicker and some natural gum tragacanth, you’re essentially smoothing the fibers together to create a polished, professional sheen. It requires patience, but there is something so deeply satisfying about watching a raw, fuzzy edge turn into a smooth, lustrous surface. It’s a beautiful reminder that the most rewarding results often come from the smallest, most deliberate actions.
Finding Your Flow: 5 Mindful Tips for a Soulful Leathercrafting Experience
- Embrace the imperfection of the process. When you’re stitching that first seam, your hands might shake just a little, or a hole might be slightly off-center. Instead of rushing to fix it with frustration, see it as a signature of your unique journey. In positive psychology, we call this embracing the “beautiful mess”—it’s where the real growth happens.
- Create a sacred workspace. Before you even touch your tools, take a moment to clear your physical desk and your mental clutter. I always find that lighting a small candle or playing some soft, ambient lo-fi beats helps transition my brain from “corporate chaos mode” into a state of deep, creative flow.
- Practice rhythmic breathing with every stitch. This sounds a bit “woo-woo,” I know, but it works wonders! Try to time your needle punctures with your breath—inhale as you prepare, exhale as you pull the thread through. It turns a repetitive task into a moving meditation, keeping you grounded and preventing that mid-project burnout.
- Respect the tactile language of your materials. As you work, really listen to the leather. Is it resisting the blade? Is it yielding softly to the awl? Treating your materials with intention rather than just seeing them as “supplies” changes your relationship with the craft from mere production to true connection.
- Celebrate the “micro-wins.” Don’t wait until the entire wallet is finished and polished to feel a sense of accomplishment. Did you successfully burnish one edge? Did you master a difficult corner? Acknowledge those small victories as you go. It’s those tiny bursts of dopamine that keep our motivation high and our spirits bright throughout the entire project.
Carrying Intentionality in Your Pocket
Remember that this isn’t just about making a utility item; it’s about the mindfulness found in the process. Every stitch you sew is a chance to practice patience and presence.
Quality over quantity is my golden rule. By choosing premium leather and taking the time to master techniques like burnishing, you’re creating a piece that ages beautifully alongside you.
Let this wallet be a physical reminder to slow down. In a world of fast fashion and disposable goods, owning something you crafted with your own hands encourages a more sustainable and intentional way of living.
Finding Stillness in the Stitch
“When you sit down to craft something with your own two hands, like a simple leather wallet, you aren’t just making an accessory; you’re practicing the art of being present. Every intentional stitch is a reminder that true quality—in our work and in our lives—comes from slowing down enough to actually feel the process.”
Sophia Reynolds
The Beauty of the Finished Piece
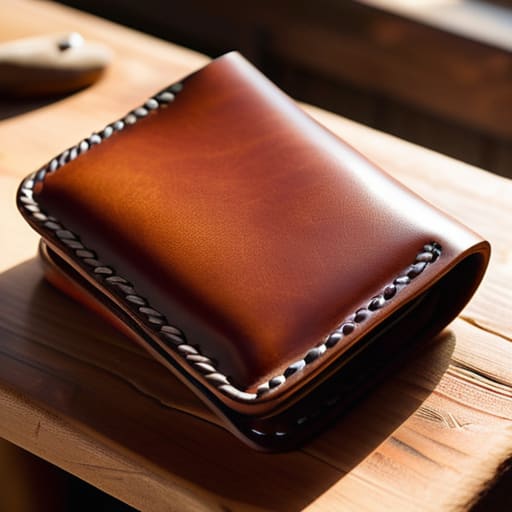
As you hold your completed wallet in your hands, take a moment to appreciate the journey it took to get here. From the initial selection of that perfect, high-quality hide to the rhythmic, meditative flow of hand-stitching each seam, you have transformed raw materials into something truly functional. You didn’t just follow a set of instructions; you navigated the nuances of edge burnishing and the precision of tool selection to create something lasting. Remember, the magic lies in the details—the way the leather feels under your fingertips and the strength of every single stitch you placed with intention. By mastering these fundamental leathercraft skills, you’ve built more than just an accessory; you’ve built a tangible connection to the craft itself.
Beyond the leather and the thread, I hope this project served as a gentle reminder of the power of slowing down. In our fast-paced, digital-first world, there is something profoundly healing about working with our hands to create something that will age beautifully alongside us. This wallet isn’t just a place to store your cards; it is a testament to your patience and your ability to focus on the present moment. As you carry it with you, let it be a small, daily symbol of your commitment to living with intention and finding joy in the slow, deliberate process of creation. You’ve done something wonderful today—now, go out and enjoy the life you are so beautifully crafting.
Frequently Asked Questions
I’ve been wondering, how do I know if I’m applying enough pressure when burnishing the edges without actually damaging the leather?
That is such a thoughtful question! I remember struggling with this during my first few projects—I was so worried about ruining the piece that I barely touched it. Think of it like a mindful breathing exercise: you want firm, consistent intention, not force. You’ll know you’ve found the “sweet spot” when you feel a slight warmth developing from the friction, and the fibers begin to smooth out into a glossy sheen without the leather puckering or tearing.
Since I'm new to this, what are some common mistakes I should look out for during the stitching process that might make my wallet look less professional?
Oh, I remember feeling that exact same way! When I first started my own mindfulness journey, I realized that rushing through things often leads to more stress. The same goes for stitching. Watch out for inconsistent tension; if one stitch is tight and the next is loose, it breaks that beautiful rhythm. Also, try not to pull too hard—overstretching the leather can cause permanent distortion. Just breathe, take your time, and let each stitch be intentional.
Is there a specific way to plan out my pattern layout to make sure I'm getting the most out of my leather hide and minimizing waste?
Think of your leather hide like a precious resource in a mindful practice—it deserves intention. Before you touch your blade, lay your patterns out on the surface first. I always look for the “sweet spots” away from any natural scars or stretch marks. By nesting your pieces close together like a puzzle, you’re not just minimizing waste; you’re practicing a beautiful form of efficiency that honors the material. Slow down, visualize, and then create.
