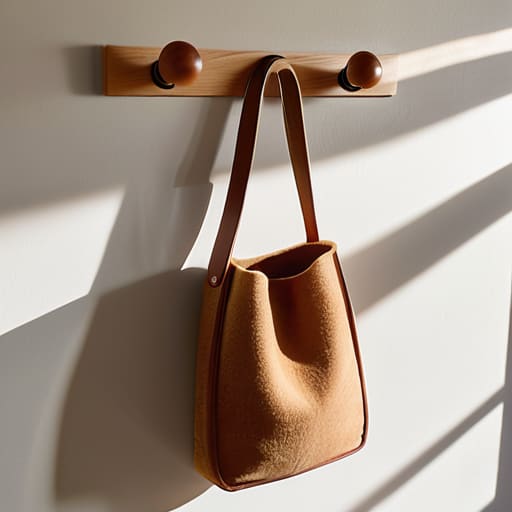
I remember standing in my tiny kitchen during one of my most frantic corporate years, staring at a countertop cluttered with keys, mail, and dried herbs, feeling like my entire life was spiraling out of control. I used to think that to find order, I needed a massive, expensive organizational overhaul or a professional designer to step in. But the truth is, much of our mental clutter actually stems from our physical environment being disorganized and uninspired. I discovered that learning how to make a peg rail wasn’t just about adding a piece of wood to a wall; it was about reclaiming a small corner of my world and creating a dedicated space for the things that matter.
In this guide, I’m stripping away the complicated jargon and the intimidating “pro-only” woodworking myths to show you that you can absolutely do this yourself. I’ll walk you through a straightforward, soulful process to help you master how to make a peg rail that feels perfectly intentional for your unique space. We aren’t just building a shelf here; we are crafting a tool for mindfulness that helps you slow down, breathe, and find beauty in the everyday objects that support your life.
Table of Contents
- Step-by-Step Instructions
- Selecting Timeless Hardwood Selection for Wall Rails
- Mastering the Essential Woodworking Tools for Peg Rails
- Small Touches, Big Impact: My Pro-Tips for a Perfect Peg Rail
- Finding Harmony in the Making
- Finding Purpose in the Process
- Bringing Your Vision to Life
- Frequently Asked Questions
Guide Overview
Tools & Supplies
- Drill and drill bits (to create peg holes)
- Sandpaper (to smooth edges and surfaces)
- Measuring tape (for precise spacing)
- Level (to ensure straight mounting)
- Wood board/plank (1 piece for the rail)
- Wooden dowels (multiple pieces for pegs)
- Wood glue (to secure pegs if desired)
- Wall mounting hardware (screws and anchors)
Step-by-Step Instructions
- 1. First, let’s gather our materials, but think of this more as curating your toolkit rather than just making a shopping list. You’ll need a beautiful piece of wood—I personally love reclaimed pine or oak for that earthy, grounding feel—a saw, some sandpaper, a drill, and your pegs, which can be simple wooden dowels. Taking a moment to touch the texture of the wood before you begin is a wonderful way to ground yourself in the task ahead.
- 2. Once you have your wood, it’s time to find your rhythm with the saw. Measure out the length you want for your rail, keeping in mind that a bit of negative space can be just as important as the wood itself. As you cut, try to focus on the steady movement of your breath; it turns a mundane chore into a meditative practice.
- 3. Now, we move on to the sanding process, which is truly where the magic happens. Use a medium grit sandpaper to smooth out the rough edges, and then move to a finer grit for that silky finish. I find that the repetitive, circular motions of sanding are incredibly soothing for a busy mind, helping to quiet the mental chatter of a long workday.
- 4. Next, we need to create the “homes” for our pegs. Using a drill and a drill bit that matches the diameter of your dowels, carefully mark your spacing along the rail. I always suggest leaving enough room so your items don’t feel crowded, because clutter is the enemy of a peaceful environment. Take your time here; precision is a form of self-care.
- 5. After the holes are drilled, it’s time to treat your wood. You can leave it natural for a raw, organic look, or apply a beeswax finish to enhance the grain. As you rub the wax into the wood, notice how the colors deepen; it’s a beautiful reminder of how small actions can reveal hidden layers of beauty.
- 6. Finally, it’s time to bring your pegs to life. Gently tap your wooden dowels into the pre-drilled holes. If they feel a bit snug, don’t force them—just a light tap with a mallet is enough. As you place that last peg, take a deep breath and acknowledge what you’ve created with your own two hands.
Selecting Timeless Hardwood Selection for Wall Rails
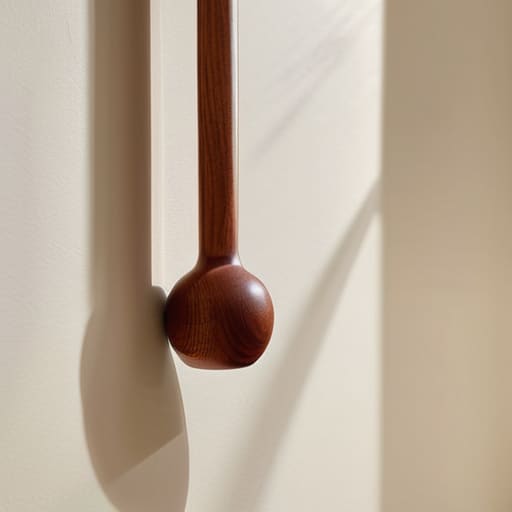
When you begin this journey, I always suggest thinking about the “soul” of the piece. Since a peg rail is something you’ll touch and interact with daily, the hardwood selection for wall rails becomes much more than just a technical choice; it’s about the tactile experience. I personally love working with maple or cherry because they offer a beautiful, smooth grain that feels incredibly grounding under your hands. If you’re aiming for that clean, minimalist aesthetic, a light-colored wood can turn your project into a piece of custom shaker style wall storage that feels both intentional and serene.
Keep in mind that the wood you choose will also dictate how you approach the later stages of the project. For instance, a denser wood like oak provides incredible durability for hanging heavier items, but it might require a bit more patience when you eventually get to finishing wood peg rails with oils or waxes. I remember a time during my corporate days when my desk was a cluttered mess; once I started bringing these natural, organic elements into my workspace, I felt an immediate shift in my focus. Choosing the right timber is your first step in creating that sense of calm.
Mastering the Essential Woodworking Tools for Peg Rails
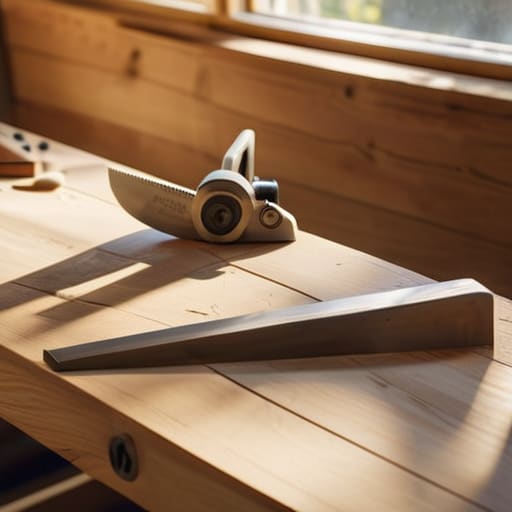
Before we dive into the actual sawdust, I want to share a little secret I learned back when I was working in corporate wellness: the tools we use to create can actually be a form of meditation if we approach them with intention. When gathering your woodworking tools for peg rails, don’t just rush through the checklist. I find that taking a moment to organize my workspace—laying out my saw, measuring tape, and clamps—helps me transition from the frantic pace of the day into a state of flow. It’s about honoring the process as much as the finished product.
When you get to the stage of drilling holes for wooden pegs, precision is your best friend. I always recommend using a drill press if you have access to one, as it ensures your holes are perfectly perpendicular. There’s nothing more frustrating than a peg that sits at a jaunty angle! If you’re working with a handheld drill, take your time and use a steady, rhythmic motion. Think of it as a grounding exercise; the focus required keeps your mind quiet and your hands steady, turning a technical task into a moment of pure, tactile mindfulness.
Small Touches, Big Impact: My Pro-Tips for a Perfect Peg Rail
- Measure twice, breathe once. It’s so easy to get caught up in the “doing,” but taking a quiet moment to double-check your spacing ensures your rail feels intentional and balanced rather than cluttered.
- Don’t fear the grain. When you’re selecting your wood, look for those unique patterns; they aren’t imperfections, they’re the soul of the piece that will bring a sense of nature into your living space.
- Sanding is your moving meditation. Instead of rushing through this step to get to the finish, treat the rhythmic motion of sanding as a way to ground yourself and connect with the material you’re shaping.
- Mind the weight of your “treasures.” Before you mount the rail, think about what you’ll actually hang—heavy ceramic mugs require a different structural approach than a light linen apron.
- Finish with intention. Choosing a food-safe oil or a natural wax isn’t just about protection; it’s about choosing a way to nourish the wood so it ages beautifully alongside your life.
Finding Harmony in the Making
Remember that the process of creating something with your own hands is just as important as the final product; let the rhythm of the woodworking serve as your own personal meditation.
Choose your materials with intention, selecting hardwoods that don’t just look beautiful, but possess the durability to hold your most cherished everyday items for years to come.
Don’t rush the craftsmanship; by slowing down and mastering your tools, you transform a simple home organization project into a meaningful ritual of mindfulness and care.
Finding Purpose in the Process
“When we take the time to craft something with our own hands—like a simple, sturdy peg rail—we aren’t just organizing our physical space; we’re creating a ritual of intention that reminds us to slow down and find beauty in the functional details of our lives.”
Sophia Reynolds
Bringing Your Vision to Life
As we wrap up this journey of creation, I hope you feel a sense of pride in how far you’ve come. From the initial, intentional moment of selecting that perfect piece of timeless hardwood to the rhythmic, meditative process of mastering your tools, every step has been an exercise in mindfulness. We’ve covered everything from choosing the right grain to ensuring your measurements are precise, all with the goal of creating something that serves both your home and your spirit. Remember, the magic isn’t just in the finished product hanging on your wall, but in the deliberate practice of showing up for yourself through the process of making.
At the end of the day, a peg rail is so much more than just a piece of functional decor; it is a physical anchor for your daily rituals. Whether it holds your favorite linen apron, your keys, or a collection of dried herbs, it represents a space where you have successfully cultivated order out of chaos. I truly believe that when we take the time to craft our own environments, we are actually crafting a better version of ourselves. So, take a deep breath, step back, and admire what you’ve built. You haven’t just made a shelf; you’ve created a sanctuary of intention in your very own home.
Frequently Asked Questions
How do I decide on the perfect spacing between my pegs to ensure they're both functional and aesthetically pleasing?
Finding that sweet spot between function and beauty is a bit like finding balance in your daily routine—it’s all about intentionality. I usually recommend spacing pegs about 4 to 6 inches apart. This gives your items room to “breathe” without looking cluttered. If you’re hanging heavier items like aprons, lean toward the wider end. Remember, a little extra space can create a sense of calm and order in your home.
What are the best ways to finish my hardwood to make sure it stands the test of time without losing that natural, calming feel?
Finding that sweet spot between protection and soul is everything. To keep that tactile, grounding connection to the wood, I always recommend a natural oil finish—like tung or linseed oil. They sink deep into the grain, nourishing the timber rather than just sitting on top like a plastic film. It preserves that raw, organic texture that helps us feel centered, while still offering the durability your beautiful new rail deserves.
I'm worried about my walls—how do I choose the right mounting hardware so my rail stays secure without causing unnecessary damage?
I completely hear you—protecting your sanctuary is just as important as the project itself! To keep your rail secure without turning your walls into Swiss cheese, I always recommend using heavy-duty wall anchors if you aren’t hitting a stud. If you can, try to find a stud; it’s the gold standard for stability. Just remember to patch and paint those tiny holes later—think of it as a little act of self-care for your home!
