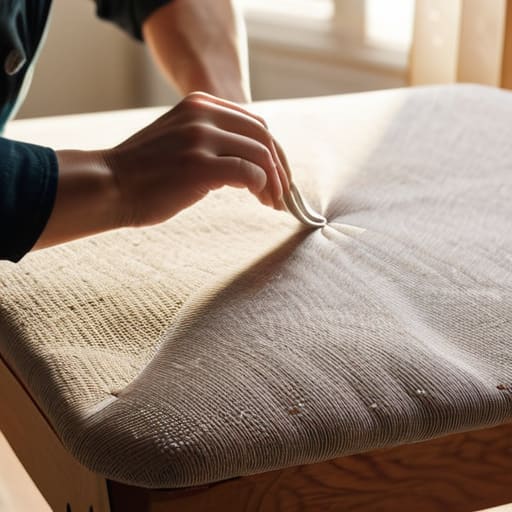
I remember sitting on the edge of a hard, wooden kitchen chair during one of my most intense corporate burnout phases, feeling like my entire body was vibrating with tension. I desperately needed a moment of softness, but every “quick fix” I found online made it seem like I needed a professional sewing studio to find relief. The truth is, learning how to make a chair pad isn’t about achieving some impossible level of artisanal perfection; it’s about the intentional act of creating comfort for yourself. We often think we need to buy our way into relaxation, but there is something deeply healing about using your own hands to soften the edges of your environment.
In this guide, I’m stripping away the complicated jargon and the intimidating, multi-step tutorials that make DIY feel like a chore. I’m going to walk you through a simple, mindful process to help you master how to make a chair pad that actually supports your well-being. We will focus on choosing textures that soothe the senses and practical methods that respect your time. My goal is to show you that small, handmade adjustments to your workspace or home can lead to a much more grounded, peaceful daily rhythm.
Table of Contents
- Step-by-Step Instructions
- Selecting Textures Meaningful Fabric Selection for Chair Cushions
- The Foundation of Comfort Choosing Upholstery Foam for Seat Pads
- Small Details, Big Comfort: My Top 5 Secrets for the Perfect Pad
- Small Steps Toward a More Mindful Home
- More Than Just Fabric and Foam
- Bringing Your Vision to Life
- Frequently Asked Questions
Guide Overview
Tools & Supplies
- Fabric scissors for cutting material
- Sewing machine or hand sewing needle for assembly
- Fabric (approx. 1/2 yard)
- Poly-fill or foam padding (1 cushion's worth)
- Thread (matching color)
- Measuring tape for sizing
Step-by-Step Instructions
- 1. First, let’s gather our materials with intention. You’ll need a piece of soft fabric for the top, a coordinating fabric for the bottom, some high-quality polyester fiberfill or a piece of foam for that essential cushioning, and a needle and thread (or a sewing machine if you’re feeling extra efficient). I always find that choosing textures that feel good against your skin, like a soft linen or a brushed cotton, makes the whole process feel more like self-care than a chore.
- 2. Once you have your supplies, it’s time to create your template. Take a piece of cardboard and trace the shape of your chair seat, or simply draw a comfortable square or circle. I personally love using slightly rounded edges because they feel much more organic and soothing to the eye. Once you’re happy with the shape, cut it out carefully; this will be your guide for all the fabric pieces to follow.
- 3. Now, let’s prepare our fabric. Lay your top fabric piece face down on your cutting surface and pin your cardboard template to it. Using sharp fabric scissors, cut around the template, leaving about an inch of extra space for the seam allowance. Repeat this exact process with your bottom fabric piece. Taking this moment to focus on the precise movement of the scissors can be a wonderful way to practice mindful presence in your afternoon.
- 4. It’s time to bring the pieces together. Place your two fabric pieces on top of each other, making sure the “pretty” sides (the printed or patterned sides) are facing inward toward each other. Pin the edges securely so they don’t slip. Start sewing along the perimeter, but here is the secret: leave a small opening of about three or four inches on one of the sides. We need this little “breathing room” to turn the pad right-side out later.
- 5. This is one of my favorite parts—the transformation! Reach into that small opening you left and gently pull the fabric through until the seams are on the inside. Use a blunt tool, like a chopstick or a dull pencil, to carefully nudge the corners out so they look crisp and defined. It’s a bit like watching a flower bloom; there is something so deeply satisfying about seeing the shape finally emerge from the chaos of the fabric.
- 6. Now, we add the soul of the pad: the stuffing. Slowly feed your fiberfill or foam through the opening. Don’t rush this step! I find that if I do it slowly, I can really feel the density and comfort I’m creating. Distribute the filling evenly so there are no lumps, ensuring the pad feels supportive yet soft. If you’re using foam, you might need to use a little more elbow grease to get it to sit just right.
- 7. Finally, we close the loop. Once you are completely happy with the loft and feel of your pad, use a simple whipstitch or a ladder stitch to sew the opening shut by hand. This final, quiet act of sewing is a beautiful way to seal in the intention you’ve put into this project. Once finished, give it a good fluff, place it on your favorite chair, and take a deep breath, knowing you’ve created a little pocket of peace for yourself.
Selecting Textures Meaningful Fabric Selection for Chair Cushions
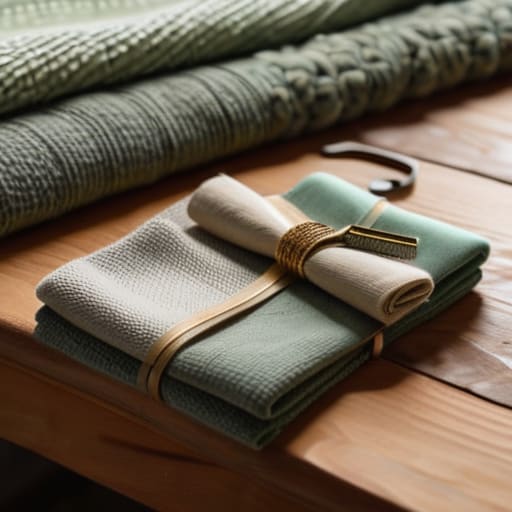
Selecting Textures: Meaningful Fabric Selection for Chair Cushions
When I was working in the corporate wellness space, I noticed how often we overlook the sensory impact of our immediate environment. The texture of what we touch can actually ground us during a stressful workday. As you dive into your fabric selection for chair cushions, I encourage you to think beyond just color or pattern. Are you looking for the soothing, tactile embrace of a heavy linen to help you feel centered, or perhaps a soft velvet to add a sense of luxury to your morning coffee ritual? Choosing a material that feels good against your skin is a small but powerful way to practice sensory mindfulness in your home.
Don’t forget that the fabric needs to work in harmony with your structural choices. If you are using high-density upholstery foam for seat pads, a sturdier weave like cotton canvas or a durable blend will help maintain that beautiful shape over time. I personally love pairing a crisp, structured fabric with a softer, breathable interior to create a sense of balanced comfort. It’s all about creating a little sanctuary, one stitch at a time.
The Foundation of Comfort Choosing Upholstery Foam for Seat Pads
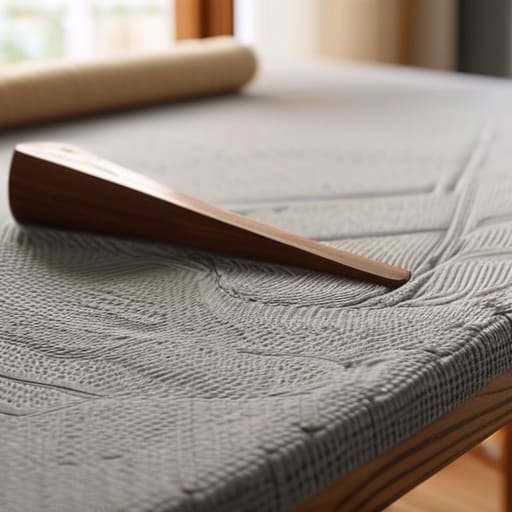
Now that we’ve picked out a fabric that speaks to our soul, let’s talk about the hidden hero of this project: the core. I remember back when I was working in corporate wellness, I used to sit in those stiff, ergonomic chairs for ten hours a day, always feeling like I was missing that extra layer of support. When you’re diving into this DIY seat cushion tutorial, the secret to longevity isn’t just the pretty exterior; it’s the quality of your upholstery foam for seat pads. You want something that offers “resilience”—that’s the fancy term for how well the foam bounces back after you’ve been sitting there reflecting or working.
If you’re looking for that perfect balance of softness and structure, I highly recommend a high-density foam. It provides a much more grounded and stable sensation than the cheap, airy stuff you might find at a big-box craft store. Before you head to the shop, make sure you’ve mastered the art of measuring chair seats for padding with a bit of extra wiggle room. A tiny bit of extra foam allows the fabric to wrap snugly around the edges, ensuring your hard work feels as professional as it looks.
Small Details, Big Comfort: My Top 5 Secrets for the Perfect Pad
- Don’t forget the “breathability” factor; when you’re choosing your fabric, I always remind my clients to consider how the material feels against the skin during long periods of sitting—natural fibers like cotton or linen are absolute game-changers for preventing that restless, overheated feeling.
- Measure twice, but breathe once—it sounds cliché, but when you’re cutting your foam and fabric, take a moment to double-check your dimensions so you don’t end up with a cushion that feels slightly “off” or uncentered, which can actually disrupt your posture.
- Embrace the art of the “hidden seam”; if you want your chair to look like a high-end boutique piece rather than a DIY project, try tucking your edges inward or using a decorative piping to give it that polished, professional finish that feels so soothing to the eye.
- Think about the “rebound” of your padding; I once worked with a corporate executive who realized her productivity plummeted because her office chair was too soft, so make sure your foam is dense enough to support your spine without bottoming out.
- Create a ritual around your finishing touches—adding a simple, high-quality zipper or even a subtle tie-on detail isn’t just functional; it’s a way to honor the craftsmanship of the piece, turning a simple object into a mindful sanctuary for your home.
Small Steps Toward a More Mindful Home
Remember that choosing your materials—from the softness of the fabric to the density of the foam—is an act of self-care that directly impacts your daily comfort and mental well-being.
Don’t rush the process; let the rhythmic act of sewing and assembling become a meditative practice that helps you transition from the chaos of work to the peace of home.
A handmade chair pad is more than just a functional object; it’s a tangible reminder that you have the power to intentionally shape your environment to support both productivity and rest.
More Than Just Fabric and Foam
“When we take the time to handcraft something like a chair pad, we aren’t just making a piece of furniture; we are intentionally designing a sanctuary for our bodies to rest and our minds to reset. It’s a small, tactile way to reclaim comfort in a world that rarely asks us to slow down.”
Sophia Reynolds
Bringing Your Vision to Life
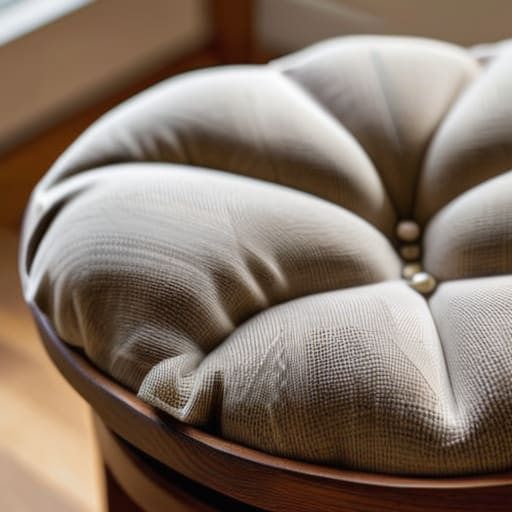
As we wrap up this little creative journey, take a moment to look at what you’ve actually accomplished. You haven’t just assembled a piece of furniture; you’ve carefully curated a sensory experience by selecting the perfect upholstery foam and choosing fabrics that speak to your personal style. From the foundational support that ensures physical comfort to the tactile joy of a well-chosen texture, every decision you made was a step toward creating something truly intentional. By focusing on both the structural integrity and the aesthetic soul of your chair pad, you have successfully bridged the gap between functional utility and mindful design.
I hope this project serves as a gentle reminder that the small, tactile acts of creation can be incredibly grounding in our fast-paced lives. In my own practice, I’ve found that when we slow down to craft something with our own hands, we aren’t just making objects—we are cultivating presence. Let this new addition to your home be more than just a place to sit; let it be a soft invitation to pause, breathe, and truly inhabit your space. You deserve to surround yourself with things made with love and purpose, so go ahead and sink into that comfort you’ve so beautifully built.
Frequently Asked Questions
How can I make sure my chair pad stays in place without slipping every time I sit down?
Oh, I’ve been there! There’s nothing more distracting than that constant, frustrating little slide every time you settle in to work or read. To keep your sanctuary stable, I highly recommend adding a non-slip rug pad or a layer of silicone grip fabric to the underside of your cushion. It’s a tiny adjustment, but it creates such a grounded, seamless experience. It’s all about those small details that help us stay present and focused.
Is there a way to create a DIY version that's a bit more eco-friendly or uses up leftover fabric scraps?
Oh, I absolutely love that you asked this! Honestly, my heart skips a beat when people talk about upcycling. It’s such a beautiful way to practice “mindful making.” You can easily create a stunning “scrap quilt” style pad by sewing your leftover fabric bits into a patchwork pattern. It’s not just eco-friendly; it tells a story through color and texture. It’s a wonderful way to honor your materials while reducing waste!
I'm worried about durability—how do I ensure the padding doesn't flatten out after just a few weeks of use?
I completely hear you—there is nothing more frustrating than pouring your heart into a project only to have it lose its shape. To keep that “cloud-like” feeling, I always recommend choosing a high-density foam rather than the standard soft stuff. Think of it as investing in the longevity of your comfort. Also, a little pro-tip: adding a layer of polyester batting over your foam can help it bounce back beautifully every single time!
