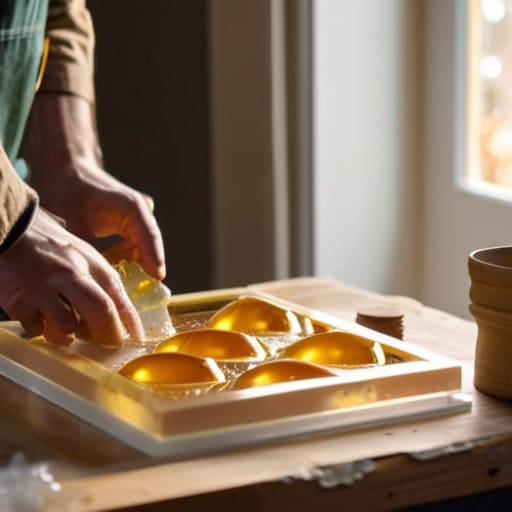
I remember sitting on my kitchen floor three years ago, surrounded by sticky spills and a mountain of tiny, stubborn air bubbles that just wouldn’t go away. I had spent hours watching endless tutorials, convinced that mastering how to make resin coasters required some sort of secret, expensive laboratory setup. I felt so defeated, thinking I just wasn’t “creative” enough to handle the chemistry. But here’s the truth I learned through a lot of messy trial and error: resin isn’t about perfection or complex equipment; it’s actually a beautifully tactile way to practice presence and slow down.
In this guide, I’m stripping away all the fluff and the intimidating jargon to give you a straightforward, soulful approach to this craft. I’ll walk you through the essential supplies you actually need, the precise mixing techniques to avoid those dreaded bubbles, and how to infuse your pieces with a bit of intention. Whether you’re looking for a new way to decompress after a long corporate grind or want to create something meaningful for your home, I promise to show you how to make resin coasters that are as deeply fulfilling to create as they are to use.
Table of Contents
- Step-by-Step Instructions
- Curating Your Space With Essential Resin Art Supplies for Beginners
- Mastering the Alchemy of Resin Mixing Ratios and Pigment Powders
- Finding Your Flow: 5 Soulful Tips for Resin Success
- Embracing the Process: My Final Thoughts for Your Creative Journey
- Finding Stillness in the Pour
- Finding Magic in the Finished Piece
- Frequently Asked Questions
Guide Overview
Tools & Supplies
- Silicone coaster molds (for shaping the resin)
- Mixing cups (disposable or reusable plastic)
- Stirring sticks (wooden or silicone)
- Heat gun or butane torch (to remove air bubbles)
- Leveling surface (to ensure even pouring)
- Epoxy resin kit (2:1 or 1:1 ratio)
- Measuring cups (for precise resin/hardener ratio)
- Decorative inclusions (glitter, dried flowers, or pigments)
- Nitrile gloves (for skin protection)
- Protective mask (to avoid inhaling fumes)
Step-by-Step Instructions
- 1. Before we dive into the magic, let’s set the stage by prepping your workspace. Clear off a flat surface and lay down some silicone mats or parchment paper; resin can be a bit of a messy traveler if you aren’t careful! I always like to make sure my area is well-ventilated and that I have my safety gear—gloves and a mask—within arm’s reach. Think of this as setting the intention for your creative session; when your space is organized, your mind feels much more settled too.
- 2. Now, it’s time for the precision work: measuring your resin and hardener. Most epoxy kits require a very specific 1:1 ratio, so grab your measuring cups and be incredibly meticulous here. I remember back in my corporate days, I used to rush through everything, but with resin, haste truly makes waste. Take a slow, deep breath and ensure you are measuring by volume exactly as the instructions suggest to ensure a perfectly clear cure.
- 3. Once you’ve measured, start mixing. This is actually a wonderful moment for a bit of “active meditation.” Stir the mixture slowly and steadily for about three to five minutes, making sure to scrape the sides and the bottom of the cup frequently. You’re looking for a completely clear liquid without any swirl patterns or “streaks.” If you stir too fast, you’ll introduce tiny air bubbles, so try to find a rhythmic, steady pace that feels grounding and intentional.
- 4. If you see bubbles forming, don’t panic—this is totally normal! You can use a heat gun or a small butane torch to gently skim the surface, which will pop those pesky bubbles instantly. I find that watching them disappear is strangely satisfying and calming. If you’re adding color, this is the moment to stir in your mica powders or alcohol inks. Remember, even a tiny drop can make a huge visual impact, so start small.
- 5. Now comes the part where you let your creativity flow: pouring the resin into your silicone molds. I love to layer different colors or even nestle in some dried botanicals to create a little “micro-world” inside each coaster. As you pour, try to move with grace and intention rather than rushing to fill the mold. If you see any stray bubbles after pouring, give the mold a gentle tap on the table to help them rise to the surface.
- 6. Finally, the hardest part for any of us: the waiting. Cover your molds with a box or a lid to prevent dust from settling on your beautiful work, and then step away from the project. This is your cue to practice some mindfulness—maybe a quick yoga stretch or a cup of herbal tea. Your coasters need at least 24 hours to fully cure, so use this time to embrace the beauty of stillness and let the process unfold on its own.
Curating Your Space With Essential Resin Art Supplies for Beginners
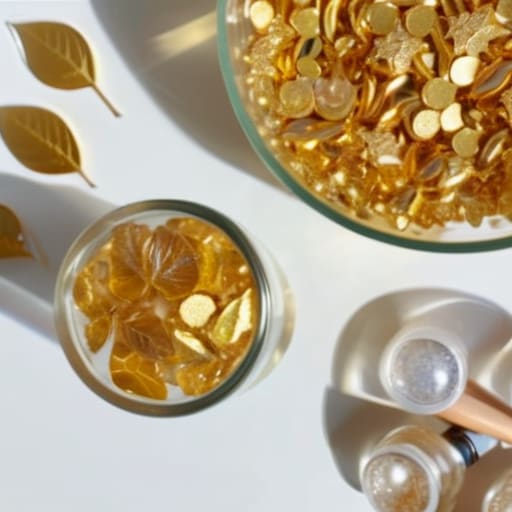
Before you dive into the creative flow, I always suggest setting up a dedicated “sanctuary space” for your craft. When I first started, I tried working at my kitchen table, but I quickly realized that having a clutter-free zone helps quiet the mind. Gathering your resin art supplies for beginners—like your safety gear, mixing cups, and stirring sticks—in one organized area allows you to focus entirely on the sensory experience of the medium. I find that when my workspace is intentional, my anxiety melts away, leaving room for pure, unadulterated creativity.
As you curate your toolkit, don’t overlook the importance of quality over quantity. Investing in high-quality silicone coaster moulds makes a world of difference; they release your pieces so smoothly that it feels like magic every single time. I also recommend picking up some vibrant resin pigment powders to play with color theory. It’s such a beautiful way to express your inner landscape. Just remember to take a deep breath before you start; this isn’t just about making objects, it’s about the joy of the process.
Mastering the Alchemy of Resin Mixing Ratios and Pigment Powders
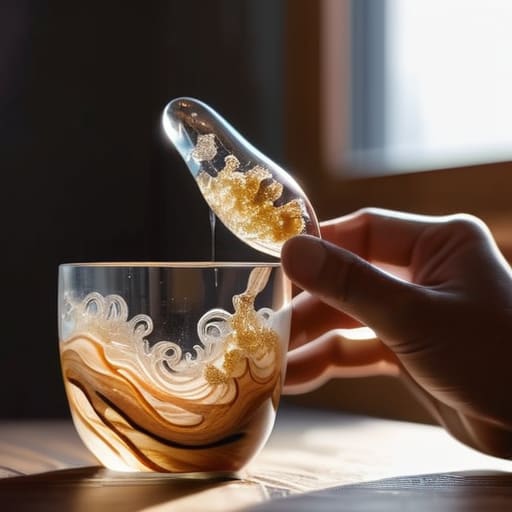
Now, this is where the magic—and a little bit of science—really happens. I remember my first attempt at resin art; I was so eager to see the final result that I rushed the process, and let’s just say the results were more “sticky mess” than “artistic masterpiece.” To avoid that, you have to treat your resin mixing ratios with a sense of mindful precision. Think of it like a meditative ritual rather than a chore. Whether you are using a 1:1 or a 2:1 ratio, accuracy is everything. I always recommend using graduated mixing cups and stirring slowly in a steady, rhythmic motion to avoid trapping those pesky tiny air bubbles that can disrupt the clarity of your piece.
Once your base is perfectly blended, it’s time to play with color using resin pigment powders. This is my favorite part because it feels like you’re mixing stardust! A little goes a long way, so start with a tiny pinch to see how the color blooms within the liquid. If you’re aiming for that ethereal, marbled look, try layering different shades of powder. Just remember, adding too much pigment can sometimes affect the structural integrity of the resin, so less is often more when you’re chasing that perfect, professional finish.
Finding Your Flow: 5 Soulful Tips for Resin Success
- Embrace the imperfection. Sometimes, a tiny bubble or a slightly uneven swirl is exactly where the magic happens. Instead of chasing a sterile, factory-made look, allow yourself to find beauty in the organic nature of the resin; it’s a gentle reminder that we don’t have to be perfect to be beautiful.
- Create a sanctuary for your craft. Resin can be a bit finicky, so try to set up your workspace in a well-ventilated area with plenty of natural light. I’ve found that when my environment feels calm and airy, my creative process follows suit, making the whole experience much more meditative.
- The “Slow Pour” technique is your best friend. When you’re adding your pigments or dried botanicals, resist the urge to rush. Pouring slowly isn’t just about preventing air bubbles; it’s a way to practice patience and truly witness how the colors dance and mingle together.
- Mind your temperature, mind your mood. Resin is quite sensitive to the environment—if your room is too chilly, it might not cure properly. I like to think of it like a cozy ritual; making sure your space is warm and inviting helps the resin “relax” and set just as it should.
- Don’t forget to breathe between layers. If you’re doing multi-layered coasters, give yourself permission to step away once a layer is set. Use that time to stretch, grab a cup of herbal tea, or just sit in silence. It prevents burnout and ensures you approach the next layer with fresh, intentional energy.
Embracing the Process: My Final Thoughts for Your Creative Journey
Remember that the beauty of resin art lies in its unpredictability; instead of striving for perfection, try to view every unexpected bubble or swirl as a unique fingerprint of your creative presence.
Use your crafting time as a dedicated ritual for mindfulness, allowing the rhythmic process of mixing and pouring to serve as a gentle anchor that pulls you away from the digital noise of the day.
Don’t rush the curing stage—just as we need rest to integrate our growth, your coasters need that quiet, undisturbed time to truly settle into their final, beautiful form.
Finding Stillness in the Pour
“When you’re working with resin, don’t just see it as a craft project; see it as an invitation to slow down. As you watch the pigments swirl and settle into those coaster molds, let it be a reminder that even in our most fluid and uncertain moments, we have the power to create something beautiful, intentional, and lasting.”
Sophia Reynolds
Finding Magic in the Finished Piece
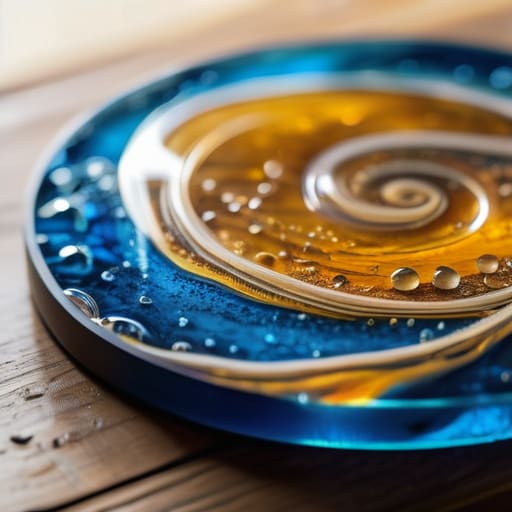
As you look at your completed resin coasters, I hope you take a second to really appreciate the journey you just took. From the careful precision of measuring your mixing ratios to the intentional way you swirled those pigments into existence, you’ve done more than just follow a tutorial; you’ve practiced a form of creative mindfulness. You’ve navigated the technicalities of resin chemistry and the delicate art of color theory, transforming raw materials into something tangible and beautiful. Remember, even if a bubble escaped or a color shifted unexpectedly, those little imperfections are simply part of the authentic process of learning and growing.
Beyond the beautiful coasters sitting on your coffee table, I want you to hold onto the sense of peace you found while creating them. In our hyper-connected, high-speed world, finding a hobby that demands your full, quiet presence is a radical act of self-care. Whether you’re crafting for a gift or simply to brighten your own sanctuary, let this be a reminder that true productivity isn’t just about checking boxes on a to-do list; it’s about making space for the things that nourish your soul. Keep creating, keep breathing, and never underestimate the power of slowing down to make something beautiful.
Frequently Asked Questions
How can I prevent those tiny, frustrating air bubbles from ruining my coasters while I'm working?
Oh, I feel your frustration! I remember my first batch—I was so focused on the colors that I completely missed the bubbles. To keep things smooth, try pouring your resin in a thin, steady stream to minimize air entrapment. A little pro-tip from my mindfulness practice: slow down. The more intentional and gentle your movements, the fewer bubbles you’ll find. If some do sneak in, a quick pass with a heat gun works like magic!
Is there a way to incorporate dried flowers or gold leaf without them looking messy or sinking to the bottom?
Oh, I love that question! It’s such a common hurdle, but honestly, it’s where the real magic happens. To keep those delicate petals or shimmering gold flakes from just sinking into a heap, I recommend a “layering” approach. Pour a thin base layer first and let it get slightly tacky before adding your elements. It’s a bit like slow living—if you rush the process, you lose the beauty. Patience really is your best tool here!
How long do I actually need to wait before I can safely handle my coasters or start layering a second coat?
Patience is your best friend here! While it’s tempting to jump right in, I always tell my clients that rushing the process is the quickest way to lose that sense of flow. Generally, you’ll want to wait about 24 hours before handling them. If you’re planning a second layer, give it a full 24 to 48 hours to ensure a seamless bond. Think of it as a little forced mindfulness—letting the art rest, just like we do.
