I remember sitting on my floor in my first tiny apartment, staring at a scratched, honey-oak coffee table that felt like a heavy weight on my spirit. I felt this overwhelming pressure to just throw it out and buy something “perfect” and new, thinking that a fresh start required a fresh purchase. But then I realized: we don’t need more stuff; we need more connection to the things we already have. Learning how to upcycle furniture isn’t actually about the DIY project itself—it’s about the meditative process of seeing potential where others see waste. It’s a way to slow down, practice patience, and transform your physical space to better reflect your inner peace.
In this guide, I’m stripping away the intimidating, high-stress tutorials you see online and giving you my no-nonsense, soulful approach to transformation. We are going to walk through the essential steps of prepping, painting, and refinishing without the overwhelm. I promise to share practical, evidence-based ways to keep this process mindful rather than a source of clutter-induced anxiety. By the end, you’ll have the confidence to breathe new life into old pieces, turning your home into a sanctuary of intention rather than just a collection of objects.
Table of Contents
- Step-by-Step Instructions
- Honoring the Grain Masterful Sanding Techniques for Diy Success
- Choosing Your Palette the Gentle Magic of Chalk Paint vs Acrylic Paint
- Small Acts of Love: My Top 5 Rituals for a Successful Upcycle
- Finding the Heart in the Handiwork
- Finding Beauty in the Second Act
- The Heartbeat of Your Home
- Frequently Asked Questions
Guide Overview
Tools & Supplies
- Sandpaper (various grits for smoothing surfaces)
- Screwdriver (for removing hardware)
- Paintbrush (for applying finishes)
- Microfiber cloth (for cleaning dust)
- Wood primer (1 quart)
- Furniture paint (1 quart)
- Sandpaper pack (multi-grit)
- Tack cloth (1 pack)
Step-by-Step Instructions
- 1. First, I want you to take a moment to truly connect with the piece you’ve chosen. Before you grab a screwdriver, sit with it. Is it a sturdy oak dresser that just needs a little love, or a delicate side table that’s lost its luster? Once you’ve made that connection, clear a dedicated space in your home—ideally somewhere with good natural light—to serve as your creative sanctuary for the project ahead.
- 2. The most important part of the process is the preparation, which I like to call the “cleansing phase.” Grab some gentle sandpaper and start smoothing out those rough edges or old, flaking varnish. It might feel a bit tedious, but think of it as preparing the ground for something beautiful to grow; you’re creating a clean, honest surface that is ready to receive its new identity.
- 3. Now, it’s time to address any imperfections that might disrupt the harmony of your piece. If there are deep scratches or small dents, use a bit of wood filler to gently mend them. I always tell my clients that healing the surface is a lot like mindfulness—it’s about acknowledging the flaws and then working with intention to bring things back into balance.
- 4. Once your piece is smooth and clean, it’s time for the most transformative step: applying your color or finish. Whether you’re drawn to a calming sage green or a sophisticated matte black, apply your paint in thin, intentional layers rather than trying to cover everything all at once. This prevents drips and ensures that the final result feels deeply integrated and professional.
- 5. While you wait for your paint to dry, this is the perfect opportunity to practice a little bit of “active rest.” Instead of rushing to the next task, perhaps brew a cup of herbal tea or step outside for a few minutes of fresh air. Allowing the piece to dry naturally without interference is a beautiful lesson in practicing patience and trusting the process.
- 6. For the finishing touch, consider adding hardware that speaks to your soul—think vintage brass knobs or hand-painted ceramic pulls. Replacing old, tired handles is such a simple yet profound way to shift the entire energy of a piece. It’s the little details that truly allow your personality to shine through your hard work.
- 7. Finally, once everything is set, bring your upcycled treasure into its new home and take a slow, deep breath. Look at what you’ve created with your own two hands. You haven’t just recycled a piece of wood; you’ve practiced intentionality and turned something forgotten into something that truly nourishes your space.
Honoring the Grain Masterful Sanding Techniques for Diy Success
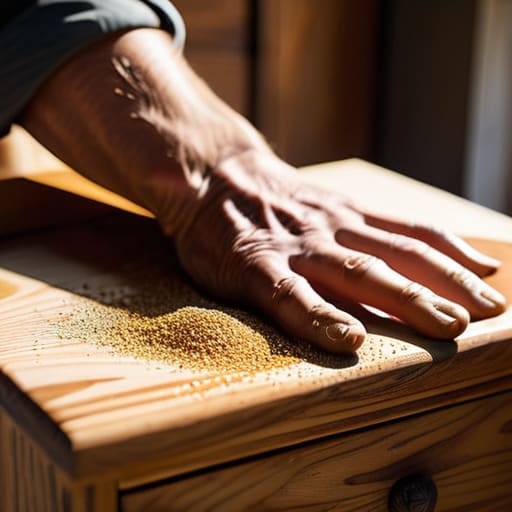
I remember my first attempt at refinishing old wood furniture; I was so rushed, thinking I could skip the prep work to get to the “fun” part. I learned the hard way that sanding isn’t just a chore—it’s actually a form of meditation. When you run your hands over the wood, you start to feel its history. To get that professional finish, you really need to master specific sanding techniques for DIY success, starting with a coarser grit to remove the old varnish and gradually moving to a finer grit until the surface feels as smooth as silk.
Don’t rush this stage! If you leave deep scratches from a heavy-grit sandpaper, they will show up even more clearly once you apply your topcoat. I always suggest taking a slow, mindful breath between grits; it keeps you from getting frustrated. Also, make sure you have the right furniture restoration tools on hand, like a good orbital sander for large surfaces and some detail sanding sponges for those tricky, carved corners. Treating this step with respect ensures that your beautiful new creation stands the test of time.
Choosing Your Palette the Gentle Magic of Chalk Paint vs Acrylic Paint
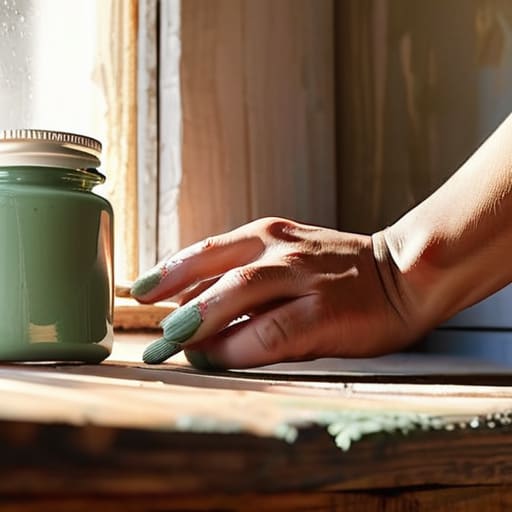
Now that we’ve handled the prep work, it’s time for the most soulful part of the journey: choosing your colors. I remember when I first tried refinishing old wood furniture in my tiny apartment; I was so overwhelmed by the options! When you’re deciding between chalk paint vs acrylic paint, try to listen to the “vibe” you want your piece to project. Chalk paint is like a warm hug—it’s incredibly forgiving, has a beautiful matte finish, and doesn’t require heavy priming, which makes it a favorite for that lived-in, vintage aesthetic.
On the other hand, if you’re looking for something more durable and vibrant, acrylic-based paints are your best friend. They offer a smoother, more modern look and tend to hold up better in high-traffic areas like kitchen chairs. My little tip? If you go the chalk route, don’t forget that protecting finished furniture with a good wax or sealant is essential to lock in that magic. Whichever path you choose, let your intuition guide your hand. This isn’t just about decor; it’s about bringing a piece of your soul into your home.
Small Acts of Love: My Top 5 Rituals for a Successful Upcycle
- Listen to the wood before you work. It sounds a bit “woo-woo,” I know, but before you grab your sandpaper, take a moment to really look at the piece. Is there a beautiful knot or a unique grain pattern that deserves to be highlighted? Sometimes, the most fulfilling projects are the ones where we let the original character of the piece lead the way, rather than trying to mask it.
- Curate your workspace for mindfulness. Upcycling can get messy and overwhelming quickly, which is the opposite of the calm we’re striving for. I always set out my tools neatly and perhaps light a bit of sandalwood incense. When your environment feels intentional, your creative process follows suit, turning a “chore” into a meditative practice.
- Don’t fear the “imperfection” phase. There will be a moment—usually halfway through—where you’ll look at your project and think, Oh no, what have I done? This is where most people quit. Take a deep breath, step away for a cup of herbal tea, and remember that beauty often lies in the unexpected textures and layers that emerge during the process.
- Source with intention. Instead of just looking for the cheapest thing at a thrift store, try to find pieces that have a “soul”—something that feels like it has a story worth telling. When you rescue a piece of furniture that was headed for a landfill, you aren’t just decorating a room; you’re practicing a form of stewardship for our planet.
- Celebrate the finished ritual. Once the last coat of wax is dry and the piece is in its new home, don’t just move on to the next task. Stop. Sit with it. Pour yourself a glass of something lovely and appreciate the tangible result of your patience and creativity. You didn’t just change a piece of furniture; you practiced the art of transformation.
Finding the Heart in the Handiwork
Remember that upcycling isn’t just about a fresh coat of paint; it’s a mindful practice of seeing potential where others see an end, allowing you to connect more deeply with your physical surroundings.
Don’t rush the process—the beauty of DIY lies in the slow, intentional steps, from the meditative rhythm of sanding to the careful selection of colors that resonate with your soul.
Embrace the imperfections along the way, because a piece of furniture with a little history and a few “beautiful mistakes” holds far more character and warmth than something mass-produced and sterile.
Finding Beauty in the Second Act
“Upcycling isn’t just about giving an old piece of furniture a new coat of paint; it’s a mindful practice of seeing potential where others see an end, reminding us that even when we feel worn down, we are always capable of a beautiful transformation.”
Sophia Reynolds
The Heartbeat of Your Home
As we wrap up this journey of transformation, I hope you feel a sense of pride in the work you’ve put in. From the meditative rhythm of sanding down those rough edges to the intentionality of selecting a paint that speaks to your soul, you haven’t just been fixing furniture—you’ve been practicing the art of mindful creation. We’ve covered how to respect the natural grain of the wood and how to choose between the soft, matte finish of chalk paint and the durability of acrylics, ensuring that your new piece is as resilient as it is beautiful. Remember, the goal wasn’t just a polished surface; it was about honoring the history of the object while making room for its new chapter in your life.
At the end of the day, upcycling is so much more than a sustainable DIY project; it is a beautiful metaphor for how we treat ourselves. Just as we strip away the old layers to reveal something vibrant and new, we too have the capacity to shed what no longer serves us and reimagine our own potential. So, as you place your newly transformed piece in your favorite corner, take a moment to breathe and appreciate the stillness you’ve created. You are building a home that reflects your values, one intentional choice at a time.
Frequently Asked Questions
I'm a bit nervous about the mess—how can I upcycle my favorite piece without turning my entire living room into a dusty disaster zone?
Oh, I hear you! I remember my first project; I felt like I’d invited a sandstorm into my living room. To keep your sanctuary peaceful, try setting up a “wellness station” outdoors if you can, or lay down heavy-duty drop cloths—not just plastic, but cloth, which absorbs dust better. I also love a good DIY hack: use a handheld vacuum constantly while you work. It keeps the chaos contained so you can stay mindful and focused.
What should I do if I find a beautiful vintage piece at a thrift store, but it feels a little too "worn out" or damaged to save?
Oh, I’ve been there! I once found a mahogany side table in a thrift shop that looked more like firewood than furniture. My first instinct was to walk away, but then I remembered: beauty often hides beneath the scars. Instead of seeing “damage,” try seeing “character.” If it’s structurally sound, even a little wood filler and some gentle sanding can work wonders. Sometimes, the most broken pieces are just waiting for a little intentional love to shine again.
How do I know if the finish I've chosen actually matches the energy and vibe of the room I'm trying to create?
Think of your room as an extension of your own inner landscape. Before you commit, close your eyes and visualize yourself in that space. Does the finish you’ve chosen feel like a deep, grounding exhale, or a bright, energizing morning? I always suggest testing a small swatch in the actual lighting of the room. If the texture and color make you feel calm and centered, you’ve found the right energetic match.
