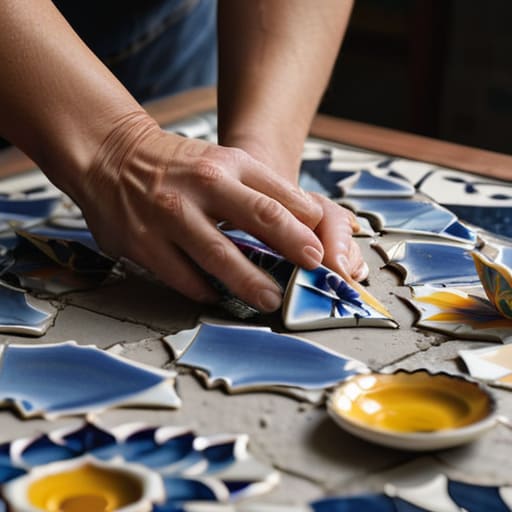
I remember sitting on my floor in a tiny, sun-drenched apartment in San Francisco, surrounded by a chaotic sea of broken ceramic plates and feeling completely overwhelmed. I had this vision of a beautiful, cohesive piece of art, but instead, I just felt like I was staring at a pile of expensive trash. Most people think that learning how to make a mosaic requires a perfect, steady hand and an innate sense of geometric precision, but that’s actually a total myth. In reality, the magic happens when you stop trying to control every single fragment and instead embrace the beautiful imperfections of the pieces you have.
In this guide, I’m stripping away the intimidating technical jargon to show you the soulful, meditative side of this craft. I’ll walk you through the essential tools you actually need, how to choose a palette that sings, and the simple rhythm of setting your tiles without the stress. My goal isn’t just to teach you the mechanics, but to help you find a sense of mindful flow in the process. Let’s turn those scattered fragments into something that feels deeply meaningful.
Table of Contents
- Step-by-Step Instructions
- Choosing Your Medium Exploring Glass vs Ceramic Tesserae
- Gathering Your Essentials Must Have Mosaic Art Tools and Supplies
- Finding Your Flow: 5 Soulful Tips for a Harmonious Mosaic Process
- Embracing the Process: My Three Golden Rules for Mosaic Making
- ## Finding Beauty in the Broken Pieces
- Embracing the Beauty of Your Creation
- Frequently Asked Questions
Guide Overview
Tools & Supplies
- Tile nippers for shaping pieces
- Spatula or spreader for adhesive
- Sponge for cleaning grout
- Mosaic tiles or broken ceramics (1 pack)
- Mosaic adhesive or thin-set (1 tub)
- Grout (1 bag)
- Base substrate like wood or terracotta (1 piece)
Step-by-Step Instructions
- 1. First, I want you to gather your materials, but don’t view this as a chore; think of it as setting the stage for your creativity. You’ll need a sturdy base (like a wooden board or a terracotta pot), your chosen tesserae—which could be stained glass, ceramic shards, or even pebbles from your favorite hiking trail—adhesive, grout, and a sponge. I always find that having everything laid out neatly on a clean surface helps me feel grounded and ready to begin.
- 2. Once your space is set, it’s time to sketch your vision onto your base. I highly recommend using a soft pencil to lightly draw your design; this isn’t about perfection, but about creating a roadmap for your intuition to follow. If you’re feeling overwhelmed by a blank canvas, remember that even the most intricate mosaics start with a single, simple line.
- 3. Now, we move into the rhythmic part of the process: cutting and selecting your pieces. Using a pair of wheeled glass nippers or a small hammer, carefully shape your materials to fit the curves of your sketch. I love to take a moment here to really look at the colors and textures, choosing each piece as if I’m selecting a stone for a Zen garden, ensuring they nestle together with intention.
- 4. As you begin applying the pieces, use a thin layer of adhesive to secure each fragment to your base. I usually suggest working in small, manageable sections so the glue doesn’t dry before you’re ready. This is where you might notice your breathing slowing down; let the repetitive motion of placing each piece become a form of moving meditation for you.
- 5. Once your design is complete and the adhesive has fully cured—usually after about 24 hours—it’s time for the transformative step of grouting. Mix your grout to a peanut butter consistency and spread it generously over the entire surface, making sure to push it into all those tiny, beautiful crevices between the pieces. Don’t worry if it looks messy at first; this stage is all about filling the gaps and bringing the elements together.
- 6. After the grout has sat for a bit, take a damp sponge and gently wipe away the excess from the surface of your tiles. This is a delicate moment, so move with grace and patience to avoid pulling the grout out from the joints. As the colors of your mosaic start to pop through the haze, you’ll feel that wonderful sense of accomplishment that comes from seeing a vision finally take shape.
- 7. Finally, once everything is dry, give your masterpiece one last polish with a soft, dry cloth to bring out the shine. Take a long, deep breath and step back to admire what you’ve created. You haven’t just made a piece of art; you’ve practiced the art of patience and found beauty in the fragmented pieces of life.
Choosing Your Medium Exploring Glass vs Ceramic Tesserae
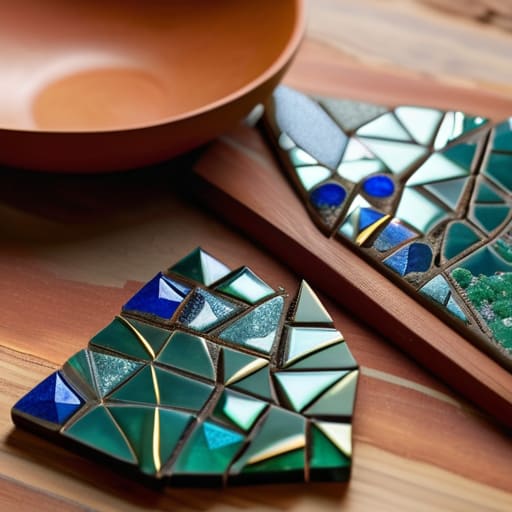
When you finally sit down with your workspace laid out, the first real creative crossroads you’ll face is deciding between glass vs ceramic tesserae. I remember my very first project back in college; I was so eager to start that I didn’t stop to consider how the light would hit my pieces. Glass is absolutely breathtaking—it catches the sun and dances around the room—but it can be a bit more temperamental to cut. If you’re looking for something more forgiving and earthy, ceramic is your best friend. It offers a wonderful, tactile quality that feels very grounded, which I find incredibly soothing when I’m practicing mindfulness through my craft.
As you explore different types of mosaic materials, try to think about the “energy” of the space where your piece will live. Are you creating a vibrant, shimmering centerpiece for a sunny windowsill, or a matte, calming accent for a quiet corner? Don’t feel pressured to master complex mosaic tile patterns for beginners right away; instead, focus on how the texture of the material speaks to you. Whether it’s the translucency of glass or the sturdy reliability of ceramic, let your intuition guide your selection.
Gathering Your Essentials Must Have Mosaic Art Tools and Supplies
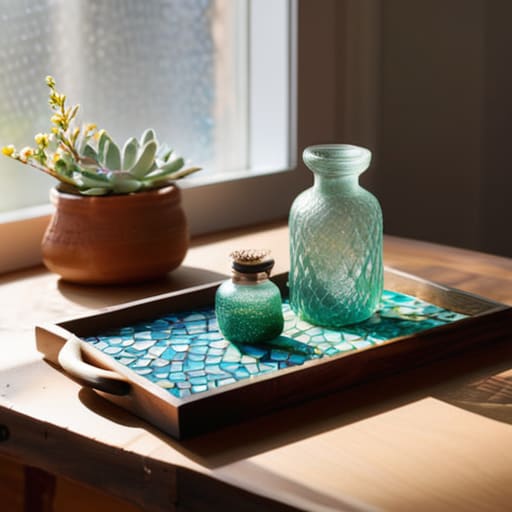
Before we dive into the actual assembly, let’s talk about setting the stage. I remember my first attempt at this; I was so overwhelmed by the sheer number of options that I almost didn’t start at all. When you’re curating your mosaic art tools and supplies, think of it as setting up a sacred space for your creativity. Beyond just the tiles, you’ll want a good pair of wheeled nippers to shape your pieces and a reliable adhesive. I always suggest grabbing a small tray to organize your bits and pieces—it keeps the chaos at bay and allows you to focus on the flow of the work rather than hunting for a stray shard of glass.
As you explore the various types of mosaic materials, try to think about the sensory experience. Will you be working with the cool, smooth texture of glass or the more earthy, rustic feel of ceramic? Having a dedicated sponge and a bucket for cleaning will also save you so much frustration later on. Remember, the goal isn’t just to finish a project, but to find joy in the preparation itself. When your workspace is organized and intentional, your mind follows suit.
Finding Your Flow: 5 Soulful Tips for a Harmonious Mosaic Process
- Embrace the Imperfect: I know it’s tempting to aim for mathematical precision, but some of my favorite pieces come from those “happy accidents.” If a tile doesn’t fit quite right, don’t fight it—let it breathe. Sometimes the most beautiful patterns are the ones that feel organic and a little bit wild.
- Listen to Your Hands: As you’re pressing each tessera into the adhesive, try to stay present in that tactile sensation. It’s easy to rush toward the finished product, but the magic happens in the micro-moments. Treat each piece like a tiny meditation; it turns a craft into a ritual.
- Mind the Gaps: One thing I learned during my corporate wellness days is that “white space” is just as important as the work itself. In mosaic making, your grout lines are your breathing room. Don’t crowd your tiles too tightly; give your design the space it needs to actually stand out and shine.
- Work in Small Bursts: To avoid that dreaded “creative burnout” (and the neck strain that comes with it!), I highly recommend the Pomodoro technique or something similar. Set a timer for 25 minutes of focused tiling, then step away, stretch your back, and grab a glass of water. Your art—and your body—will thank you.
- Curate Your Atmosphere: Your environment dictates your energy. Before you dive in, clear your workspace of clutter and perhaps put on some low-fi beats or nature sounds. When you create in a space that feels intentional and calm, that sense of peace will naturally flow right into your mosaic.
Embracing the Process: My Three Golden Rules for Mosaic Making
Remember that perfection is the enemy of joy; let the tiny imperfections in your tiles tell a story of your unique creative journey rather than striving for a flawless finish.
Honor your rhythm by taking mindful breaks between cutting and setting, ensuring you stay connected to the tactile sensation of the materials rather than rushing toward the end result.
View your choice of medium as an extension of your intention, whether you’re seeking the luminous energy of glass or the earthy, grounded stability of ceramic.
## Finding Beauty in the Broken Pieces
“Creating a mosaic is so much more than just an art project; it’s a beautiful metaphor for life itself. We often spend so much time trying to hide our cracks and imperfections, but in mosaic work, it’s those very fragments—the broken, irregular pieces—that come together to create something far more intricate and breathtaking than a single, unbroken surface ever could.”
Sophia Reynolds
Embracing the Beauty of Your Creation
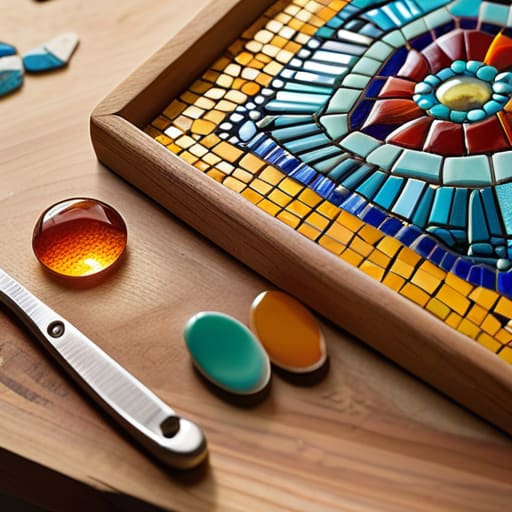
As you step back from your workbench, take a moment to really look at what you’ve built. From selecting the perfect glass or ceramic tesserae to carefully organizing your essential tools, every decision you made was a step toward bringing a vision to life. Remember that the technical side—the glue, the spacing, and the grout—is simply the framework that supports your creativity. It’s about the intentionality you poured into every single fragment, ensuring that even the smallest piece has its rightful place in the larger picture. You’ve navigated the complexities of the medium, and now you have a tangible piece of art that reflects your unique perspective.
Beyond the finished mosaic, I hope you carry the sense of peace you found during the process into the rest of your week. There is something so profoundly healing about working with your hands, moving slowly through a task that cannot be rushed by a deadline or a notification. In our frantic, high-speed world, I want you to remember that true fulfillment is often found in the slow moments. Whether your mosaic is perfect or slightly imperfect, it is a beautiful testament to your ability to pause, create, and breathe. Keep finding that stillness in everything you do.
Frequently Asked Questions
I’m a bit nervous about the mess—how do I clean up the grout without ruining my workspace or the mosaic itself?
Oh, I hear you! I remember feeling that exact same way during my first few projects—the fear of a permanent mess is so real. Take a deep breath; you’ve got this. To keep things calm, lay down a heavy-duty drop cloth first. When grouting, work in small sections and use a damp (not soaking!) sponge. It’s all about that gentle, rhythmic wiping. Think of it as a mindful cleaning ritual rather than a chore.
Is there a way to incorporate recycled materials or found objects, or should I stick strictly to professional tesserae?
Oh, I absolutely love that question! Honestly, leaning into found objects is where the real magic happens. Back when I was struggling with burnout, I started making small mosaic coasters using broken sea glass and old ceramic plates—it was so therapeutic to give something “broken” a new purpose. You don’t need professional tesserae to create something beautiful. Using recycled materials adds a unique soul and story to your work that store-bought tiles just can’t match.
How do I know if my design is too complex for a beginner, and how can I simplify it without losing the creative spark?
It’s so easy to get swept up in a grand vision, but remember: your first mosaic is about the process, not perfection. If you find yourself feeling more overwhelmed than inspired, your design might be too intricate. Try scaling back by grouping colors into larger blocks rather than tiny gradients. Think of it like a meditation; focus on the rhythm of the larger shapes first. You can always add detail later once you’ve found your flow!
