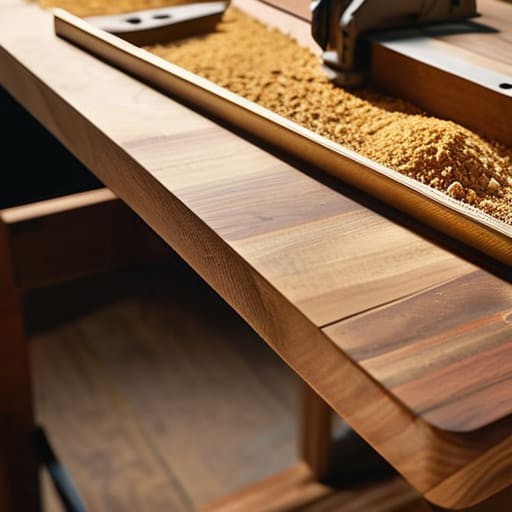
I remember sitting on my floor in my tiny first apartment in Portland, surrounded by expensive woodworking tools I didn’t know how to use and a pile of splintered wood that looked nothing like the Pinterest boards I’d been obsessing over. I felt so defeated, thinking that if I couldn’t master complex joinery, I’d never be “creative” enough. But here is the truth: learning how to make a picture frame isn’t actually about having a professional workshop or perfect precision; it’s about the intentional rhythm of working with your hands to honor something you love. It’s a way to slow down and turn a fleeting digital memory into something you can actually hold.
In this guide, I’m stripping away the intimidation factor and the unnecessary jargon. I’ll walk you through a simplified, soulful approach to crafting your own frames, focusing on the essential steps that lead to a beautiful result without the burnout. We’re going to focus on mindful craftsmanship—from selecting your wood to the final polish—so you can create something that truly resonates. Let’s move past the perfectionism and start building something meaningful together.
Table of Contents
- Step-by-Step Instructions
- Selecting the Perfect Soulful Wood and Choosing Picture Frame Molding
- Mastering Miter Saw Settings for Frames and Essential Woodworking Tools
- The Little Details That Turn a Project into a Keepsake
- Embracing the Rhythm of Creation
- ## The Intention Behind the Craft
- Honoring the Finished Piece
- Frequently Asked Questions
Guide Overview
Tools & Supplies
- Miter box and saw for cutting precise angles
- Sandpaper for smoothing edges
- Measuring tape for accuracy
- Wood strips or molding (approx. 4-6 feet)
- Wood glue for joining corners
- Small finishing nails or staples
- Picture glass or acrylic sheet
- Cardboard or foam board for backing
Step-by-Step Instructions
- 1. First, let’s gather our materials, but I want you to approach this like a mindful ritual rather than a chore. You’ll need some quality wood strips (I personally love the warmth of cedar), a miter saw or a simple miter box for those precise angles, wood glue, some small finishing nails, and a measuring tape. Before you start, take a quick breath and set an intention for this project; we aren’t just making a holder for a photo, we are building something with purpose.
- 2. Once you’ve settled in, it’s time to measure twice and cut once—a mantra that applies to woodworking and life alike. Measure the dimensions of the photo you want to frame, but remember to add a little extra room for the “rabbet,” which is that little groove on the back where the glass and photo will sit. I always tell my clients that precision in the small things creates the foundation for much larger successes later on.
- 3. Now, we move into the rhythmic work of cutting those 45-degree angles. Using your miter saw, carefully cut the ends of your wood strips so they fit together perfectly to form a rectangle. This part requires a steady hand and a focused presence; if your mind starts to wander to your inbox or your to-do list, just gently bring your attention back to the sensation of the wood and the sound of the saw.
- 4. After you have your four pieces ready, it’s time to bring them together with a bit of glue and patience. Apply a thin, even layer of wood glue to the mitered edges and press them into place. I find that using a corner clamp helps immensely, but if you don’t have one, don’t sweat it—just use a bit of gentle pressure to ensure the joints are snug. This stage is a beautiful metaphor for how we piece our own lives together; sometimes it takes a little extra support to find the perfect fit.
- 5. While the glue is still slightly tacky, take your small finishing nails and carefully tap them into the corners to reinforce the structure. Be mindful of your strength here; you want to be firm but compassionate with the wood so you don’t split the grain. If you find yourself getting frustrated because a piece isn’t sitting quite right, stop, take a sip of tea, and remind yourself that imperfection is part of the process.
- 6. Once the frame is structurally sound and the glue has fully dried, it’s time for the most therapeutic part: the sanding. Use a fine-grit sandpaper to smooth out the edges and corners until the wood feels soft and organic under your fingertips. This is your time to decompress and connect with the tactile reality of your creation, smoothing away the rough edges just as we strive to do with our own inner selves.
- 7. Finally, we prepare the back of the frame to hold your treasure. You can use a piece of sturdy cardboard or thin plywood, securing it to the back with small glazier points or even just more tiny nails. When you finally slide your photograph behind the glass and tuck it into your handmade frame, take a moment to really see it. You haven’t just completed a DIY project; you’ve created a sanctuary for a memory.
Selecting the Perfect Soulful Wood and Choosing Picture Frame Molding
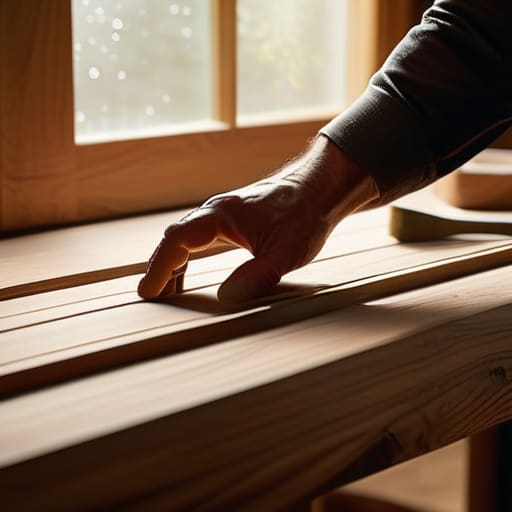
Before we even touch our tools, I like to think of this stage as setting the intention for the entire piece. When you’re choosing picture frame molding, don’t just look at the dimensions; feel the grain and consider the energy the wood brings to a room. I remember back in my corporate days, I used to surround myself with heavy, dark oak to feel grounded, but lately, I’ve found that a light, airy maple brings a sense of much-needed clarity to my morning yoga space. Whether you opt for a rustic reclaimed timber or a sleek, modern profile, let the material reflect the soul of the memory you’re about to preserve.
Once you’ve found “the one,” the technical side begins to dance with the creative. If you’re working with harder woods, your miter saw settings for frames need to be incredibly precise to ensure those corners meet with a sense of peace rather than frustration. A tiny gap can feel like a loud distraction in an otherwise serene space. I always suggest taking a moment to sand your pieces lightly before assembly; it’s a small, meditative ritual that ensures everything flows together seamlessly once the final piece is in place.
Mastering Miter Saw Settings for Frames and Essential Woodworking Tools
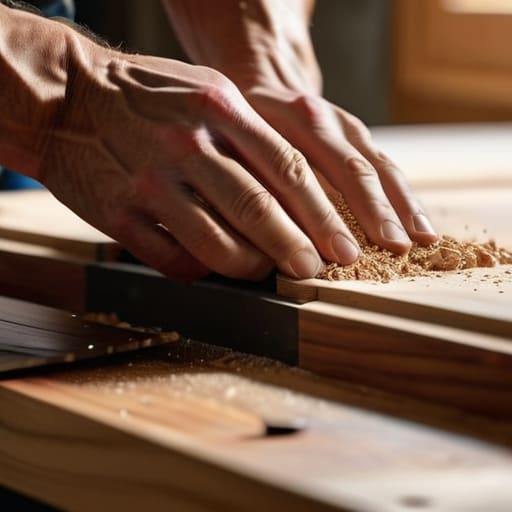
Now, let’s talk about the moment where precision meets patience: setting up your workspace. When you’re diving into your picture frame woodworking tools, I always suggest starting with a quick breathing exercise. It sounds a bit “woo-woo,” I know, but when you’re handling delicate molding, a steady hand is much easier to find when your nervous system is calm. You’ll want to ensure your miter saw is perfectly calibrated; even a fraction of a degree off can leave you with gaps that feel incredibly frustrating later on. Finding the right miter saw settings for frames is really about that mindful attention to detail—testing your cuts on scrap wood first allows you to find your rhythm before you commit to your beautiful, chosen timber.
Once your angles are dialed in, remember that the assembly is where the magic truly happens. I’ve learned through years of balancing high-stress projects that rushing the glue-up is the quickest way to lose your sense of flow. When applying wood glue for picture frames, less is often more. Apply a thin, even layer to avoid messy overflows that can ruin the finish. As you join the corners, take a moment to appreciate the tactile connection between your hands and the wood; it’s a beautiful way to ground yourself in the present.
The Little Details That Turn a Project into a Keepsake
- Don’t rush the glue-up; I’ve learned that rushing is just a way of inviting chaos into your craft. When you’re joining those mitered corners, take a deep breath and ensure every edge is flush before clamping. A little patience here ensures the structural integrity of the frame, much like how a little patience in our daily lives builds a stronger foundation.
- Embrace the beauty of imperfection with a bit of sanding. Instead of aiming for a clinical, machine-perfect finish, use fine-grit sandpaper to follow the natural grain of the wood. This tactile process is actually quite meditative—it’s a way to connect with the material and honor the organic life of the timber you’ve chosen.
- Mind the gap with a little bit of “filler magic.” Even with the best miter saw settings, tiny gaps can happen. Instead of feeling frustrated, keep some wood filler on hand that matches your stain. Think of it as a way to acknowledge that even when things aren’t seamless, we can still find ways to mend and make them beautiful.
- Choose your glazing with intention. While glass is the standard, sometimes using an acrylic sheet can be a more mindful choice if you’re looking for something lightweight and shatter-resistant. It’s all about creating a safe, protective environment for the memory you’re about to house inside.
- Remember that the backing is just as important as the front. Using a sturdy, acid-free matting doesn’t just make the photo pop visually; it protects the artwork from degradation over time. It’s a beautiful metaphor for life, really—surrounding what we love with layers of support and care so they can truly shine.
Embracing the Rhythm of Creation
Remember that the precision of your miter cuts is just as much about your presence in the moment as it is about the tool settings; let the steady rhythm of the work ground you.
Choose your materials with intention, selecting wood that resonates with the energy of the memory you’re preparing to hold.
View the entire process not as a chore to be finished, but as a mindful practice of building something beautiful that honors both your craft and your history.
## The Intention Behind the Craft
“When we build a frame, we aren’t just joining pieces of wood together; we are creating a sacred boundary for a moment in time, teaching ourselves that even the most fleeting memories deserve a place of stillness and honor.”
Sophia Reynolds
Honoring the Finished Piece
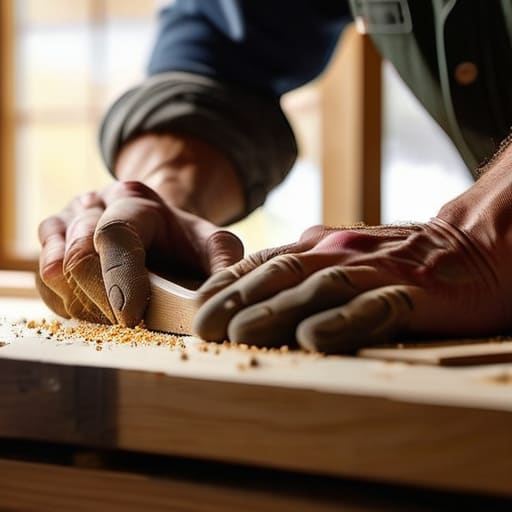
As we bring this project to a close, take a second to look back at the journey you’ve just taken. From the initial moment of selecting that perfect, soulful piece of wood to the precision required for those miter cuts, you haven’t just been building a physical object; you’ve been practicing the art of intentional creation. We’ve covered everything from choosing the right molding to mastering your saw settings, ensuring that the foundation of your work is as sturdy as it is beautiful. Remember, the technical details—the sanding, the joining, and the finishing—are what provide the structure, but it is your mindful presence throughout the process that truly elevates the craft from a mere task to a meaningful ritual.
Now that your frame is complete, I want you to do more than just hang it on a wall and forget about it. Use this finished piece as a gentle reminder of what you are capable of when you choose to slow down and engage with the world around you. Whether it holds a cherished family photo or a simple landscape from a favorite hike, let this frame serve as a vessel for gratitude. In our fast-paced lives, we often rush past the beauty in front of us, but by taking the time to craft something with our own hands, we learn to hold onto those fleeting moments a little more tightly. Go ahead, breathe deep, and enjoy the beautiful life you are building.
Frequently Asked Questions
How do I ensure my miter joints are perfectly seamless so the frame looks professional rather than DIY?
I used to get so frustrated when my projects looked “homemade” in the wrong way. To get those seamless, professional joints, precision is everything. First, double-check your miter saw’s calibration—even a half-degree error ruins the corner. I also swear by using a dedicated miter gauge and a quick sanding with high-grit paper before assembly. Think of it like a mindful ritual: slow down, check your angles twice, and let the precision bring you peace.
What are the best ways to protect the wood and finish I've chosen so the frame lasts for years to come?
Think of finishing your frame as the final act of self-care for your creation. To ensure it stands the test of time, I always recommend a high-quality, non-toxic sealant or a natural beeswax finish. This doesn’t just protect the wood from moisture and dust; it breathes life into the grain. Take your time with the application—it’s a meditative process. A well-applied finish preserves both the physical beauty and the intention you’ve poured into it.
Since I'm using this to hold something meaningful, how do I safely secure the glass and backing without damaging the artwork?
This is such a tender moment in the process—handling something precious requires a gentle touch. To protect your treasure, I always recommend using acid-free matting and archival-quality backing to prevent any chemical degradation over time. When securing everything, avoid heavy-duty adhesives directly on the art. Instead, use specialized glazing points or even a simple linen tape. It’s all about creating a safe, breathable sanctuary for your memory to rest in.