I remember sitting on my kitchen floor in my tiny first apartment, surrounded by sawdust and a sense of overwhelming inadequacy, wondering why I couldn’t just follow a simple tutorial. I had spent hours watching videos that made it look effortless, yet every time I tried to learn how to make a cutting board, I ended up with uneven edges and a mounting sense of frustration. It turns out, the secret isn’t about having a workshop full of expensive, high-tech machinery; it’s actually about slowing down and respecting the grain of the wood.
In this guide, I’m stripping away the intimidation factor to give you a realistic, grounded approach to woodworking. I won’t promise you’ll become a master carpenter overnight, but I will walk you through the essential, no-nonsense steps to create something beautiful and functional. We’ll focus on the tactile joy of the process, from selecting the right timber to that final, satisfying coat of oil. My goal is to help you move past the technical overwhelm so you can find a sense of creative flow and walk away with a piece that truly honors your home.
Table of Contents
- Step-by-Step Instructions
- Choosing Your Foundation the Best Wood for Cutting Boards
- The Gentle Rhythm of Sanding Grits for a Smooth Finish
- Small Acts of Care: Five Nuances for a Board That Lasts a Lifetime
- Finding Joy in the Process: My Final Thoughts
- ## More Than Just Wood and Grain
- Bringing Your Creation to Life
- Frequently Asked Questions
Guide Overview
Tools & Supplies
- Table saw or Hand saw for cutting wood strips
- Orbital sander for smoothing surfaces
- Clamps to hold wood pieces together
- Drill with Forstner bit for handle holes (optional)
- Hardwood lumber (Maple, Walnut, or Cherry) 2-3 board feet
- Food-safe wood glue (Titebond III)
- Mineral oil or beeswax for finishing
Step-by-Step Instructions
- 1. First, we need to gather our materials, but I want you to think of this as curating your workspace rather than just a shopping trip. You’ll want to select a high-quality, food-safe hardwood like maple, walnut, or cherry—avoid anything with heavy treatments or toxic resins. Grab your measuring tape, a sharp saw, some wood glue that is specifically rated as non-toxic, and a few clamps. Setting up a clean, organized space is the first step toward a mindful creation process.
- 2. Once you have your wood, it’s time to measure and cut your pieces. I always find that taking a few deep breaths before making the first cut helps me stay present and precise. Measure out your desired dimensions, marking them clearly with a pencil, and then use your saw to cut the boards to length. Remember, we aren’t rushing to the finish line; the goal is to honor the wood and the process itself.
- 3. Now, we move into the gluing phase, which is where the magic really begins to happen. Apply a thin, even layer of your food-safe glue to the edges of the boards you’ve cut. When you press them together, try to align them with gentle intention rather than force. Once they are joined, use your clamps to hold everything tightly in place. This is a great moment to step away for a few minutes, perhaps grab a cup of herbal tea, and let the glue set undisturbed.
- 4. After the glue has fully dried, you’ll likely notice some uneven edges or small gaps. This is perfectly normal! Grab your sandpaper and start with a coarser grit to level the surface. As you sand, I encourage you to focus on the sensation of the grain smoothing out under your hands. It’s incredibly meditative. Slowly transition through the grits—from coarse to medium, and finally to a very fine grit—until the surface feels as smooth as silk.
- 5. Next, we’ll give your cutting board its final shape. If you want rounded corners to make it feel more organic and soft to the touch, use a sander or a file to gently curve the edges. This little detail makes a huge difference in how the board feels in your hands when you’re preparing a meal. Once the shape is to your liking, give it one last, thorough sanding to ensure there are no stray imperfections left behind.
- 6. The final, and perhaps most rewarding, step is the oiling. This is where the wood’s natural beauty truly comes alive. Use a food-grade mineral oil to coat the entire surface. As you rub the oil into the wood, you’ll see the grain patterns pop and deepen in color. It’s a deeply satisfying way to seal in the work you’ve done. Once it’s absorbed, wipe away any excess with a clean cloth, and your beautiful, handcrafted piece is ready to bring a sense of calm and utility to your kitchen.
Choosing Your Foundation the Best Wood for Cutting Boards
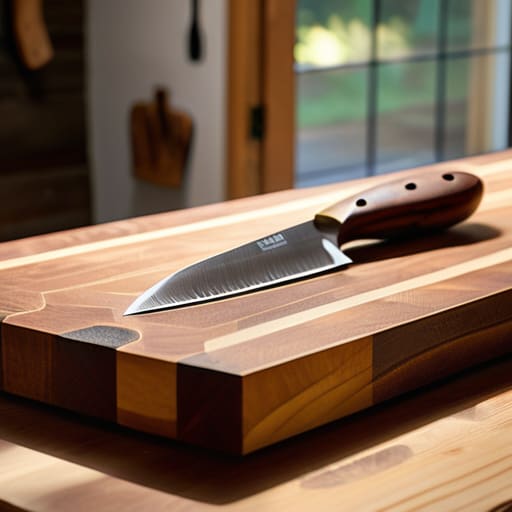
When you first step into the workshop, it’s easy to get overwhelmed by the sheer variety of timber available, but I always tell my clients to think of wood selection as setting the intention for your project. You aren’t just picking a material; you’re choosing the soul of your kitchen centerpiece. For beginners, I highly recommend focusing on hardwoods like maple, walnut, or cherry. These are widely considered the best wood for cutting boards because they are dense enough to withstand heavy knife work without splintering, yet they possess a gentle enough grain to protect your expensive blades.
As you dive deeper, you’ll encounter the classic debate of end grain vs edge grain. While end grain boards are stunning and incredibly durable because the wood fibers stand upright to “self-heal,” they do require a bit more patience and a steady hand during the build. Regardless of which direction you choose, remember that the quality of your wood dictates how well you’ll be preventing wood warping down the road. Choosing a stable, high-quality species from the start is the most mindful way to ensure your creation remains a functional piece of art for years to come.
The Gentle Rhythm of Sanding Grits for a Smooth Finish
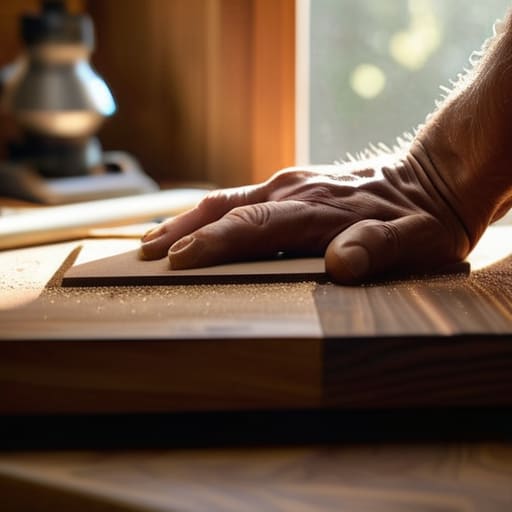
I often tell my clients that the most rewarding parts of any project are the ones that require us to slow down, and sanding is truly the ultimate lesson in patience. It’s easy to want to rush through to the finish line, but if you want to achieve those professional sanding grits for smooth finish results, you have to embrace the incremental progress. I like to think of it as a moving meditation; as you move from coarse to fine, you’re essentially smoothing out the friction in your own day.
As you work your way through the grits, remember to always sand in the direction of the grain. This is especially vital if you’ve decided to tackle an end grain vs edge grain design, as the texture can vary significantly between the two. If you skip a step or try to jump from a low grit straight to a high one, you’ll likely leave tiny scratches that only become visible once you apply your oils. Take your time, breathe through the repetitive motion, and let the rhythm of the work ground you.
Small Acts of Care: Five Nuances for a Board That Lasts a Lifetime
- Mind your glue lines; when you’re clamping your wood pieces together, ensure the pressure is even and steady, almost like a deep, intentional breath, to prevent any gaps from disrupting the flow of your beautiful design.
- Don’t rush the oil; once you’ve finished sanding, applying a food-grade mineral oil is a meditative process, but the real magic happens when you let it soak in deeply, giving the wood the nourishment it needs to truly thrive.
- Safety first, always; I know we get excited when we’re in the creative zone, but please, keep your fingers clear of those blades and never bypass your safety gear—protecting your well-being is the foundation of any meaningful craft.
- Embrace the imperfections; if you notice a tiny knot or a slight variation in the grain, don’t see it as a mistake, but rather as a unique character trait of the wood that tells its own story, much like our own lived experiences.
- Create a dedicated space for maintenance; I love setting aside a small “wellness kit” for my boards with a beeswax conditioner, making the seasonal re-oiling a ritual of gratitude for the tool that feeds my family.
Finding Joy in the Process: My Final Thoughts
Remember that the quality of your cutting board is a direct reflection of the patience you pour into it; don’t rush the sanding, as the smoothness is where the soul of the wood truly reveals itself.
Choose your wood with intention, selecting a variety that isn’t just functional for your kitchen, but one that brings a sense of natural beauty and grounding to your daily culinary rituals.
View this project as more than just a DIY task—it’s a meditative practice in creating something tangible and lasting that serves your home and your well-being every single day.
## More Than Just Wood and Grain
“When you’re shaping a cutting board, remember that you aren’t just assembling pieces of timber; you’re practicing the art of presence. Every stroke of the sandpaper and every careful measurement is an invitation to slow down, breathe, and find a sense of calm in the creation of something that will nourish your home for years to come.”
Sophia Reynolds
Bringing Your Creation to Life
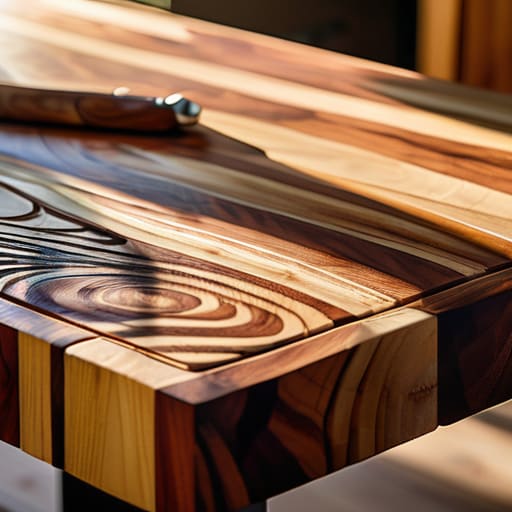
As we reach the final stages of this journey, take a moment to look at what you’ve actually accomplished. From the initial, thoughtful selection of your wood species to the rhythmic, almost meditative process of progressing through the sanding grits, you haven’t just built a kitchen tool; you have practiced the art of intentional creation. By following these steps—choosing a durable foundation, respecting the grain, and refining every surface until it feels like silk—you have ensured that this piece will serve your home for years to come. It’s about more than just the physical object; it’s about the disciplined patience you poured into every single stroke of the sandpaper.
I often tell my clients that the most beautiful things in life aren’t just the end results, but the quiet moments of presence we find while making them. This cutting board is now a testament to your ability to slow down and focus on the task at hand. As you apply that final coat of food-safe oil and watch the wood grain dance to life, I hope you feel a deep sense of pride. Remember, in our fast-paced world, the ability to create something with your own hands is a profound way to reconnect with yourself. Go ahead, use it, share a meal around it, and enjoy the beautiful harmony of a life well-lived.
Frequently Asked Questions
How do I know if the oil I'm using is actually food-safe and won't affect my family's meals?
That is such a thoughtful question, and honestly, it’s one I used to obsess over when I first started crafting! When it comes to your family’s health, I always tell my clients: if you wouldn’t eat it, don’t put it on your food. Look specifically for “food-grade” labels. Stick to pure, unrefined oils like fractionated coconut oil or beeswax blends. Avoid anything with “drying oils” or synthetic additives. When in doubt, check for FDA compliance—your peace of mind is worth it.
What's the best way to prevent my new board from warping or cracking after the first few washes?
Oh, I remember that exact moment of panic! When I first finished my own handcrafted board, I was so protective of it. To keep that beautiful wood from warping, the golden rule is to avoid the dishwasher at all costs—it’s much too aggressive. Instead, hand wash it with mild soap and dry it immediately. Most importantly, treat it to a little “moisture hug” with food-grade mineral oil once a month to keep it supple and resilient.
I’m a bit worried about the mess—how can I keep all that fine sawdust from taking over my entire workspace?
Oh, I hear you! I remember my first big DIY project in my tiny apartment—I felt like I was breathing in a forest! To keep your space from feeling chaotic, I always recommend setting up a simple vacuum station or using a shop vac right next to your workspace. Even a small, damp cloth nearby to wipe down surfaces as you go makes a world of difference. Keeping your environment tidy helps keep your mind clear, too.