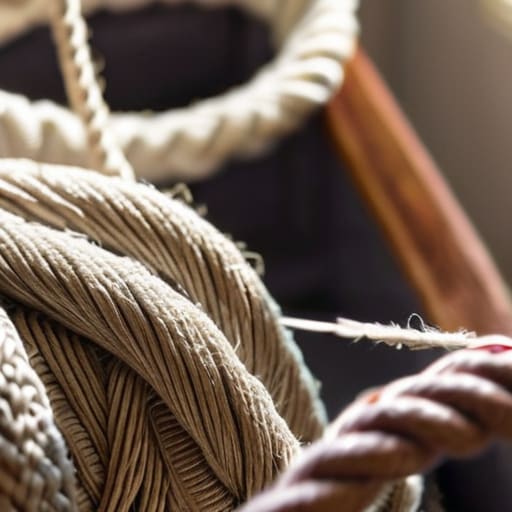
I remember sitting on my living room floor three years ago, surrounded by tangled coils of cotton and a mounting sense of frustration, wondering why every tutorial on how to make rope baskets seemed to require the precision of a master surgeon. I was burnt out from my corporate consulting days, desperately seeking a way to quiet my racing mind, but instead of finding peace, I was just creating a mess. I realized then that we often approach DIY projects with the same frantic, “get it done” energy we use at our desks, forgetting that the magic isn’t in the finished product, but in the rhythm of the process.
In this guide, I’m stripping away the complexity and the intimidating jargon to show you a way to create beautiful, functional pieces without the stress. I’ll walk you through the essential tools and the most intuitive techniques so you can master how to make rope baskets that actually look professional. My goal is to help you move past the perfectionism and into a state of mindful creation, where each loop of the rope becomes a tiny, meditative breath for your soul.
Table of Contents
- Step-by-Step Instructions
- Embracing the Coiling Method for Baskets and Quiet Moments
- Mastering Natural Fiber Basketry for a Soulful Home
- Small Rituals for a Perfect Weave: My Top 5 Tips for Mindful Basket Making
- Finding Harmony in the Handmade
- Finding Rhythm in the Weave
- Bringing the Rhythm Home
- Frequently Asked Questions
Guide Overview
Tools & Supplies
- Hot glue gun for securing ends and joints
- Scissors for trimming excess rope
- Measuring tape for sizing
- Cotton or jute rope (approx. 30-50 feet)
- Hot glue sticks (1 pack)
Step-by-Step Instructions
- 1. To begin, I like to gather my materials with a sense of intention. You’ll need some sturdy cotton rope—I personally love the organic feel of natural fibers—a hot glue gun, some sharp fabric scissors, and perhaps a small piece of cardboard if you want to create a very structured base. Think of this as setting your intention before you start any meaningful work; having everything within reach prevents that frantic, scattered feeling we often face in our busy workdays.
- 2. Start by coiling the end of your rope into a tight, small circle. As you wrap the rope around itself, use your glue gun to secure the layers, making sure each turn is firmly bonded to the last. This tiny center is the heart of your basket, much like how our small, daily habits form the foundation of our overall well-being.
- 3. Once your center coil feels stable, begin to expand the circle outward. Instead of laying the rope flat, start to slightly angle the coils upward. This is where you transition from a flat disc to a vessel with depth. I find that focusing on the rhythmic motion of coiling helps me enter a flow state, turning this simple craft into a moving meditation.
- 4. As the walls of your basket grow taller, you might find the shape wants to wobble. Don’t worry—this is perfectly natural. Just take a breath and use a bit more glue to ensure each new layer is anchored securely to the one below it. If you want a more structured look, you can even use a bit of wire or a thicker rope to reinforce the rim as you go.
- 5. Once you’ve reached your desired height, it’s time to finish the top edge. You can either wrap the final layer of rope tightly to hide the glue or, for a more rustic and soulful look, leave the ends slightly frayed. I always suggest taking a moment to admire your progress here; it’s easy to focus only on the finished product, but the beauty is in the layers you’ve built.
- 6. Finally, give your basket a quick trim with your scissors to remove any stray fibers or excess glue. Now, find a beautiful, quiet corner in your home to place it. Whether it holds your yoga journals or just a few dried lavender sprigs, let this basket be a gentle reminder that creating something beautiful requires nothing more than patience and presence.
Embracing the Coiling Method for Baskets and Quiet Moments
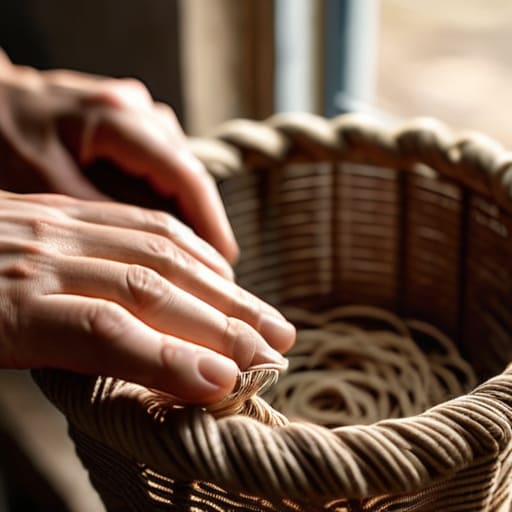
As you begin to find your rhythm with the material, I want to encourage you to really lean into the coiling method for baskets. There’s something incredibly grounding about the repetitive motion of winding the rope; it’s almost like a moving meditation. When I first started exploring natural fiber basketry, I used to rush through the process, trying to reach the finished product as quickly as possible. But I learned that the magic actually happens in the slow, deliberate turns. If you find your coils feeling a bit loose or shapeless, don’t worry—that’s just part of the learning curve. You can always use a bit of heat or a specific adhesive to help with stiffening rope baskets later on, ensuring they hold that beautiful structure you’ve worked so hard to create.
Think of this project not just as a way to organize your home, but as a dedicated window of time for yourself. Whether you’re using a hot glue gun for precision or sewing the coils together for a more rustic feel, let the tactile sensation of the rope anchor you to the present moment. It’s about creating space for stillness amidst the digital noise of our daily lives.
Mastering Natural Fiber Basketry for a Soulful Home
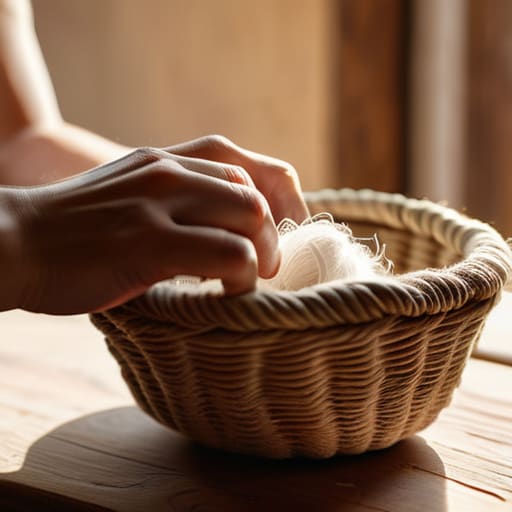
As you move deeper into the world of natural fiber basketry, I want you to think of your creations not just as storage solutions, but as tactile reminders of your own patience. When you’re experimenting with different cotton rope craft techniques, don’t feel pressured to achieve perfection on your first try. Sometimes, the slight irregularity in a coil is exactly what gives the piece its soul. I always tell my clients that perfection is often the enemy of presence; allow yourself the grace to let the rope dictate the shape.
If you find that your structures are feeling a bit too soft or shapeless, a wonderful little trick is to look into stiffening rope baskets using a diluted fabric stiffener or even a homemade starch solution. This helps the fibers hold their integrity, making them much more functional for holding heavier items like books or rolled-up yoga mats. Whether you are leaning into the rustic charm of a simple coil or exploring more intricate diy macrame rope decor, remember that the goal is to infuse your living space with intention. Every stitch is a chance to ground yourself.
Small Rituals for a Perfect Weave: My Top 5 Tips for Mindful Basket Making
- Choose your rope with intention; I always recommend starting with organic cotton or jute because the tactile sensation of natural fibers is much more grounding for your nervous system as you work.
- Don’t rush the tension—it’s tempting to speed through to see the finished product, but keeping a consistent, gentle pressure is what creates that beautiful, rhythmic structure we’re looking for.
- Embrace the “imperfect coil” as part of your journey; if a row looks a little wonky, don’t see it as a mistake, but rather as a unique fingerprint of your presence in that moment.
- Use a heavy-duty needle or even a specialized awl to prep your path, and remember to take a deep breath every time you pierce the fiber—it turns a repetitive task into a meditative practice.
- Set the scene for your creativity by clearing your workspace and perhaps lighting a candle, because when we treat our crafting as a sacred ritual rather than a chore, the quality of our work truly shines.
Finding Harmony in the Handmade
Remember that the beauty of a rope basket lies in its imperfections; let each slight wobble in the coil be a reminder to embrace your own beautiful, unpolished journey.
Use your crafting time as a dedicated ritual for mindfulness, allowing the repetitive motion of weaving to anchor you in the present moment and quiet the noise of a busy world.
View your finished baskets not just as organizational tools, but as soulful vessels that bring a sense of natural calm and intentionality into your living space.
Finding Rhythm in the Weave
“Making a rope basket isn’t just about creating a vessel for your belongings; it’s about the meditative rhythm of the coil, teaching us that when we slow down and weave our intentions one loop at a time, we build something both beautiful and resilient.”
Sophia Reynolds
Bringing the Rhythm Home
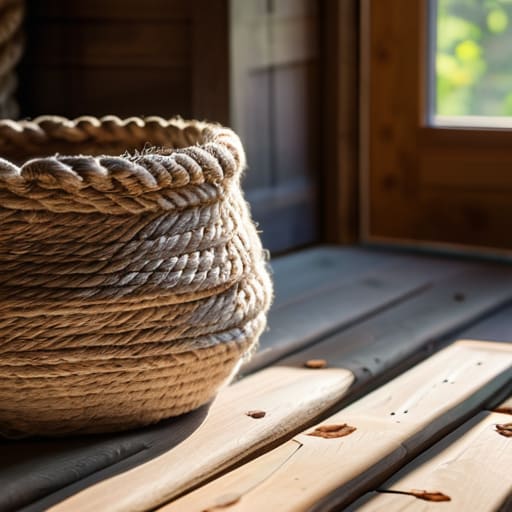
As we wrap up this journey of coils and knots, I hope you can look at your finished rope basket and see more than just a container for your belongings. We’ve explored everything from selecting the perfect natural fibers to mastering the meditative rhythm of the coiling method, all while learning how to turn a simple craft into a tool for intentional living. By choosing to create something with your own hands, you aren’t just organizing your physical space; you are actively practicing the art of slowing down. Remember, whether your weave is perfectly symmetrical or carries the beautiful imperfections of a beginner, what truly matters is the mindful presence you brought to the process.
My wish for you is that you carry this sense of tactile peace into the rest of your week. In our high-speed, digital world, it is so easy to lose touch with the grounding sensation of working with our hands, but I encourage you to make these moments of creation a regular ritual. Let your handmade baskets serve as a gentle, visual reminder to breathe and reset whenever life feels a little too chaotic. You have the power to curate a life that is as beautiful and structured as your new creations, one thoughtful stitch at a time. Go forth and live well, my friend.
Frequently Asked Questions
What kind of rope do you recommend for beginners who want something easy to handle but still want that beautiful, organic look?
I always suggest starting with a soft, 100% cotton clothesline rope. It’s a total game-changer for beginners because it’s incredibly forgiving on your hands—no rough fibers to cause irritation while you’re finding your rhythm. It has that beautiful, matte finish that feels so organic and intentional in a home. Plus, it holds its shape beautifully without being too stubborn, making it much easier to focus on your breathing rather than fighting the material.
I'm worried about my baskets losing their shape—how do I make sure the coils stay tight and sturdy once I'm finished?
I completely hear you—there’s nothing more frustrating than pouring your heart into a project only to have it lose its structure! To keep those coils tight and sturdy, I always recommend a firm, consistent tension as you stitch. Think of it like a deep, steady breath. Once you’re finished, applying a bit of fabric stiffener or even a light coating of clear matte sealant can act like a supportive hug, helping your beautiful creation hold its shape for years to come.
Are there any specific ways to decorate or personalize the baskets that don't feel too overwhelming for a first-time crafter?
Oh, I love that question! When you’re just starting out, it’s so easy to let “perfectionism” creep in and turn a relaxing hobby into another chore on your to-do list. To keep it gentle, I suggest sticking to one simple element—maybe a single strand of colorful cotton twine wrapped around the rim, or even just a beautiful sprig of dried lavender tucked inside. Let the basket breathe; sometimes, simplicity is the most soulful decoration of all.