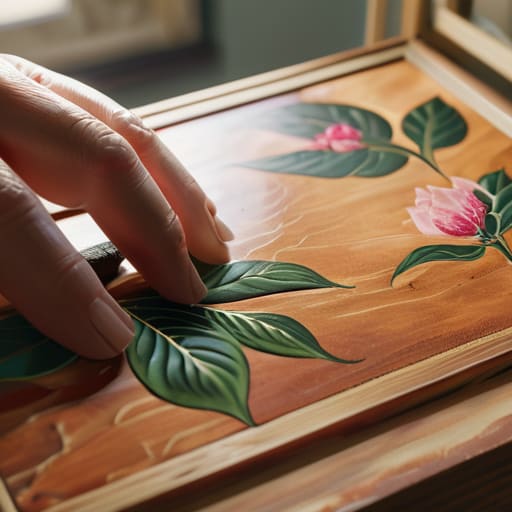
I remember sitting on my living room floor a few years ago, surrounded by half-dried glue and wrinkled paper, feeling completely defeated by a DIY project that was supposed to be my “zen moment.” I had watched dozens of tutorials, yet my attempt at learning how to do decoupage had resulted in nothing but a sticky, bubbly mess that looked more like an accident than art. It’s a common frustration; we often think this craft requires some sort of magical precision or expensive, professional-grade supplies to look seamless. But honestly? The secret isn’t in the tools you buy, but in the rhythm you create with your hands.
In this guide, I’m stripping away the fluff to show you the real, messy, and beautiful process of transformation. I’ll walk you through my tried-and-true methods for achieving that perfect, smooth finish without the headache, focusing on the mindful application that makes this craft so therapeutic. You won’t find any complicated jargon here—just honest, practical steps on how to do decoupage so you can turn everyday objects into soulful pieces of art. Let’s take a deep breath and dive in together.
Table of Contents
- Step-by-Step Instructions
- Curating Your Sanctuary With Essential Decoupage Supplies for Beginners
- Choosing Your Medium Mod Podge vs Decoupage Glue
- Small Rituals for a Flawless Finish: My Top 5 Decoupage Secrets
- Embracing the Rhythm of Creation
- ## The Soul in the Layers
- Embracing Your Creative Flow
- Frequently Asked Questions
Guide Overview
Tools & Supplies
- Paintbrush [Synthetic bristles for smooth application]
- Scissors [Sharp edges for precise paper cutting]
- Sponge [For applying even layers of sealant]
- Decoupage glue/medium [1 bottle of Mod Podge or similar]
- Decorative paper [3-5 sheets of napkins, tissue paper, or magazine cutouts]
- Base object [1 wooden box, tray, or glass jar]
- Clear sealant [1 can of spray varnish or acrylic sealer]
Step-by-Step Instructions
- 1. First, let’s gather our supplies, but let’s do it with intention. You’ll need your chosen surface—maybe an old wooden box or a plain ceramic vase—some beautiful patterned paper or even delicate napkins, a high-quality decoupage medium (like Mod Podge), and a few soft-bristled brushes. I always find that preparing my space beforehand helps me transition from the frantic energy of my workday into a more creative, flowing state of mind.
- 2. Before we even touch the glue, take a moment to prep your surface. If you’re working with wood, give it a light sand to ensure it’s smooth; if it’s glass, make sure it’s wiped clean of any oils. I like to think of this as clearing the canvas of our lives—removing the old clutter so we have a fresh, clean foundation to build something beautiful upon.
- 3. Now, carefully cut or tear your paper into the shapes you desire. If you’re using napkins, remember to peel away the back layers so you’re left with just the delicate printed top layer. I often find that hand-tearing the edges creates a much more organic, soft look that feels more soulful than the sharp, clinical lines of scissors.
- 4. It’s time to begin the application. Apply a thin, even layer of your decoupage medium onto a small section of your surface. Gently lay your paper onto the glue, pressing from the center outward to evict any stubborn air bubbles. This part requires a gentle, rhythmic touch, almost like a moving meditation, ensuring the paper adheres smoothly without bunching.
- 5. Once your paper is in place, brush another light layer of the medium directly over the top of the paper. This serves a dual purpose: it helps seal the design and creates that signature glossy finish we all love. Be careful not to use too much, or you might overwhelm the delicate texture of the paper; think of it as adding a soft veil rather than a heavy coat.
- 6. As you work your way around the object, remember to breathe. If you find yourself rushing to finish, pause and reset. Decoupage isn’t about the end product as much as it is about the mindful process of layering beauty onto something ordinary. Let the repetitive motion of the brush soothe your nervous system.
- 7. Finally, the hardest part for someone like me—the waiting! Once you’re finished, let your creation dry completely in a dust-free area. Depending on the medium, this could take anywhere from an hour to overnight. While you wait, I highly recommend stepping away from the project to enjoy a cup of herbal tea, allowing yourself to simply exist without the urge to be constantly productive.
Curating Your Sanctuary With Essential Decoupage Supplies for Beginners
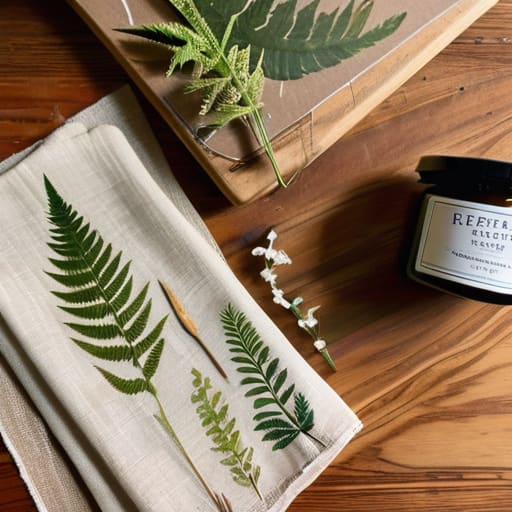
Before we get our hands messy, I want to invite you to view this not just as a DIY project, but as an act of intentional creation. When I first started exploring wellness through crafts, I realized that the quality of our tools sets the stage for our mental state. Gathering your decoupage supplies for beginners shouldn’t feel like a chore; think of it as curating a little kit for your soul. You’ll want a selection of high-quality decorative papers—perhaps some vintage botanical prints that bring a sense of nature indoors—and a reliable brush that feels good in your hand.
One question I often get from my coaching clients who are looking for a creative outlet is the debate over mod podge vs decoupage glue. In my experience, using a versatile all-in-one medium is a wonderful way to minimize decision fatigue and simply flow with the process. As you gather your materials, remember that having everything within reach allows you to stay present in the moment. When we prepare our space with intention, we transform a simple craft into a meditative ritual that nourishes our focus and peace.
Choosing Your Medium Mod Podge vs Decoupage Glue
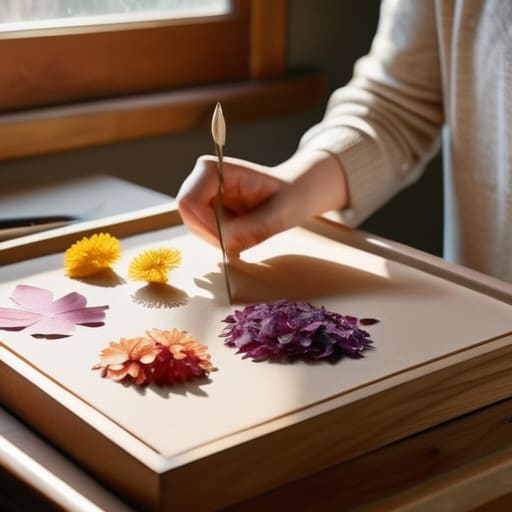
Now, I know what you’re probably thinking: “Sophia, I’m standing in the craft aisle, and I’m completely overwhelmed by all these bottles!” Trust me, I’ve been there. When you’re first navigating the world of mod podge vs decoupage glue, it can feel a bit like choosing between two different meditation styles—both have their merits, but they serve very different energies. Mod Podge is essentially the “all-in-one” superhero of the craft world. It acts as your sealer, glue, and finish all at once, which makes it incredibly forgiving when you’re just starting out. It’s my go-to when I want to focus on the rhythm of the process rather than getting bogged down in technicalities.
However, if you are working on something more specialized, like applying decorative paper to wood for a piece of furniture that needs to stand the test of time, you might want to look into dedicated decoupage glues. These are often more specialized for specific surfaces and can provide a more permanent bond. A little tip from my corporate wellness days: don’t feel pressured to buy everything at once. Start with one versatile option and listen to your creative intuition as you work. You’ll soon learn which medium makes your soul feel most at ease.
Small Rituals for a Flawless Finish: My Top 5 Decoupage Secrets
- Trust the power of patience over speed. It is so tempting to rush through the layers when you’re feeling inspired, but I’ve learned—often the hard way—that letting each layer dry completely is the difference between a beautiful finish and a sticky, wrinkled mess. Think of it as a meditative pause; let the glue do its work while you take a breath.
- Mindful paper selection is everything. When I was working in the corporate world, I used to rush through every task, but with decoupage, I’ve realized that the “soul” of your piece comes from the paper. Choose lightweight, single-ply tissues or thin papers; anything too heavy will fight against the adhesive and create those frustrating air bubbles we all want to avoid.
- Master the “Gentle Touch” technique. Instead of pressing down hard with your fingers—which can actually tear delicate paper or leave unsightly skin oils—try using a soft, clean paintbrush to smooth the paper from the center outward. It’s much more rhythmic and keeps the surface looking professional and seamless.
- Don’t fear the tiny imperfections. One of the most important lessons I’ve learned in my journey toward wellness is embracing imperfection. If a small bubble appears, don’t panic! Sometimes a tiny bit of extra glue and a soft brush can smooth it out, and if not, remember that these little “character marks” are part of the handmade journey.
- Seal your soul (and your work) with a final layer. To ensure your creation stands the test of time, always apply a final, even coat of sealer once everything is bone dry. It protects your hard work from dust and moisture, much like how a consistent mindfulness practice protects our mental clarity from the chaos of daily life.
Embracing the Rhythm of Creation
Remember that decoupage is less about achieving technical perfection and more about the meditative process of layering and patience.
Prioritize the quality of your connection with your materials, whether you’re choosing between Mod Podge or a traditional glue, to ensure the final piece feels truly personal.
Use this creative practice as a dedicated window of mindfulness, allowing the rhythmic application of glue and paper to help you transition from a busy workday into a state of calm.
## The Soul in the Layers
“Decoupage is so much more than just applying paper to a surface; it’s a rhythmic exercise in patience. When you’re smoothing out those edges and layering your visions, you aren’t just decorating an object—you’re practicing the art of intentionality, one careful, mindful stroke at a time.”
Sophia Reynolds
Embracing Your Creative Flow
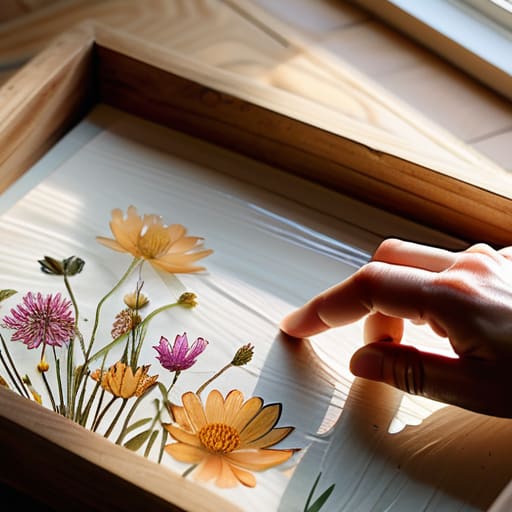
As we wrap up our journey through the delicate art of decoupage, I hope you feel more equipped to transform the ordinary into something truly extraordinary. We’ve explored everything from curating your sanctuary with the right supplies to navigating the subtle differences between Mod Podge and specialized glues. Remember, the most important part of this process isn’t just the technical precision of smoothing out every single air bubble; it’s about the intentionality you bring to each layer. Whether you are repurposing an old wooden box or breathing new life into a ceramic vase, you are essentially practicing a form of creative mindfulness that honors both your vision and your patience.
Beyond the glue and the beautiful paper scraps, I want you to remember why you started this project in the first place. In our fast-paced, digital-heavy lives, picking up a brush and working with your hands is a radical act of self-care. Let each layer you apply be a reminder to slow down and appreciate the beauty of the process rather than rushing toward a perfect finish. Your home should be a reflection of your soul, and through these small, tactile moments, you are building a space that truly nourishes you. Now, take a deep breath, grab your supplies, and let your heart guide your hands.
Frequently Asked Questions
How do I prevent those annoying little air bubbles from forming under my paper while I'm working?
Oh, I feel your frustration! I remember my first attempt at decoupage—I spent hours on a beautiful floral pattern only to find a sea of tiny bubbles staring back at me. It’s such a momentum killer. To keep things smooth, work from the center outward using a soft, dry brush or a brayer to gently press the air out. And here’s a little tip: apply your glue in thin, even layers. Rushing usually leads to those pesky pockets!
Can I use decoupage on surfaces that aren't smooth, like textured wood or even fabric?
Oh, I love that question! It’s so easy to get caught up in the idea that everything needs to be perfectly sleek, but there’s a certain soulfulness in texture, isn’t there? Absolutely, you can! For textured wood, just be prepared to use a slightly thicker layer of medium to bridge those little valleys. When it comes to fabric, it’s a game-changer for adding personality to pillows or even tote bags—just ensure you use a fabric-specific sealer so it stays soft and lived-in.
Is there a way to make my finished piece look more professional and less "crafty" by sealing it properly?
That is such a brilliant question! I remember feeling that exact same way during my first few projects—everything felt a bit too “DIY.” To elevate your piece from a hobby project to a professional treasure, the secret is in the layering. Instead of one thick coat, apply several thin, even layers of a high-quality clear sealant. It smooths out those tiny paper edges and creates a sophisticated, polished finish that truly honors your creative intention.
