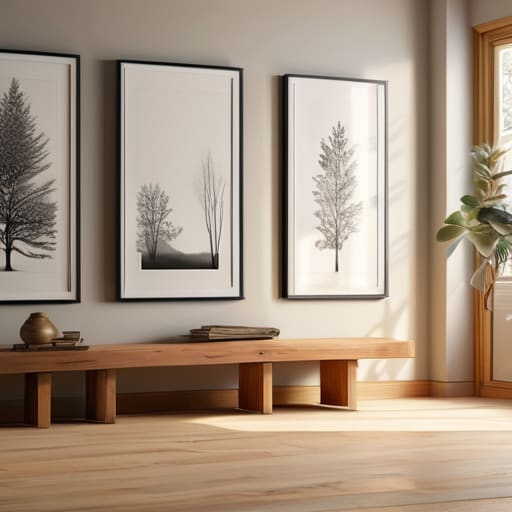
I remember standing in my first apartment in San Francisco, surrounded by a chaotic pile of mismatched frames and a mounting sense of dread. I had spent three hours trying to follow a rigid, mathematical blueprint I found online, only to end up with a wall that felt stiff, lifeless, and completely disconnected from the soul of the room. We often fall into the trap of thinking there’s a single, perfect formula for how to hang pictures in a group, but the truth is that a gallery wall shouldn’t feel like a math equation; it should feel like a conversation.
In this guide, I’m stripping away the intimidating technical jargon to help you find your own creative rhythm. We’re going to move past the stress of perfectionism and focus on how to build a collection that feels intentional and harmonious. I’ll walk you through my favorite low-stress methods for spacing, balancing different frame sizes, and—most importantly—how to trust your intuition during the process. Whether you’re working with a tiny nook or a massive living room wall, you’re about to learn how to turn a scattered collection into a beautiful, cohesive sanctuary.
Table of Contents
Guide Overview
Tools & Supplies
- Measuring tape for spacing between frames
- Pencil for marking wall positions
- Level to ensure alignment
- Hammer for driving nails or hooks
- Picture frames of various sizes
- Picture hanging hardware (nails, hooks, or wire)
- Painter's tape for layout planning
Step-by-Step Instructions
- 1. Before you even touch a hammer, I want you to clear some mental space and gather your “tools of intention.” You’ll need your frames, some painter’s tape, a level, a pencil, and—my absolute favorite secret weapon—a stack of paper templates. Cut out shapes of paper that match the dimensions of your frames. This allows you to play with the arrangement without the heavy lifting, letting you feel out the energy of the space before anything becomes permanent.
- 2. Find a comfortable spot on the floor, perhaps with a warm cup of tea, and start laying your paper templates out. This is your moment to experiment with the “flow” of the group. Are you drawn to a structured, grid-like pattern that feels grounded and calm, or does a more organic, asymmetrical cluster speak to your soul? Don’t rush this; let the visual rhythm reveal itself to you naturally.
- 3. Once you’ve found a layout that makes your heart sing, use your painter’s tape to stick those paper templates directly onto the wall. This is where the magic happens. Step back—and I mean really step back—to another room to see how the grouping interacts with the light and the furniture. You want to ensure the collection feels like a cohesive unit rather than just a collection of lonely objects.
- 4. Now, let’s talk about the “sweet spot” for height. A common mistake I saw during my corporate wellness days was people hanging art too high, which creates a sense of tension. Aim to have the center of your grouping at roughly eye level (about 57 to 60 inches from the floor). If you’re hanging them above a sofa or a console table, ensure there is a gentle, breathing gap of about 6 to 10 inches between the furniture and the bottom of your lowest frame.
- 5. It’s time to translate those paper templates into real marks. Carefully measure the distance from the top of your frame to the hanging hardware on the back. Use your pencil to mark that exact spot on your paper templates on the wall. This way, when you remove the paper, you aren’t left guessing; you’ll have a precise roadmap guiding your hand.
- 6. Take a deep breath, steady your nerves, and begin driving your nails or hooks into your marks. I always recommend working from the centerpiece outward. If you have one large, dominant frame, start there to anchor the entire composition, then let the smaller pieces orbit around it like planets around a sun.
- 7. As you hang each piece, keep your level handy to ensure nothing is tilting precariously. Once everything is up, take a final moment to pause. Walk around the room, observe the new harmony you’ve created, and celebrate this small act of bringing beauty and intention into your personal sanctuary.
Finding Harmony With Salon Style Wall Decor
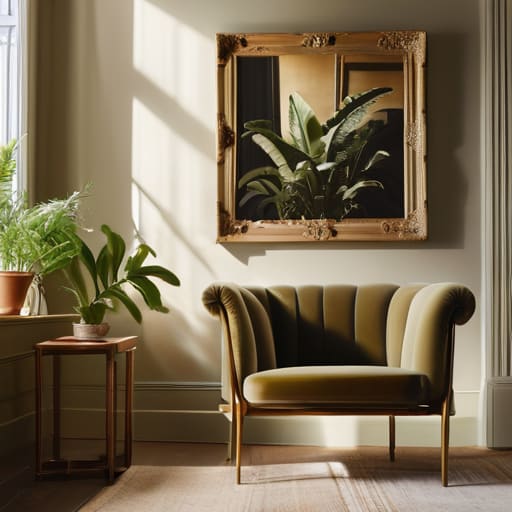
There is something so incredibly soulful about salon style wall decor. Unlike a rigid grid that feels a bit too much like a corporate boardroom, a salon-style arrangement embraces the beautiful imperfections of life. When I was first decorating my home in California, I used to get so overwhelmed by the need for mathematical perfection. But I quickly learned that the most inviting spaces are the ones that feel lived-in. To find that magic, I recommend playing with different textures and frame depths; it’s less about following strict rules and more about curating a visual conversation between your favorite memories.
As you begin experimenting with various gallery wall layout ideas, try to find a common thread to anchor the chaos. This could be a consistent color palette or perhaps a recurring subject matter, like botanical sketches or black-and-white photography. A little tip from my mindfulness practice: before you commit to a single nail, lay everything out on the floor first. It allows you to feel the flow and rhythm of the pieces, ensuring you are truly creating a cohesive wall display that brings a sense of peace to your sanctuary.
Measuring for Wall Art With Intention

Before you even touch a hammer to the wall, I want you to take a deep breath and approach this process with a sense of presence. It’s so easy to rush into measuring, but I’ve found that the most beautiful spaces are created when we move with purpose. Instead of guessing, I highly recommend creating a template for picture hanging using butcher paper or even old newspapers. Trace your frames, cut them out, and use painter’s tape to move them around your space. This allows you to visualize your gallery wall layout ideas without the anxiety of making permanent holes in your drywall.
As you play with these paper mockups, keep a close eye on the “flow” of the room. A common mistake I saw during my time as a wellness consultant is people hanging art too high, which can actually create a subconscious sense of tension in a room. Aim for a comfortable eye level hanging height—usually about 57 to 60 inches from the floor to the center of the piece. This ensures the display feels grounded and inviting, rather than floating aimlessly above your furniture.
Small Rituals for a Perfect Placement
- Lay everything out on the floor first. It sounds simple, but I always tell my clients to treat the floor like a canvas. It allows you to move pieces around, feel their energy, and see how they interact without the stress of making actual holes in your wall.
- Mind the “eye-level” rule, but with a twist. While the standard advice is to hang art at 57 inches, I like to suggest hanging it based on the room’s flow. If you’re in a cozy reading nook, let it sit a little lower to create intimacy; if it’s a grand hallway, let it breathe a bit higher.
- Don’t be afraid of the “odd one out.” In my years of wellness consulting, I learned that perfection is often the enemy of peace. If one frame is a slightly different shape or texture, let it be. That little bit of imperfection is often where the soul of the arrangement lives.
- Use painter’s tape as your guide. Before you even touch a hammer, use small pieces of tape to mark where you think the corners should go. It’s a way of “testing the waters” and helps quiet that inner perfectionist that might be screaming about a mistake.
- Consider the lighting as much as the art. I once saw a beautiful gallery wall ruined because a harsh overhead light created a distracting glare on the glass. Take a moment to see how the natural light travels through your room at different times of the day so your art can truly shine.
Bringing It All Together: My Final Thoughts for Your Space
Remember that your gallery wall is a living reflection of your journey; don’t aim for perfection, but rather for a sense of rhythm and personal connection that makes you smile every time you walk by.
Trust the process of trial and error by laying your pieces out on the floor first—it’s much easier to find that perfect, mindful flow on the ground than it is to keep climbing up and down a ladder.
Use your space as an opportunity to practice presence, treating the act of arranging your memories not as another “to-do” task, but as a creative ritual that honors both your home and your well-being.
Finding the Soul of Your Space
“Hanging a gallery of photos isn’t just about aligning edges or leveling frames; it’s about creating a visual rhythm that breathes. When we stop obsessing over perfect symmetry and start looking for the connection between our memories, we transform a mere collection of objects into a living, breathing reflection of our own journey.”
Sophia Reynolds
Bringing Your Vision to Life
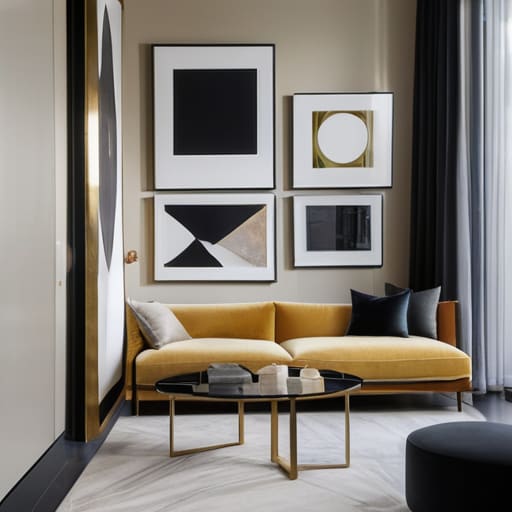
As you stand back from your newly curated collection, take a second to really look at what you’ve created. We’ve moved through the technicalities—from the careful math of measuring with intention to the rhythmic flow of a salon-style arrangement—but the real magic happens when those individual pieces begin to speak to one another. Remember, whether you chose a structured grid or a more organic, wandering layout, the goal was to create a sense of visual cohesion that honors both your space and your story. By balancing the weight of your frames and respecting the negative space around them, you haven’t just decorated a wall; you have successfully curated an atmosphere that reflects your unique energy.
At the end of the day, your home should be a sanctuary that breathes alongside you. Don’t let the pursuit of “perfect” placement steal the joy from the process. If a frame feels a little off or a grouping needs a slight nudge next week, let it be. Your space is a living, evolving entity, much like we are. I hope this project reminds you that even the most complex tasks become beautiful when we approach them with patience and presence. So, take a deep breath, enjoy the view, and remember that you are doing a wonderful job of crafting a life that is as beautiful on the inside as it is on the outside.
Frequently Asked Questions
What should I do if I realize halfway through that my frames are looking a bit lopsided or uneven?
Oh, I have been there more times than I’d like to admit! Take a deep breath—it’s not a failure, it’s just part of the creative process. When things feel “off,” I find it helps to step back entirely. Literally. Walk into another room, grab a cup of tea, and come back with fresh eyes. Often, we get so lost in the details that we lose sight of the whole. If it’s still lopsided, try adjusting one piece at a time rather than everything at once. Trust your intuition; your eyes know the balance better than your ruler does.
Is there a way to hang my gallery wall without making a hundred tiny holes in my drywall?
Oh, I hear you! I remember my first attempt at a salon wall—I felt like I’d turned my living room into Swiss cheese. It’s so easy to get caught up in the “measure twice, cut once” mindset and end up with more holes than art. Honestly, I swear by Command strips for lighter frames; they’re a lifesaver for keeping your sanctuary intact. Just remember to clean the surface first so they really bond!
How do I decide which photos or pieces should be the "anchor" of the whole arrangement?
Think of your anchor piece as the “heartbeat” of your arrangement. I always suggest choosing the piece that carries the most emotional weight or has the most visual gravity—maybe it’s a large, breathtaking landscape or a deeply meaningful family portrait. Before you reach for the hammer, ask yourself: “Which piece makes me want to stop and linger?” That’s your anchor. Once you find that center, everything else will naturally find its place around it.
