
I still remember sitting on my living room floor during my first year of freelancing, staring at a pile of handmade ceramics and feeling completely paralyzed. I had this crushing belief that if I didn’t own a $2,000 DSLR and a studio full of professional lighting, my work would never look truly professional. I spent hours spiraling into expensive gear tutorials, convinced that my lack of equipment was the only thing standing between me and success. But here is the truth that no one tells you: high-end gear is often just a distraction from the actual art of storytelling. Learning how to take product photos cheaply isn’t about settling for less; it’s about stripping away the noise to find the essence of what you’re creating.
In this guide, I’m not going to sell you on a “secret” expensive hack or a complicated setup that requires a degree in engineering. Instead, I want to share the practical, mindful approach I used to find my own creative flow without draining my bank account. We are going to explore how to use natural light, everyday household items, and your own smartphone to create images that resonate deeply with your audience. My promise to you is simple: honest, actionable strategies that allow you to work smarter, stay balanced, and let your products shine exactly as they are.
Table of Contents
- Mastering Smartphone Photography Tips for Sellers
- Creating a Diy Product Photography Setup at Home
- Small Shifts, Big Impact: Five Ways to Elevate Your Visual Storytelling Without the Price Tag
- Finding Your Creative Flow: Small Steps to Big Visual Impact
- Finding Abundance in Simplicity
- Embracing the Beauty of the Process
- Frequently Asked Questions
Mastering Smartphone Photography Tips for Sellers

I remember back when I was working in the corporate world, I used to obsess over having the perfect, high-end studio setup to feel “professional.” But honestly? The most powerful tool you already own is likely sitting right in your pocket. When it comes to smartphone photography tips for sellers, the secret isn’t about the megapixels; it’s about how you interact with the light. I always tell my coaching clients that perfection is the enemy of progress. Instead of waiting for a fancy DSLR, grab your phone and head toward a window. Natural, diffused sunlight is the most soulful and effective way to showcase your products without spending a dime.
To really elevate your shots, try improving product photo quality at home by being a bit more intentional with your surroundings. You don’t need a professional studio when you can master a simple DIY product photography setup using what you already have. I love experimenting with white poster boards to bounce light or even using a plain linen tablecloth to add texture. It’s about creating a sense of calm and clarity in your images, allowing your customers to see the true essence of what you’re offering.
Creating a Diy Product Photography Setup at Home
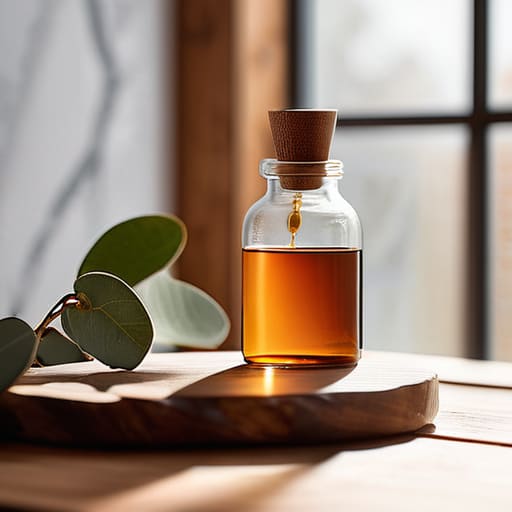
I remember back when I was transitioning out of my corporate role, I felt this immense pressure to have a professional-grade studio before I could even start my own wellness projects. But here’s a little secret I learned: you don’t need a massive investment to create something beautiful. You can actually build a highly effective DIY product photography setup right at your kitchen table. I always tell my clients that abundance isn’t about what you own, but how you use what you have.
Start by finding a spot near a large window; natural light is truly the most generous gift you can give your images. If the sun is a bit too harsh, a simple white sheer curtain can act as a diffuser, providing that soft, dreamy glow we all crave. For those moments when you need a bit more control, look into affordable lighting for product shots like inexpensive ring lights or even a simple desk lamp with a parchment paper shade. It’s all about creating an environment that feels calm and intentional, allowing the true essence of your products to shine through without the stress of a high price tag.
Small Shifts, Big Impact: Five Ways to Elevate Your Visual Storytelling Without the Price Tag
- Embrace the Magic of Natural Light: Before you even think about investing in expensive studio lamps, remember that the sun is your best, most free-of-charge collaborator. I always suggest finding a bright, north-facing window; it provides that soft, diffused glow that mimics a professional studio and keeps your products looking gentle and inviting rather than harsh and shadowed.
- Curate Your Background with Intent: You don’t need a professional backdrop kit when you have a beautiful piece of marble tile from a hardware store or even a clean, linen tablecloth. Think about the “vibe” of your brand—if you’re selling organic skincare, a rustic wooden surface can tell a story of earthiness and authenticity far better than a sterile, expensive backdrop ever could.
- Master the Art of Negative Space: Sometimes, less truly is more. Instead of cluttering your frame, try leaving plenty of “breathing room” around your product. This doesn’t cost a cent, but it creates a sense of calm and luxury that allows the viewer’s eye to rest exactly where you want it: on your beautiful creation.
- Use Simple Props to Tell a Story: I’m a huge believer in “contextual photography.” If you’re selling a hand-poured candle, don’t just photograph the jar; place it next to a well-loved book or a cozy knit blanket. These small, inexpensive items act as visual cues that help your customers imagine how your product will actually feel in their own lives.
- Edit with Soul, Not Just Software: You don’t need a high-end desktop suite to make your photos pop. There are incredible, free mobile apps that allow you to adjust brightness, contrast, and warmth. My little secret? Focus on making the colors look true to life. Authenticity builds trust, and trust is the most valuable currency you have in your business.
Finding Your Creative Flow: Small Steps to Big Visual Impact
Remember that perfection is the enemy of progress; focus on capturing the authentic soul of your product using the natural light and simple tools you already have at your fingertips.
Treat your photography setup as a mindful ritual rather than a chore, allowing a calm and intentional environment to translate into more vibrant, soulful images.
View budget constraints not as a barrier, but as a creative invitation to experiment with unique textures and DIY elements that tell your brand’s unique story.
Finding Abundance in Simplicity
“When we strip away the pressure of expensive gear and high-end studios, we actually clear the space to see what truly matters: the soul of your product and the story it tells. Remember, it’s not about the cost of the lens, but the intention behind the light.”
Sophia Reynolds
Embracing the Beauty of the Process
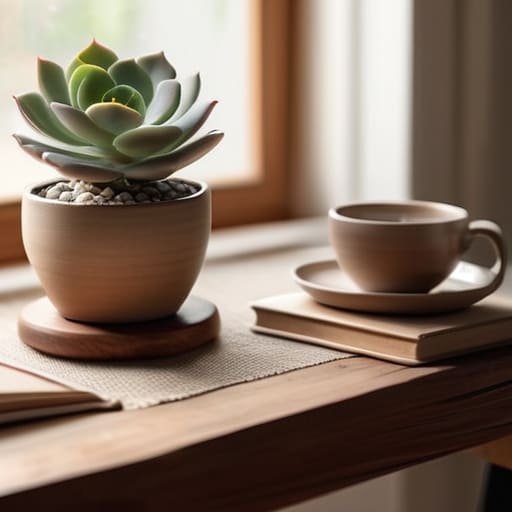
As we wrap up our journey through budget-friendly photography, I hope you feel a little more empowered to pick up your camera and start creating. We’ve explored how to turn your smartphone into a powerful creative tool and how to transform a simple corner of your home into a professional-grade studio using nothing more than natural light and a bit of DIY ingenuity. Remember, the goal isn’t to mimic a multi-million dollar studio setup overnight; it’s about finding the essence of your product and communicating its value to the world. By focusing on these foundational steps, you are effectively working smarter, not harder, ensuring that your resources are preserved for the parts of your business that truly ignite your passion.
At the end of the day, please don’t let the pursuit of “perfect” become the enemy of your progress. I remember back when I was navigating the high-pressure corporate world, I used to think everything had to be flawless to be valid, but I’ve learned that authenticity often resonates deeper than polished perfection. Your customers aren’t just looking for a sterile image; they are looking for a connection to what you have created with your own hands. So, take a deep breath, trust your creative intuition, and remember that every shot you take is a step toward cultivating a life of abundance and professional fulfillment. You’ve got this!
Frequently Asked Questions
How can I make my product photos look professional without spending a fortune on expensive editing software?
I totally get it—the pressure to have a “perfect” digital storefront can feel so overwhelming. But here’s a little secret from my days in corporate wellness: perfectionism is often the enemy of progress. You don’t need a heavy subscription to look polished. I love using free, intuitive tools like Canva or mobile apps like Snapseed. They allow you to brighten those natural shadows and enhance colors beautifully, keeping your creative flow steady and your budget intact.
What are some simple ways to handle tricky lighting if my home doesn't have much natural sunlight?
I totally get it—not every beautiful studio has floor-to-ceiling windows! When natural light feels scarce, don’t panic. I used to struggle with this in my old apartment. Try using soft, inexpensive LED desk lamps to mimic daylight, but always bounce the light off a white piece of foam board to soften those harsh shadows. It’s all about creating a gentle, diffused glow that honors your products without breaking the bank.
How do I choose the right background so it enhances my product rather than distracting from it?
Think of your background as the supporting cast in a movie—its job is to make your product the star, not steal the spotlight. I always tell my clients to aim for “intentional simplicity.” If your product is vibrant, a soft, neutral tone like cream or light grey creates a sense of calm. If you’re going for a lifestyle vibe, use natural textures like linen or light wood. Just remember: if the background starts competing for attention, it’s time to simplify.
