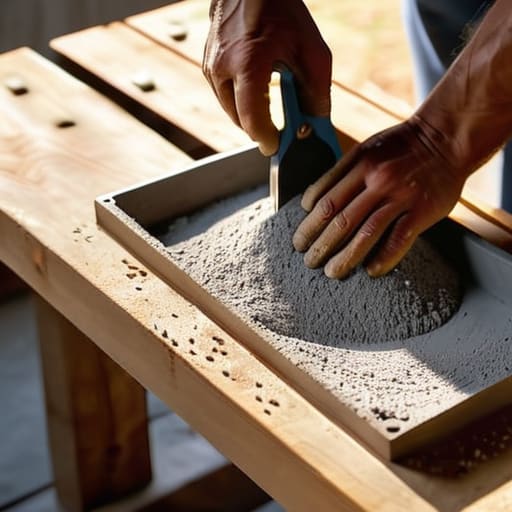
I was standing in my kitchen three years ago, covered in a fine layer of grey dust and feeling completely defeated, staring at a cracked, lumpy mess that was supposed to be my first DIY project. I had read so many tutorials that made it seem like a high-tech science experiment, but the reality was much more visceral and messy. Most people think that learning how to cast concrete planters requires a garage full of heavy machinery or a degree in engineering, but I’ve learned that the secret actually lies in the rhythm of the process. It’s not about perfection; it’s about finding that sweet spot between structure and flow.
In this guide, I’m stripping away all the complicated jargon to show you the honest, soulful way to master this craft. I’ll walk you through every step of how to cast concrete planters with a focus on mindful preparation, from choosing the right molds to the satisfying moment of the final release. You won’t find any unrealistic “Pinterest-perfect” fluff here—just the practical, no-nonsense techniques you need to create beautiful, grounding pieces for your home that actually last.
Table of Contents
- Step-by-Step Instructions
- Choosing Your Canvas Silicone vs Plastic Moulds
- Mastering the Mix Finding the Perfect Mixing Ratio for Concrete Crafts
- Little Rituals for a Flawless Finish
- Finding Your Flow: Lessons from the Pour
- The Soul in the Stone
- Finding Beauty in the Finished Form
- Frequently Asked Questions
Guide Overview
Tools & Supplies
- Mixing bucket for combining ingredients
- Trowel for smoothing surfaces
- Measuring cup for precise ratios
- Sandpaper for finishing edges
- Concrete mix (1 bag, 50lb)
- Plastic molds (2 sets, inner and outer)
- Cooking spray or mold release
- Water (as needed)
Step-by-Step Instructions
- 1. To begin, you’ll want to gather your materials, but think of this more as setting the stage for your creativity rather than a chore. You will need a high-quality concrete mix (I personally love a fine-grain mix for smoother finishes), two plastic containers of different sizes—one that will act as your outer mold and a smaller one for the inner cavity—some vegetable oil or a specialized mold release, and a few heavy stones or weights. Taking a moment to organize your workspace now ensures that once you dive into the flow, you won’t be interrupted by a frantic search for a screwdriver.
- 2. Once your space is ready, it’s time to prep your molds. Take a small brush and apply a thin, even layer of vegetable oil to the inside of the larger container and the outside of the smaller one. This isn’t just about preventing sticking; it’s a meditative ritual that ensures your final piece has that seamless, professional finish you’re dreaming of. Don’t rush this part; the more thorough you are, the more effortless the release will be later.
- 3. Now, let’s move into the mixing phase. Slowly add water to your concrete mix, stirring with a gentle, rhythmic motion. You’re looking for a consistency similar to thick Greek yogurt—not too runny, but not so stiff that it resists your movement. As you stir, try to stay present in the moment, noticing the weight of the tool and the changing texture of the slurry; it’s a wonderful way to practice mindfulness while being productive.
- 4. Pour your mixture into the larger container, filling it about halfway. Now, here is the part where most people rush, but I want you to slow down. Gently tap the sides of the container against your work surface or use a small stick to poke the mixture. This helps release those pesky air bubbles that can leave tiny craters on your planter’s surface, ensuring a smooth and serene aesthetic.
- 5. Place your smaller container into the center of the larger one, pressing it down until it reaches the desired depth. To keep it from floating up, you’ll need to add some weight—like a few heavy pebbles or even a handful of coins—inside the smaller mold. This step requires a bit of patient precision, as you want to make sure the inner mold stays perfectly centered so your planter has a balanced, beautiful silhouette.
- 6. Now, the hardest part for anyone living in our “instant gratification” culture: the wait. Cover your mold with a bit of plastic wrap to retain moisture and let it sit undisturbed for at least 24 to 48 hours. I find this is the perfect time to step away from the project and perhaps enjoy a cup of tea or a short walk. Trust the process and allow the concrete to find its strength in its own time.
- 7. Finally, it’s time for the reveal. Carefully lift the inner mold first, then gently peel away the outer container. If you feel any resistance, don’t force it; just give it a little more time to settle. Once the planter is out, you can give it a light sanding with fine-grit sandpaper to smooth out any rough edges. Hold your creation in your hands and take a deep breath, celebrating not just the beautiful object you’ve made, but the quiet intention you poured into every step.
Choosing Your Canvas Silicone vs Plastic Moulds
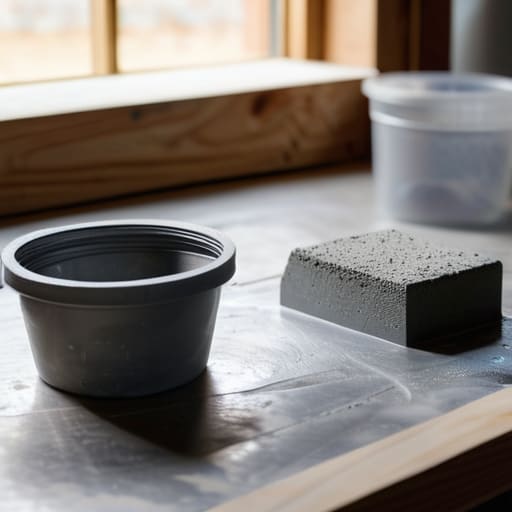
When you’re standing in your workspace, surrounded by your materials, the first real decision that brings the project to life is selecting your vessel. I remember my very first attempt at DIY concrete garden decor; I grabbed a rigid plastic container from my pantry, thinking it would be easy, only to realize later that I’d essentially “trapped” my creation inside. When weighing silicone vs plastic moulds, it really comes down to the kind of energy you want to bring to the process. Plastic is wonderful if you’re looking for structure and a lower price point, but it requires a bit more patience during the release phase.
On the other hand, silicone is like a gentle exhale for your creative flow. Because it’s so flexible, it allows you to focus less on the stress of extraction and more on the tactile joy of the craft. If you’re aiming for intricate textures or organic shapes, silicone is your best friend. It also makes preventing air bubbles in concrete a little less daunting, as the slight give in the material can help you settle the mixture more effectively. Whether you choose the stability of plastic or the fluidity of silicone, just listen to your intuition—your hands will tell you which one feels right.
Mastering the Mix Finding the Perfect Mixing Ratio for Concrete Crafts
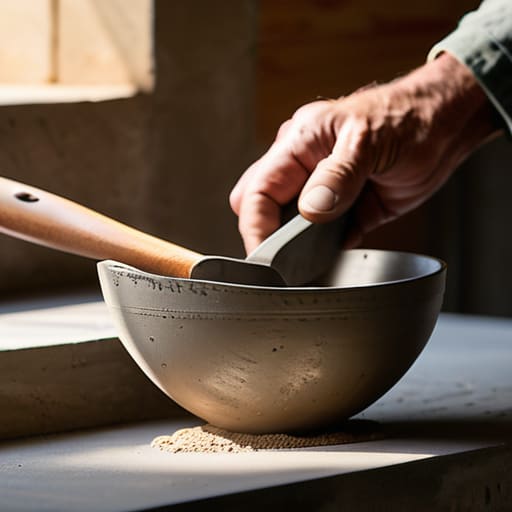
When I first started experimenting with DIY concrete garden decor, I used to rush through the mixing process, thinking that more water would make the job easier. I quickly learned that’s a recipe for heartbreak! The secret to a sturdy, professional-looking piece lies in finding that sweet spot—the perfect mixing ratio for concrete crafts. You want a consistency that feels like thick peanut butter or heavy cream; if it’s too runny, your planter will be brittle and prone to cracking as it cures.
As you stir, try to view this moment as a form of moving meditation. Instead of frantic whisking, use a slow, rhythmic motion to incorporate the aggregate. This isn’t just about mindfulness, though; it’s actually one of the most effective ways of preventing air bubbles in concrete. If you see tiny pockets forming, give your mould a gentle tap or a soft vibration on the table. This helps the air escape, ensuring your finished piece is as smooth and solid as your intentions were when you started.
Little Rituals for a Flawless Finish
- Don’t rush the vibration. Once you’ve poured your mix into the mould, spend a few minutes gently tapping the sides or using a handheld vibrator. It might feel like you’re being impatient, but this little dance helps release those tiny, stubborn air bubbles that can leave unsightly holes in your beautiful new planter.
- Embrace the patience of the cure. It’s so tempting to pop that mould off the second the concrete feels hard, but I’ve learned the hard way that giving it a full 24 to 48 hours to settle is where the real magic happens. Think of it as a meditative waiting period; your planter needs that time to find its strength, just like we do.
- Mind the moisture levels. Before you even think about pouring, make sure your moulds are bone-dry. Even a tiny bit of residual water can mess with the chemical bond of the concrete, leading to a surface that’s more crumbly than chic. I always keep a small microfiber cloth handy just to double-check.
- Layer your colors with intention. If you’re feeling adventurous and want to try a marbled look, don’t just dump the pigments in all at once. Pouring in thin, intentional layers allows the colors to swirl and dance together, creating a unique piece of art that reflects your own creative energy.
- Seal in the beauty. Once your planter is out of the mould and fully cured, treat it to a high-quality concrete sealer. It’s not just about protecting the piece from water damage or stains; it’s about preserving the texture and soul of your work so it can stand the test of time in your home.
Finding Your Flow: Lessons from the Pour
Remember that the process is just as important as the finished piece; allow yourself the grace to move slowly through the mixing and pouring, treating each planter as a lesson in patience and presence.
Success lies in the details, so don’t rush the curing stage—just as we need rest to truly integrate our growth, your concrete needs that quiet, undisturbed time to find its strength.
Embrace the imperfections, because a small air bubble or a slight variation in texture is simply a reminder that you are a human creator, not a machine, and there is profound beauty in that authenticity.
The Soul in the Stone
Casting a planter isn’t just about the chemistry of cement and water; it’s about the patience you pour into the mold. When we slow down to master the texture and the pour, we aren’t just making home decor—we’re creating a steady, grounding vessel for life to grow in.
Sophia Reynolds
Finding Beauty in the Finished Form
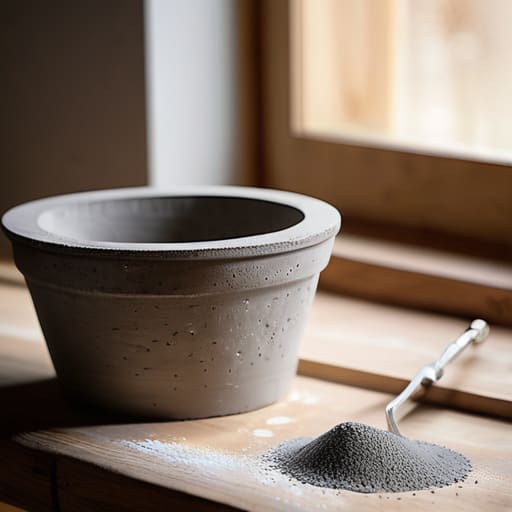
As you step back to look at your completed planters, I hope you feel a deep sense of pride in what you’ve built from scratch. We’ve journeyed through everything from selecting the right silicone molds to finding that perfect, creamy consistency in your concrete mix. Remember that every small detail—the way you measured your water, the patience you showed during the pour, and even the way you handled the drying process—contributes to the soul of the object. It isn’t just about following a set of instructions; it’s about the intentionality you bring to the craft, ensuring that each vessel is as sturdy as it is beautiful.
Beyond the physical object sitting on your windowsill, I want you to hold onto the feeling of this creative process. In our fast-paced, digital world, there is something profoundly grounding about working with your hands and witnessing a raw material transform into something lasting. Let these planters be a gentle reminder that growth takes time and that there is immense value in the slow, steady work of creation. Whether you are decorating your home or gifting a piece to a loved one, may these concrete creations serve as anchors of peace and a testament to your ability to make something beautiful out of the simplest elements.
Frequently Asked Questions
How can I prevent my concrete planters from cracking as they dry and settle?
It’s so common to feel that little pang of heartbreak when you see a hairline crack appearing in a fresh piece. I remember my first batch—I was so rushed to see the result! To prevent this, patience is your best friend. Slow down the drying process by keeping your planters in a cool, shaded spot away from direct sunlight or drafts. Think of it as giving the concrete time to breathe and settle into its new form.
What are the best ways to seal my finished planters so they don't soak up water or leave stains on my wooden surfaces?
Protecting your creations is such a beautiful way to honor the work you’ve put in. To keep those surfaces pristine, I always recommend a high-quality, matte penetrating sealer; it keeps that raw, earthy look while creating an invisible shield against moisture. If you’re worried about wooden tables, a clear polyurethane spray adds an extra layer of mindfulness to your preservation process, ensuring your art lives beautifully without leaving a trace behind.
Is there a way to add a bit of color or texture to the concrete without making the mixing process feel overwhelming?
Oh, I love that question! It’s so easy to get caught up in the “perfection” of a pour, but honestly, the imperfections are where the soul lives. If you want a splash of color without the stress, try adding a tiny bit of liquid pigment directly to your water before mixing. For texture, try pressing a dried leaf or a piece of lace against the mold. It’s a beautiful way to ground yourself in the creative process.
