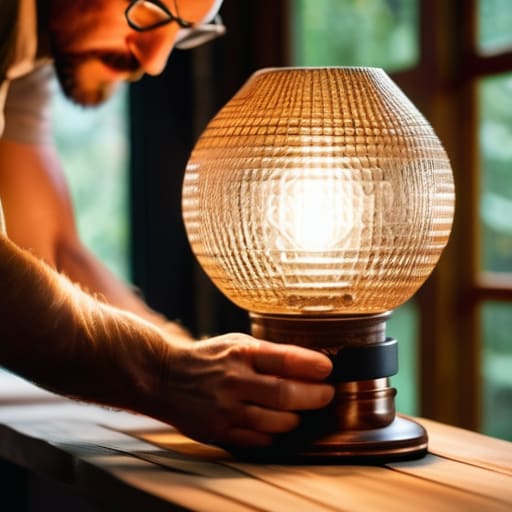
I remember sitting on my floor in a tiny, cramped apartment in San Francisco, surrounded by the harsh, flickering glare of a cheap overhead light that made my entire living space feel clinical and cold. I felt so disconnected from my home, as if I were just surviving in a box rather than actually living. I realized then that we often think we need to spend a fortune on designer decor to find peace, but the truth is much simpler. Learning how to make a lamp isn’t just about DIY assembly; it’s about reclaiming your environment and intentionally choosing the light that nurtures your soul.
In this guide, I’m stripping away the complicated jargon and the intimidating “expert” fluff to give you a clear, soulful path to creation. I’ll walk you through every practical step of how to make a lamp that reflects your unique personality, from selecting the right components to ensuring your new creation is perfectly safe. We aren’t just building an object here; we are crafting an atmosphere that invites you to slow down, breathe, and truly feel at home.
Table of Contents
- Step-by-Step Instructions
- Curating Custom Lamp Design Ideas for Your Space
- Mastering Electrical Safety for Diy Lighting Projects
- Small Details, Big Impact: My Top 5 Secrets for a Soulful DIY Lamp
- Bringing the Light Home: My Final Thoughts for Your Journey
- Lighting the Way to Intention
- Lighting the Way Forward
- Frequently Asked Questions
Guide Overview
Tools & Supplies
- Drill with bits for making holes in the base
- Wire strippers for preparing electrical connections
- Lamp kit (socket, cord, and plug) 1 unit
- Decorative base (bottle, wood block, or ceramic) 1 unit
- Light bulb 1 unit
- Lampshade 1 unit
Step-by-Step Instructions
- 1. First, let’s gather our intentions and our materials. You’ll need a lamp base (this could be a beautiful vintage vase or even a smooth stone you found on a walk), a lamp kit which includes the socket and cord, some electrical tape, and a pair of wire strippers. I always find that setting the stage with a clean workspace helps me feel much more grounded before I begin.
- 2. Once you have everything laid out, start by preparing the cord. Use your wire strippers to carefully remove about an inch of the outer insulation from the ends of the cord, exposing the colored wires inside. It’s a bit like peeling back the layers of a stressful day—you’re just trying to get to the core of what matters.
- 3. Now, we’ll connect the wires to the lamp socket. Take the two exposed wires and wrap them firmly around the screw terminals inside the socket. Make sure the connections are tight; a loose connection is like a distracted mind, and we want our energy—and our light—to flow steadily.
- 4. Secure the cord to your chosen base. If you’re using a hollow object like a ceramic vase, you can thread the cord through the opening. I recommend using a bit of waterproof adhesive or even some decorative twine to ensure the cord stays exactly where you want it to remain, providing a sense of stability to your new creation.
- 5. Next, it’s time to install the harp and the lampshade. The harp is the metal frame that holds the shade in place, so screw it onto the socket first. When you place your shade on top, take a second to appreciate how the structure and the beauty are finally starting to merge into something functional.
- 6. Before we plug anything in, let’s do a quick “mindfulness check” on our work. Double-check that no stray copper wires are touching each other, as safety is the ultimate form of self-care. Once you’re confident everything is secure, you’re ready for the most rewarding part.
- 7. Finally, plug your lamp into a nearby outlet and switch it on. As that warm glow fills your room, I want you to take a deep breath and realize that you didn’t just build a light source; you crafted an atmosphere for your own peace and productivity.
Curating Custom Lamp Design Ideas for Your Space
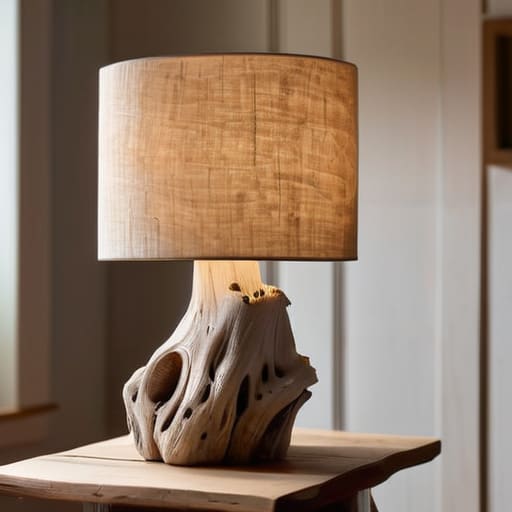
When I first started transitioning from a high-stress corporate role to a more mindful lifestyle, I realized that our environment dictates so much of our internal state. Creating a piece of lighting isn’t just about utility; it’s about intentionality. When exploring custom lamp design ideas, I always suggest looking at the “energy” of the room. If you’re designing for a cozy reading nook, perhaps a base made of reclaimed driftwood can ground the space. However, if you’re working on a sleek, modern desk setup, think about minimalist materials like brushed brass or matte ceramics.
As you move from the creative vision to the actual build, don’t let the technicalities overwhelm your flow. I remember feeling quite intimidated during my first attempt, but once I understood the fundamentals of electrical safety for DIY lighting, everything clicked. It’s all about respecting the process. Take your time when you’re choosing the right light bulb socket to ensure it matches your aesthetic and the bulb wattage you desire. This little bit of extra care ensures that your beautiful creation isn’t just a centerpiece, but a safe and lasting sanctuary for your home.
Mastering Electrical Safety for Diy Lighting Projects
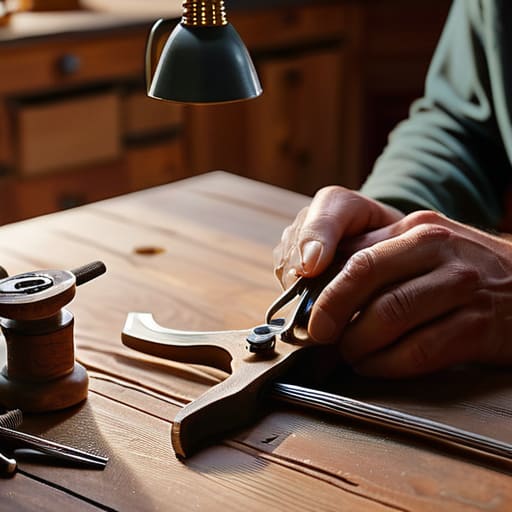
Now, I want to take a quick breath and pivot to something incredibly important. While the creative side of this project is so exhilarating, we have to honor the technical side with respect. When we dive into electrical safety for DIY lighting, it isn’t about being fearful; it’s about being mindful and intentional with the energy we’re bringing into our homes. I remember my first attempt at a project back in college—I was so caught up in the aesthetic that I almost overlooked the basics. Please, always ensure your power source is completely disconnected before you even touch a wire.
As you move through your DIY lamp assembly steps, pay close attention to the small details, like connecting the lamp cord to the socket securely. You’ll want to ensure there are no stray copper strands peeking out, as these can cause shorts. When you’re learning how to strip lamp wire, be gentle; you want to expose the conductor without nicking the metal itself. Taking these extra few minutes to double-check your connections is a beautiful way to practice patience and precision, ensuring your new creation brings warmth to your sanctuary for years to come.
Small Details, Big Impact: My Top 5 Secrets for a Soulful DIY Lamp
- Choose a light temperature that honors your mood; I always recommend warm-toned LED bulbs (around 2700K) because they mimic the soft, golden glow of a sunset, which helps our nervous systems transition from “work mode” into a state of calm relaxation.
- Don’t overlook the power of texture; when selecting your lampshade or base materials, think about how they feel to the touch—incorporating natural elements like linen, reclaimed wood, or even smooth ceramic can ground your space and make the light feel more intentional.
- Practice the “scale check” before you commit; a common mistake I saw during my corporate wellness days was people choosing decor that overwhelmed their environment—take a moment to ensure your lamp’s proportions complement your furniture rather than competing with it for attention.
- Let your personality lead the way through “found objects”; one of my favorite wellness hacks is to incorporate items with sentimental value, like a beautiful vintage glass bottle or a smooth stone from a favorite hiking trail, to turn a functional object into a personal anchor.
- Mind the cord aesthetic to maintain visual harmony; nothing breaks a peaceful vibe like a tangled, messy wire, so I highly suggest using decorative cord covers or choosing a fabric-wrapped electrical cord to ensure the “clutter” of the mechanics doesn’t distract from the beauty of your creation.
Bringing the Light Home: My Final Thoughts for Your Journey
Remember that the process of creating is just as nourishing as the finished product; allow yourself the grace to experiment and find joy in the messy, creative middle.
Prioritize your peace of mind by never cutting corners on safety—a truly intentional space is one where you feel completely secure and grounded.
Let your lighting be a reflection of your inner sanctuary, choosing elements that don’t just illuminate a room, but actually soothe your soul and invite calm.
Lighting the Way to Intention
“Creating your own light isn’t just about the assembly of wires and shades; it’s about the intentional act of crafting a glow that reflects your inner peace and transforms a house into a true sanctuary.”
Sophia Reynolds
Lighting the Way Forward
As we wrap up this little creative journey, I hope you feel a sense of pride in what you’ve accomplished. We’ve navigated through the technicalities of choosing the right components, explored the beautiful possibilities of custom design, and—most importantly—prioritized the essential safety protocols to ensure your new creation is as secure as it is stunning. Building a lamp is so much more than just following a set of instructions; it’s about integrating your personal aesthetic with a functional piece of art that serves your home. By taking the time to master these steps, you’ve turned a simple household object into a meaningful expression of your own unique style.
Beyond the wires and the shade, I want you to remember why we do things like this in the first place. In our fast-paced, digital-heavy lives, there is something deeply healing about working with our hands and creating something tangible. This project wasn’t just about illumination; it was about intentional living and reclaiming a moment of stillness. As you flip that switch for the first time and watch your handmade lamp cast its warm, inviting glow across your room, take a deep breath and soak it in. You didn’t just make a lamp—you created a little pocket of peace and light for your sanctuary.
Frequently Asked Questions
I’m a bit nervous about the technical side—how can I tell if I’ve wired my lamp correctly before I actually plug it in?
I completely hear you—that little flutter of nerves is actually a sign of respect for the craft! To ease your mind, let’s do a “visual audit” before we ever touch a power outlet. Check that your connections are snug, no stray copper strands are peeking out, and your wire nuts are tight. If you have a multimeter, testing for continuity is a total game-changer for peace of mind. We’re prioritizing your safety and your sanctuary!
Are there specific types of bulbs I should look for to ensure my new lamp creates a cozy, calming atmosphere rather than a harsh, stressful glare?
Oh, I am so glad you asked this! Lighting is everything when it comes to setting the mood for your sanctuary. To avoid that jarring, clinical glare, I always recommend looking for “warm white” bulbs—specifically those in the 2,700K to 3,000K color temperature range. They mimic the soft, golden glow of sunset, which signals to our nervous systems that it’s time to unwind. Dimmable LEDs are also a game-changer for creating that gentle, intentional ambiance.
If I’m using reclaimed or vintage materials for my lamp base, how do I make sure they are sturdy enough to support the weight of the hardware?
That is such a thoughtful question! When I was repurposing an old brass candlestick for a project, I realized how easy it is to overlook structural integrity. Before you commit, I recommend a “stress test”: place your hardware on the base and apply gentle, steady pressure. If you feel any wobbling or hairline cracks, it might not be stable. For vintage items, sometimes a little discreet epoxy or a weighted base can provide that much-needed grounding.