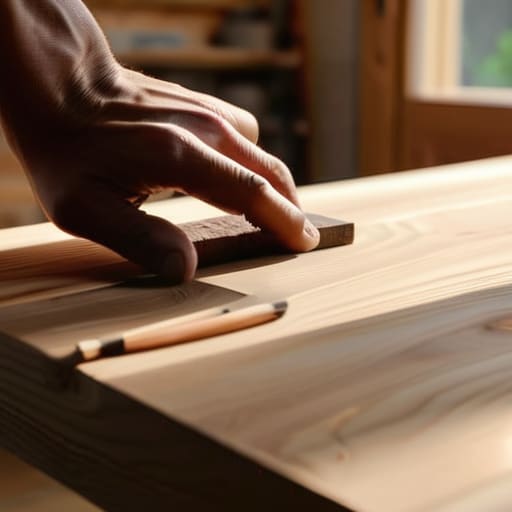
I remember sitting on my living room floor three years ago, surrounded by half-empty coffee mugs and a mountain of cluttered books, feeling like my physical space was a direct reflection of my mental chaos. I had convinced myself that I needed a professional contractor to fix it, believing that learning how to build a floating shelf was a skill reserved only for the DIY experts with massive workshops. But here’s the truth I learned the hard way: you don’t need a master carpenter’s toolkit to create a sense of order; you just need a little bit of intention and the right sequence of steps.
In this guide, I’m stripping away the intimidating jargon to give you a straightforward, soul-soothing roadmap to crafting your own sanctuary. We aren’t just talking about hardware and wood; we are talking about the intentional act of reclaiming your environment. I’ll walk you through every practical detail—from selecting the perfect timber to ensuring that hidden bracket is rock-solid—so you can master how to build a floating shelf with complete confidence. Let’s turn that clutter into a curated moment of peace, one shelf at a time.
Table of Contents
- Step-by-Step Instructions
- Gathering Your Woodworking Tools for Shelving and Soul
- Mastering Wall Mounting Hardware for Shelves With Grace
- Little Rituals for a Flawless Finish
- Finding Harmony in the Details
- Finding Stillness in the Small Details
- Creating Your Own Sanctuary of Stillness
- Frequently Asked Questions
Guide Overview
Tools & Supplies
- Drill and driver for mounting hardware
- Level to ensure the shelf is straight
- Stud finder to locate wall supports
- Saw for cutting wood to length
- Sandpaper for smoothing edges
- Wood plank (1 piece)
- Floating shelf bracket or internal cleat (1 set)
- Wall anchors or heavy-duty screws (1 pack)
- Wood stain or paint (1 can)
Step-by-Step Instructions
- 1. Before we dive into the heavy lifting, let’s start by gathering our tools and finding our center. You’ll need a drill, a level, a stud finder, some sturdy wood, and the specific floating shelf brackets that match your vision. I always find that clearing my workspace first helps clear my mind, so take a moment to organize your tools before you even pick up a screwdriver.
- 2. Once you’re ready, use your stud finder to locate the wooden studs behind your wall. This is the most crucial part of the process because we want our sanctuary to be secure and stable. Trying to mount a shelf into just drywall is a recipe for stress, and we are definitely not looking for any sudden collapses in our peaceful spaces.
- 3. Now, grab your level and a pencil to mark exactly where your brackets will live. I can’t stress this enough: precision is your friend here. If the lines are even slightly crooked, it will bother your subconscious every time you walk past it, disrupting that sense of visual harmony we’re working so hard to create.
- 4. It’s time to drill. Using your drill, create pilot holes at your marked spots, making sure you are hitting those studs you located earlier. I like to think of this as preparing the foundation; just like in our personal lives, if the foundation isn’t solid, everything built on top of it will feel a bit shaky.
- 5. Secure the brackets to the wall using the appropriate screws, checking with your level one more time as you go. You want to ensure that the bracket is perfectly flush against the wall. If it’s even a millimeter off, the shelf won’t sit right, and we want everything in our homes to feel intentional and balanced.
- 6. Slide your wooden shelf onto the brackets. This is such a rewarding moment—it’s like seeing a plan finally come to life. Gently push it home until it’s snug, and if it feels a little loose, don’t panic; there are often tiny set screws on the underside that allow you to lock everything in place for that seamless, floating look.
- 7. Finally, take a deep breath and decorate. Whether it’s a small succulent to bring in some life or a few well-loved books, let this shelf reflect your unique rhythm. This isn’t just about storage; it’s about creating a curated corner that invites you to pause and appreciate the beauty you’ve built.
Gathering Your Woodworking Tools for Shelving and Soul
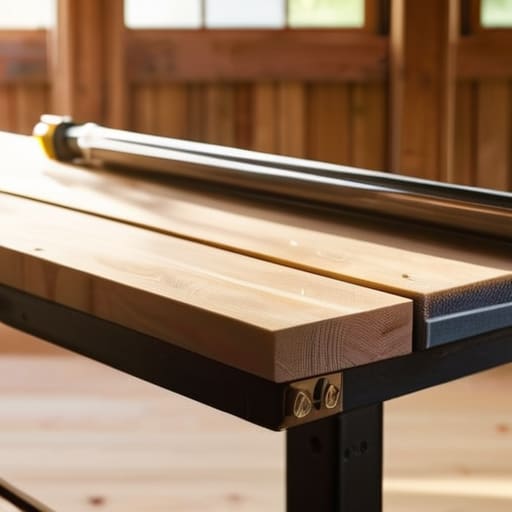
Before we dive into the sawdust and measurements, I want us to take a moment to look at our workspace. I remember my first attempt at a DIY project in my tiny apartment; I was so rushed that I realized halfway through I didn’t even have a level! It felt so chaotic. To avoid that, let’s approach our woodworking tools for shelving with intention. Think of this stage as setting the foundation for your sanctuary. Beyond the basics like a drill and a saw, make sure you have a reliable stud finder for shelf installation. Finding those sturdy wooden studs is the secret to ensuring your shelf feels secure and grounded, rather than precarious.
As you gather your supplies, keep an eye on the specific wall mounting hardware for shelves you’ve chosen. Different woods and different wall types require different levels of support. I always tell my clients that preparation is a form of self-care; when you have everything laid out neatly, you reduce the friction of the task itself. This allows you to stay present in the creative flow rather than getting frustrated by a missing screwdriver. Let’s make sure we are fully equipped to build something that lasts.
Mastering Wall Mounting Hardware for Shelves With Grace
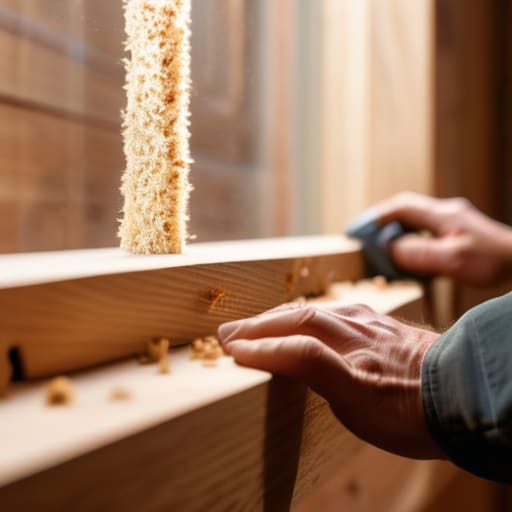
Now, this is where we transition from the creative flow of woodworking to the grounded, technical reality of making sure your hard work actually stays put. When you’re selecting your wall mounting hardware for shelves, it’s easy to get caught up in the aesthetics, but I always tell my clients to prioritize the invisible foundation. I remember a project back in my studio days where I focused so much on the grain of the wood that I overlooked the structural support; seeing that beautiful piece tilt just a fraction of an inch was a heartbreak! To avoid that, I highly recommend investing in a high-quality stud finder for shelf installation. Finding those solid wooden studs is the difference between a shelf that feels like a permanent part of your sanctuary and one that feels precarious.
Once you’ve located your studs, pay close attention to the floating shelf weight capacity. It’s tempting to want to display your entire collection of heavy ceramic vases, but we want to work with physics, not against it. Take a moment to breathe, double-check your measurements, and ensure you are leveling a floating shelf with precision before you commit to those final screws. It’s all about that intentionality—building something that is as sturdy as it is beautiful.
Little Rituals for a Flawless Finish
- Before you even touch a drill, take a moment to hold your wood up to the light in the room where the shelf will live. I always tell my clients that lighting changes everything; you want to make sure the grain and the tone of your wood harmonize with the energy of your space before you commit.
- Don’t rush the leveling process. It’s tempting to want to see the finished product immediately, but a shelf that’s even a fraction of a degree off can feel “off” to your subconscious. Take a deep breath, double-check your spirit level, and ensure your foundation is perfectly steady.
- Embrace the art of sanding as a form of moving meditation. Instead of seeing it as a chore, focus on the tactile sensation and the way the wood transforms from rough to silky under your hands. This extra bit of care ensures that when you run your fingers along the edge later, it feels like a true sanctuary.
- Mind your weight limits like you would your own energy reserves. Just as we can’t pour from an empty cup, a shelf can’t carry more than it was designed for. Check the load-bearing capacity of your brackets and your wall studs to ensure your beautiful creation stays safe and secure.
- Leave a little room for imperfection. If a knot in the wood or a slight variation in the stain catches your eye, don’t view it as a mistake. In Japanese philosophy, there’s a beauty in the imperfect—embrace those unique characteristics, as they give your shelf a soul that a mass-produced item simply can’t replicate.
Finding Harmony in the Details
Remember that the process of building is just as vital as the finished product; don’t rush the mounting process, as patience is where the precision—and your peace of mind—truly lives.
Choose your hardware with intention, ensuring that the structural integrity of your shelf matches the emotional stability you’re trying to create in your sanctuary.
View each tool not just as an instrument of construction, but as a way to ground yourself in the present moment, turning a simple DIY project into a meditative practice.
Finding Stillness in the Small Details
“Building a floating shelf is so much more than just mounting wood to a wall; it’s about intentionally creating a dedicated space for the things that ground us, turning a blank corner into a small, curated sanctuary for the soul.”
Sophia Reynolds
Creating Your Own Sanctuary of Stillness
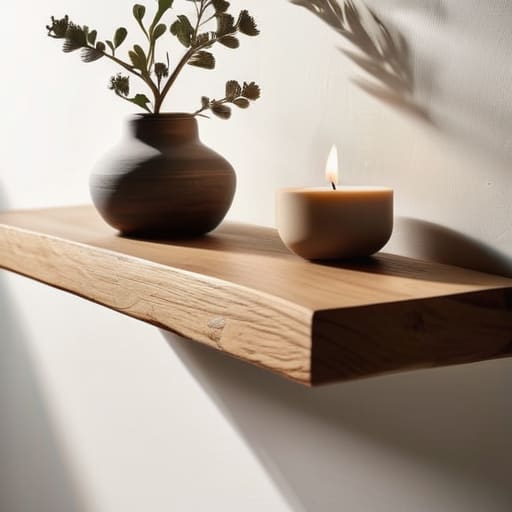
As we bring this project to a close, take a moment to look at what you’ve actually achieved. You haven’t just followed a set of instructions; you’ve carefully selected your materials, mastered the technical nuances of wall mounting, and transformed raw wood into something functional and beautiful. From gathering the right tools to ensuring your hardware is installed with precision, every step was an opportunity to practice intentionality. By focusing on the details of your craftsmanship, you’ve moved beyond simple DIY and into the realm of creating something meaningful for your personal environment.
Now that your floating shelves are finally in place, I want to encourage you to resist the urge to rush through the decorating phase. Instead of seeing this as just another task on your to-do list, view it as an invitation to curate your space. Choose items that spark joy or ground you, whether it’s a favorite book or a small succulent that breathes life into the room. Remember, your home should be a reflection of your inner peace. May these shelves serve as a gentle reminder that when we build with purpose, we create more than just furniture—we create a sanctuary for our souls to rest and flourish.
Frequently Asked Questions
How can I ensure my floating shelf is actually sturdy enough to hold my favorite heavy books without sagging?
I totally hear you—there’s nothing more disheartening than seeing your sanctuary disrupted by a sagging shelf. To keep those heavy books secure, the secret lies in your anchors. If you’re not hitting a wall stud, please skip the basic plastic plugs and opt for heavy-duty toggle bolts; they distribute weight much more effectively. Also, don’t underestimate the depth of your bracket. A deeper support provides that much-needed structural integrity to keep your space feeling grounded and steady.
What’s the best way to hide those pesky screw holes or mounting brackets so the shelf looks truly seamless and magical?
The secret to that “floating” magic is all in the finishing touches. To hide those little imperfections, I love using a high-quality wood filler that matches your specific stain—it’s like a tiny bit of mindfulness for your craftsmanship! For a truly seamless look, once the filler dries, a light sanding will make it disappear. If you’re dealing with larger gaps, a bit of wood putty and a touch of patience will create the sanctuary you’re dreaming of.
I'm a bit nervous about drilling into my walls—how do I know if I'm hitting a stud or something I shouldn't touch?
I completely hear you—that little moment of hesitation before the drill touches the wall is so real! It’s that natural instinct to protect your sanctuary. To ease that anxiety, I always recommend using a stud finder first; it’s like a little mindfulness tool for your home. If you hit something unexpectedly hard or feel resistance that doesn’t feel “right,” just pause. Take a breath, step back, and let’s reassess together. Safety first, always.
