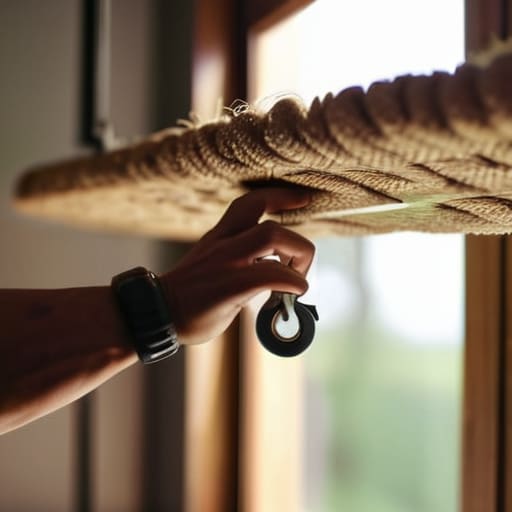
I remember sitting on my floor in my first tiny apartment, surrounded by half-unpacked boxes and a mounting sense of overwhelm, staring at a single, empty wall. I felt like if I could just reclaim one small corner of my space, I could finally feel like I was breathing again. Most people will tell you that DIY projects like this require a workshop full of expensive power tools, but that’s a total myth that keeps so many of us from starting. Learning how to make a hanging shelf isn’t actually about having a professional setup; it’s about the intentional act of creating a dedicated spot for the things that ground you, whether that’s a favorite succulent or a stack of well-loved books.
In this guide, I’m stripping away the intimidation and giving you my honest, no-nonsense approach to building something beautiful. We aren’t just following a set of instructions; we are going to focus on the mindful process of crafting a piece that brings order and serenity to your sanctuary. I’ll walk you through every step, from selecting the right materials to the final placement, ensuring you feel confident and calm from start to finish.
Table of Contents
- Step-by-Step Instructions
- Selecting Your Foundation Wooden Plank Shelf Assembly
- Mastering the Flow Knotting Techniques for Rope Shelves
- Finding Your Rhythm: 5 Little Secrets for a Perfect Shelf
- Finding Your Rhythm: Lessons from the Craft
- Finding Stillness in the Small Things
- Bringing Your Vision to Life
- Frequently Asked Questions
Guide Overview
Tools & Supplies
- Drill and bits for making holes and mounting
- Sandpaper for smoothing edges
- Measuring tape for accuracy
- Level to ensure even hanging
- Wood board (1 unit)
- Rope or jute twine (1 roll)
- Screws or nails (1 small pack)
- Wood stain or paint (1 can)
Step-by-Step Instructions
- 1. Before we dive into the physical work, let’s take a moment to gather our intentions and our materials. You’ll need a sturdy piece of wood (I personally love reclaimed cedar for its grounding scent), some high-quality jute rope or cotton macramé cord, a drill, a hand saw, and some sandpaper. Laying everything out on a clean surface is like setting the stage for a mindful ritual rather than just a chore.
- 2. First, we need to prepare our wood with intention. Measure your board to the length that feels right for your space, and if it isn’t already cut, use your saw to create those clean edges. Once cut, spend a few minutes sanding the surface until it feels silky smooth under your fingertips. This isn’t just about aesthetics; it’s a wonderful way to practice tactile mindfulness while you work.
- 3. Now, let’s create the anchor points for our rope. Using your drill, carefully create four holes—one in each corner—about an inch from the edges. I find that taking a deep breath and moving slowly during this step helps prevent any slips. These holes are the foundation of your sanctuary, so ensure they are even and steady.
- 4. It’s time to thread our rope through the wood, which is where the magic really begins to happen. Feed your cord through the holes, creating simple knots underneath the board to keep it secure. As you tie these, try to focus on the rhythm of the knots; it’s a beautiful way to bridge the gap between manual labor and meditation.
- 5. Next, we’ll work on the hanging mechanism. You can choose to braid the ropes for a more bohemian feel or leave them simple and clean. If you’re braiding, remember that consistency is key to ensuring the shelf hangs level. I often find that a little bit of creative play in this step makes the final result feel much more personal and soulful.
- 6. Once your ropes are tied and the structure feels solid, it’s time to find the perfect spot in your home. Look for a wall that invites light or sits near a window where you can watch the shadows dance across your new shelf. Before you commit, hold the shelf up to the wall to ensure it feels harmonious with the energy of the room.
- 7. Finally, secure your shelf to the wall using appropriate hooks or nails, ensuring it is perfectly balanced. Once it’s up, the real joy begins: decorating it. Don’t rush to fill it all at once; instead, add pieces slowly—a small succulent, a favorite book, or a calming crystal—letting your shelf grow and evolve just as you do.
Selecting Your Foundation Wooden Plank Shelf Assembly
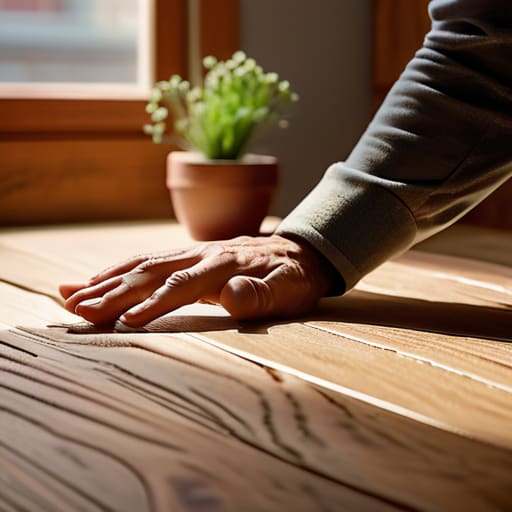
When you start picking out your wood, try to view it as more than just a building material; think of it as the soul of your new piece. I remember when I first moved into my apartment in San Francisco, I spent hours in local lumber yards just feeling the textures of different grains. For a successful wooden plank shelf assembly, I highly recommend opting for reclaimed wood or a light oak if you’re aiming for that effortless boho wall decor diy aesthetic. It adds a layer of organic warmth that store-bought items just can’t replicate.
Before you commit to a specific piece, I want you to pause and consider the hanging shelf weight capacity. It’s so easy to get swept up in the beauty of a slender, rustic plank, but if you plan on displaying heavy ceramic planters or a collection of thick art books, you’ll want something with a bit more structural integrity. Checking the density of your wood now prevents the heartbreak of a sagging shelf later. Taking this small moment to plan ensures your sanctuary remains both beautiful and perfectly stable.
Mastering the Flow Knotting Techniques for Rope Shelves

Once you have your wooden plank shelf assembly ready, it’s time to move into the more tactile, meditative part of the process. I always find that working with rope is a wonderful way to practice mindfulness; there is something so grounding about the texture of the fibers against your hands. When you dive into these knotting techniques for rope shelves, don’t feel rushed. If you’re aiming for that effortless, bohemian vibe, I highly recommend experimenting with simple square knots or even a basic macrame style. It’s not just about the mechanics; it’s about finding a rhythm that allows you to be fully present in the moment.
As you’re crafting your beautiful new boho wall decor DIY, keep a close eye on your tension. If your knots are too loose, the shelf might tilt, but if they’re too tight, the rope can lose that soft, organic aesthetic we’re striving for. Also, a little pro-tip from my corporate wellness days: always double-check your hanging shelf weight capacity before you start decorating. We want your sanctuary to feel stable and secure, not stressful!
Finding Your Rhythm: 5 Little Secrets for a Perfect Shelf
- Before you even touch your tools, take a moment to visualize where this piece will live. I always tell my clients that our environment dictates our energy; choosing a spot that catches the morning light or sits near a window can turn a simple shelf into a daily ritual of peace.
- Don’t rush the weight test. It’s tempting to want to see your plants or books displayed immediately, but I’ve learned that patience is key. Once your shelf is hung, gently test its stability with something light first—think of it as a mindful check-in with your handiwork before committing to heavier items.
- Embrace the beauty of imperfection. If your knots aren’t perfectly symmetrical or your wood has a natural grain that feels a bit wild, let it be. In my years of studying positive psychology, I’ve found that “wabi-sabi”—the appreciation of imperfection—is what actually makes a space feel lived-in and soulful rather than sterile.
- Mind your measurements twice, breathe once. It sounds cliché, but in the rush of a DIY project, it’s so easy to overlook an inch. I like to use a soft pencil to mark my spots, which feels much more gentle and intentional than a harsh marker, making it easier to adjust if your intuition tells you the placement feels “off.”
- Curate with intention, not just for aesthetics. As you decorate your new hanging shelf, ask yourself: “Does this object bring me joy or calm?” Instead of cluttering it, try selecting a few meaningful pieces—a small succulent, a stone from a favorite hike, or a cherished photo—to create a tiny sanctuary that breathes with you.
Finding Your Rhythm: Lessons from the Craft
Remember that the process is just as important as the product; allow yourself to slow down and enjoy the tactile sensation of the wood and rope, turning this DIY project into a mindful ritual rather than just another task on your to-do list.
Focus on intentionality when choosing your materials, selecting pieces that don’t just hold your belongings, but actually contribute to the peaceful, organized sanctuary you’re working so hard to build.
Don’t fear the imperfections, because a little bit of asymmetry or a slightly uneven knot adds character and soul to your home, reminding you that a life well-lived is beautifully imperfect.
Finding Stillness in the Small Things
“Building a hanging shelf isn’t just about assembling wood and rope; it’s about the intentional act of creating a space for what you love to rest, reminding us that even in our busiest seasons, we can craft little sanctuaries of calm and order.”
Sophia Reynolds
Bringing Your Vision to Life
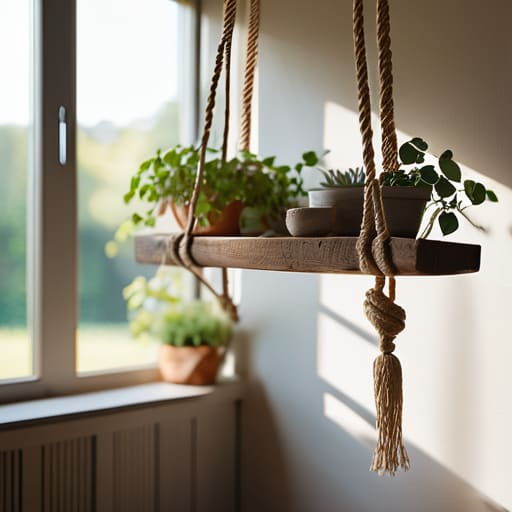
As we wrap up this little journey of creation, take a moment to look at what you’ve accomplished. Whether you decided to go with the sturdy, grounded feel of a wooden plank assembly or embraced the fluid, bohemian energy of a knotted rope design, you have successfully transformed raw materials into something meaningful. We’ve walked through selecting the perfect foundation and mastering those intricate knotting techniques that give a shelf its character. Remember, the goal wasn’t just to create a place to store your favorite books or trailing ivy, but to practice the art of intentional creation. By focusing on the details—the texture of the wood, the strength of the cord, and the steady rhythm of your hands—you’ve turned a simple DIY task into a mindful experience.
Now that your shelf is hanging in its new home, I want you to do more than just place objects on it. Use this new space as a physical reminder to cultivate your sanctuary. In the rush of our daily lives, it is so easy to forget that our environment deeply influences our internal peace. Let this shelf be a small, beautiful anchor in your home—a place where you can pause, breathe, and appreciate the slow beauty of things made by hand. You’ve built more than just storage; you’ve built a piece of your own well-being. Enjoy the harmony you’ve created.
Frequently Asked Questions
How can I ensure my hanging shelf stays perfectly level and doesn't tilt over time?
I completely understand that frustration—there’s nothing more jarring than a beautiful, handmade piece feeling “off” because it’s tilting. To keep things steady, I always recommend using a spirit level during the mounting process. But here’s my little secret: once it’s up, add a tiny bit of weight to the center of the shelf. It helps settle the tension in the rope. Think of it as helping your shelf find its own center of gravity!
What are the safest ways to mount these shelves on different types of walls, like drywall versus plaster?
When we’re creating a sanctuary, we want our surroundings to feel secure, not stressful. For drywall, please skip the simple nails; invest in sturdy anchors to ensure your shelf stays exactly where you intended. If you’re working with older plaster walls, be extra gentle—they can be quite brittle. I always recommend locating a stud whenever possible to provide that deep sense of stability. Let’s make sure your beautiful new space feels as solid as it looks!
Are there certain types of wood or rope that are better if I want a more rustic, bohemian aesthetic for my space?
Oh, I love that you’re thinking about the soul of your space! For that dreamy, boho-chic vibe, I’d lean into reclaimed wood—think cedar or pine with all its natural imperfections. It brings such a grounded, earthy energy to a room. Pair that with a chunky jute or hemp rope rather than something sleek and synthetic. There’s something so meditative about the tactile, raw texture of natural fibers that really invites a sense of calm.