I was standing in my garage last summer, staring at a beautiful piece of reclaimed oak that looked more like a muddy mess than a finished coffee table, feeling that familiar surge of corporate-level burnout. I had rushed through the preparation, thinking speed was the same thing as efficiency, only to realize that I had completely missed the point of the craft. Most people think that learning how to apply wood stain is just about the physical act of brushing on a color, but the truth is that it’s actually a lesson in radical patience. If you treat it like a task to be checked off a list, you’ll end up with blotches and streaks that haunt your vision every time you walk into the room.
In this guide, I’m stripping away the intimidating jargon and the high-pressure “expert” fluff to give you a grounded, mindful approach to your project. I’ll walk you through the essential rhythm of preparation, the subtle art of testing your tones, and the precise techniques for how to apply wood stain so that your finish looks intentional and deep. My goal is to help you move through this process with purposeful intention, turning a simple DIY task into a rewarding ritual that honors both your hard work and the natural beauty of the wood.
Table of Contents
- Step-by-Step Instructions
- The Quiet Ritual of Perfect Wood Grain Preparation
- Mastering the Gentle Touch of Applying Wood Stain With a Rag
- Small Rituals for a Soulful Finish: My Top 5 Staining Secrets
- Finding Harmony in the Grain: My Final Thoughts
- The Soul of the Grain
- Honoring the Finished Work
- Frequently Asked Questions
Guide Overview
Tools & Supplies
- Sandpaper (various grits for surface preparation)
- Lint-free cloth or foam brush (for smooth application)
- Paint tray or container (to hold the stain)
- Tack cloth (to remove fine dust)
- Wood stain (1 quart or small can)
- Wood conditioner (1 small can, optional for softwoods)
- Mineral spirits (1 small bottle, for cleanup)
Step-by-Step Instructions
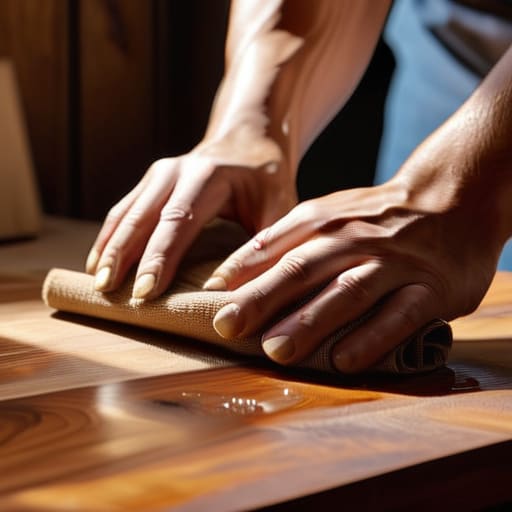
- 1. Before we even touch the stain, we have to prepare the canvas. I like to think of this as the “mental clearing” phase of the project. Take a fine-grit sandpaper and work in the direction of the grain, feeling the texture change under your hand. It’s so easy to rush through this, but a smooth, even surface is the secret to preventing those frustrating blotches later on. Once you’re done, wipe everything down with a tack cloth; you want to ensure not a single speck of dust is left to interrupt your flow.
- 2. Now, let’s talk about protection and boundaries. Lay down some old sheets or drop cloths to create a dedicated sacred space for your work. Just like setting boundaries in our personal lives, this prevents the mess from bleeding into the rest of your home. If you’re working indoors, make sure you have a window cracked open. Even though the scent of wood stain can be quite earthy, a little fresh air helps keep the environment feeling light and intentional rather than overwhelming.
- 3. It’s time to begin the application, and this is where your mindfulness really comes into play. Using a high-quality brush or a lint-free rag, apply the stain in long, continuous strokes that follow the natural lines of the wood. I always tell my clients that consistency is key—try to avoid “puddling” the liquid in one spot. Instead, think of it as a rhythmic movement, much like a slow yoga flow, where each stroke is purposeful and steady.
- 4. As you work, you might feel the urge to keep adding more to get a deeper color, but I want you to resist that impulse. If you want a darker finish, it is much better to apply multiple thin layers rather than one heavy, gloppy coat. Let the first layer dry completely—give yourself the grace to step away for a bit if you need to. This patience ensures the pigment settles deeply and evenly within the fibers of the wood.
- 5. Once your first layer is dry, take a moment to inspect your progress. If you see any areas that look a bit thirsty or uneven, you can lightly sand them with an incredibly fine grit before applying the next coat. This “reset” helps maintain a uniform texture across the entire piece. It’s a beautiful way to check in with your work and ensure you’re staying true to the vision you had when you first started.
- 6. Finally, once you’ve reached your desired depth of color and everything is bone-dry, it’s time to seal in your hard work. Applying a clear topcoat is like the final meditation at the end of a long session; it protects the energy and the effort you’ve poured into the piece. Whether you choose a matte or a satin finish, apply it with the same gentle precision you used for the stain, creating a protective shield that allows your beautiful wood to shine for years to come.
The Quiet Ritual of Perfect Wood Grain Preparation
The Quiet Ritual of Perfect Wood Grain Preparation
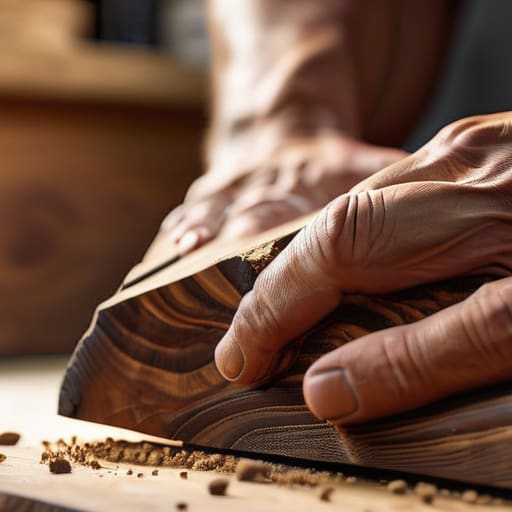
I often tell my clients that the most important work happens in the moments we can’t see. When it comes to woodworking, that means the invisible labor of wood grain preparation. I remember my first attempt at a coffee table; I was so eager to see the color that I rushed the prep work, only to end up with a patchy, frustrating finish. It was a hard lesson in patience, but it taught me that the soul of the piece is revealed in the details.
Before you even think about reaching for your pigment, you must commit to the meditative process of sanding wood before staining. Think of it as clearing away the mental clutter before a deep meditation session. You aren’t just smoothing a surface; you are opening the pores of the wood so it can truly “breathe” and accept the color. If you skip this, you’re essentially trying to build a house on a shaky foundation. Take your time with the grits, move with intention, and remember: the beauty of the finish is a direct reflection of the care you took in the silence of the preparation.
Mastering the Gentle Touch of Applying Wood Stain With a Rag
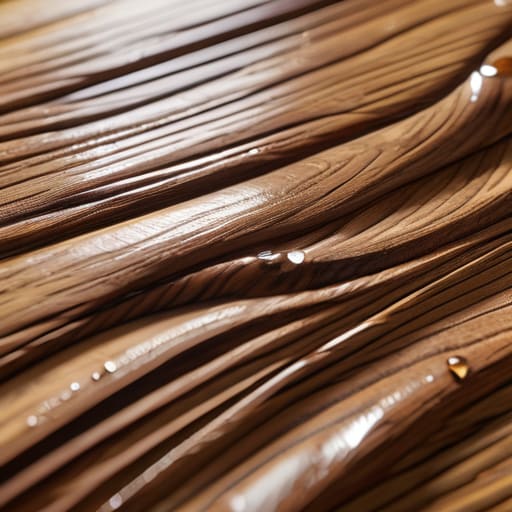
When it finally comes time to actually introduce the color to your piece, I like to think of it as a conversation between you and the timber. Instead of rushing through the process, try applying wood stain with a rag using long, rhythmic strokes that follow the natural direction of the grain. I remember my first DIY project back in my college apartment; I was so anxious to see the finished result that I scrubbed too hard, and I ended up with those dreaded blotches. To avoid that, remember that the goal isn’t to “paint” the surface, but to let the wood drink in the pigment at its own pace.
If you find yourself working with a softer species, like when you’re searching for the best wood stain for pine, you’ll want to be even more intentional. Softwoods can be a bit temperamental, and being mindful of your pressure is key to preventing uneven stain color. If you notice one area looking a bit darker than the rest, don’t panic—just gently buff it with a clean section of your cloth. Treat this stage as a moment of flow; when you move with intention rather than haste, the wood reveals its true beauty.
Small Rituals for a Soulful Finish: My Top 5 Staining Secrets
- Trust your intuition with the “test patch” method; before you commit to the whole piece, try the stain on a hidden corner to see how the wood truly wants to react.
- Remember that more isn’t always better—think of staining as a gentle conversation with the wood rather than an imposition, so avoid over-applying to prevent a muddy look.
- Keep your workspace as clear as your mind; a cluttered environment often leads to rushed movements, so take a moment to organize your rags and oils before you begin.
- Embrace the rhythm of the wipe; instead of rushing through the application, move with a steady, mindful pace to ensure the color settles evenly into the grain.
- Don’t forget the power of the pause—letting the stain sit for the perfect amount of time is a lesson in patience that ultimately rewards you with a much deeper, more intentional glow.
Finding Harmony in the Grain: My Final Thoughts
Remember that staining isn’t just a task to check off your to-do list; it’s a mindful practice of patience where the quality of your presence directly impacts the beauty of the finish.
Respect the preparation as much as the pigment, because a truly radiant result is always built on the foundation of a smooth, clean, and well-loved surface.
Trust your intuition and your senses—if the wood feels like it’s thirsting for more color or if you feel rushed, take a breath, slow down, and let the process unfold naturally.
The Soul of the Grain
“When you’re applying stain, try not to see it as just a task on a to-do list; see it as a conversation between your hands and the wood, where every slow, intentional stroke allows the natural beauty of the grain to finally speak its truth.”
Sophia Reynolds
Honoring the Finished Work
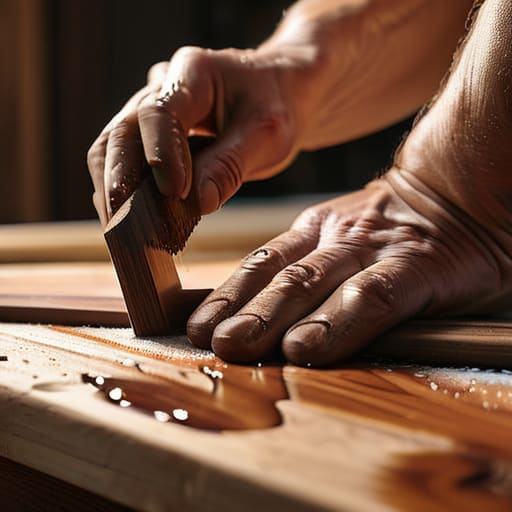
As you step back from your workbench, take a moment to really look at what you’ve accomplished. We’ve journeyed through the essential rhythm of this process, from the meticulous, quiet ritual of preparing the wood grain to the steady, mindful hand required to apply that stain with a rag. Remember, the secret isn’t just in the tools you use, but in the intentionality you bring to every stroke. By respecting the preparation and embracing a gentle touch, you haven’t just colored a piece of lumber; you have revealed the unique story hidden beneath the surface through patient craftsmanship.
I often tell my clients that the most beautiful results come when we stop rushing toward the finish line and start inhabiting the process itself. This project is a perfect microcosm of that truth. Whether you are staining a small heirloom box or a large dining table, let this be a reminder to find peace in the details. When we approach our tasks—whether they are creative, professional, or personal—with a sense of presence and grace, the outcome becomes something far more profound than just a completed task. It becomes a reflection of a life lived with purpose and harmony.
Frequently Asked Questions
How can I tell if I've applied enough stain, or am I at risk of over-saturating the wood and making it look muddy?
It’s so easy to get caught up in the “more is better” mindset, but with staining, less is often more. I always tell my clients that patience is your best tool. If the color looks uneven or starts to feel “tacky” and thick, you might be overdoing it. You want the wood to drink up the pigment, not drown in it. If it looks muddy, stop, wipe it back, and let it breathe.
What should I do if I notice an uneven patch or a blotchy spot while the stain is still wet?
Oh, I’ve been there—that sudden spike of panic when you see a dark patch blooming on your beautiful wood. Take a deep breath; it’s not a disaster. If the stain is still wet, grab a clean, lint-free cloth and gently blot the area. Don’t rub aggressively, or you’ll just move the pigment around. Think of it as a gentle correction, not a battle. We’re working with the wood, not against it.
Is there a way to achieve a deeper, richer color without having to apply multiple layers that might mess up the finish?
I totally hear you—sometimes those multiple layers can feel a bit frantic, and we want to protect that beautiful finish. To get that deep, soulful color in one go, I recommend using a pre-stain wood conditioner first. It’s like giving the wood a moment to breathe and prepare; it helps the stain absorb more evenly and deeply. Think of it as setting a mindful intention before the main event, ensuring a rich, consistent glow.