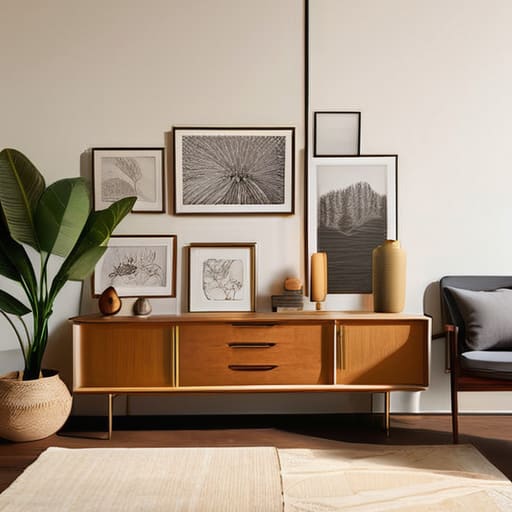
I remember standing in my first tiny apartment in San Francisco, surrounded by half-unpacked boxes and a mounting sense of chaos, staring at a completely blank, sterile white wall. I had all these beautiful prints and memories tucked away in crates, but the thought of how to create a gallery wall without it looking like a cluttered, disorganized mess felt utterly overwhelming. We’ve been told that a perfect gallery wall requires a mathematical eye for symmetry and a professional designer’s touch, but I’ve learned that’s a total myth. In reality, your walls shouldn’t feel like a rigid museum exhibit; they should feel like a living reflection of your unique journey and the things that bring you peace.
In this guide, I’m moving past the intimidating perfectionism and sharing my honest, step-by-step approach to curating a space that breathes. We’re going to walk through everything from choosing a cohesive color palette to the actual physical layout, ensuring you feel grounded and inspired throughout the process. Whether you’re a minimalist or a maximalist, I’ll show you how to design a sanctuary that doesn’t just fill space, but actually nourishes your soul every time you walk into the room.
Table of Contents
- Step-by-Step Instructions
- Finding Harmony Through Intentional Curating Art Collections for Home
- Mastering the Flow Measuring Wall Space for Art and Spacing
- Small Rituals for a Perfect Arrangement: 5 Tips to Find Your Flow
- Embracing Your Creative Flow: Final Thoughts
- The Soul of Your Space
- Creating Your Visual Sanctuary
- Frequently Asked Questions
Guide Overview
Tools & Supplies
- Measuring tape for spacing art
- Hammer for hanging hardware
- Pencil for marking wall spots
- Level to ensure straightness
- Picture frames of various sizes (5-10 pieces)
- Wall art or photos (5-10 pieces)
- Painter's tape for layout planning
- Picture hangers or nails (1 pack)
Step-by-Step Instructions
- 1. Before you even touch a hammer, I want you to gather all your pieces and lay them out on the floor. This is your chance to have a little visual conversation with your memories. Instead of rushing, take a moment to see how the textures and colors play off one another. I always find that laying everything out in a sunlit room helps me realize which pieces are the “anchors” and which ones are the delicate accents that add movement.
- 2. Once you have a layout that feels right, it’s time to find your center. I highly recommend choosing a focal point—perhaps a larger, more meaningful piece or a central landscape—and building outward from there. Think of it like a meditation; you start with a core intention and then allow the surrounding elements to flow naturally around that center.
- 3. Now, let’s talk about the “paper template” trick, which is a total lifesaver for my more anxious perfectionists. Trace each frame onto kraft paper and cut them out. This allows you to map out your vision on the wall without making a single accidental hole. You can use painter’s tape to move these paper shapes around until the composition feels balanced and breathes just the way you want it to.
- 4. As you move from paper to nails, pay close attention to the “negative space”—the gaps between the frames. In my years of consulting, I’ve seen how people often try to crowd their walls, but a little bit of intentional breathing room between frames can actually make the entire collection feel much more sophisticated and calm.
- 5. Don’t be afraid to mix your mediums! A gallery wall doesn’t have to be just flat photographs. I love incorporating a small hanging plant, a vintage brass mirror, or even a textured textile. This adds a sensory dimension to your sanctuary, making the wall feel less like a display and more like a living part of your home.
- 6. Finally, once everything is hung, step back. I mean really step back—go into another room, grab a cup of herbal tea, and come back to look at it with fresh eyes. Sometimes we get so caught up in the micro-details that we lose sight of the whole. If something feels slightly “off,” don’t stress; just gently adjust it. Your home is a work in progress, and your art should be, too.
Finding Harmony Through Intentional Curating Art Collections for Home
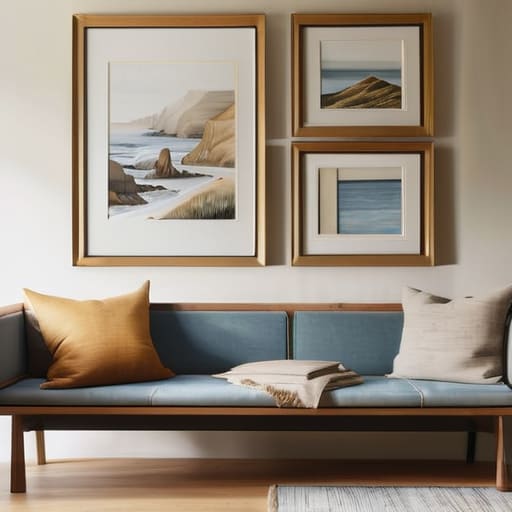
When we talk about decorating, I often find that we get so caught up in the “how-to” that we forget the “why.” To me, curating art collections for home isn’t just about filling an empty void on a plaster surface; it’s about surrounding yourself with visual anchors that ground you. I remember when I first moved into my apartment in San Francisco, I felt so scattered. I realized that by choosing pieces that resonated with my journey—a small watercolor from a trip to the coast or a print that reminded me of a breakthrough in therapy—my space finally started to feel like a sanctuary rather than just a room.
As you begin selecting your pieces, try to think about the emotional rhythm of the room. Instead of just focusing on gallery wall color schemes, ask yourself how these colors make you feel when you walk in after a long day. Do you need the calming energy of soft blues, or the vibrant spark of ochre to boost your morning productivity? When you approach your decor with this kind of intention, you aren’t just decorating; you are cultivating a landscape for your soul to rest in.
Mastering the Flow Measuring Wall Space for Art and Spacing
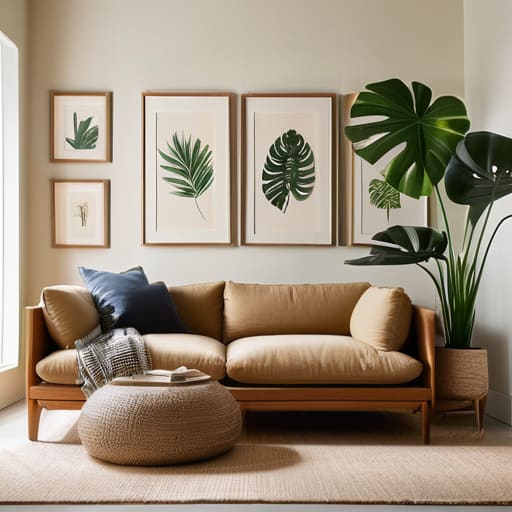
Now, before you start hammering away at your walls, let’s talk about the rhythm of the space itself. I remember when I first tried to decorate my small apartment in San Francisco; I was so eager to hang everything that I ended up with a cluttered, chaotic mess that felt more stressful than soothing. The secret to a peaceful room lies in measuring wall space for art with intention. Instead of just filling a void, look at the negative space—the empty areas around your pieces. This “breathing room” is just as important as the art itself, as it allows each piece to be seen and felt individually without overwhelming your senses.
When you begin to map things out, I highly recommend a little “dry run” on the floor. Lay your pieces out on the ground first to experiment with different spacing between picture frames. A good rule of thumb I love is to keep the distance consistent—usually between two to three inches—to create a sense of visual cohesion. If you’re feeling a bit hesitant about commitment, you can even try mounting art without nails using adhesive strips. This allows you to adjust your layout as you find your flow, ensuring your sanctuary feels exactly right.
Small Rituals for a Perfect Arrangement: 5 Tips to Find Your Flow
- Don’t rush the process; I always recommend laying your frames out on the floor first. It allows you to step back and see the “soul” of the collection without the stress of hammer nails and crooked lines.
- Embrace the beauty of imperfection by mixing textures. Think beyond just smooth glass—incorporating a woven basket or a small wooden carving can add a tactile, grounding energy to your wall.
- Use the “eye-level” rule as a gentle guide, not a rigid law. Find that sweet spot where your gaze naturally rests, ensuring the art feels like a conversation partner rather than something looming over you.
- Let your lighting tell a story. A soft, warm lamp or a focused spotlight can transform a simple collection of photos into a curated sanctuary that invites you to pause and reflect.
- Remember that your wall is a living thing. If a piece starts to feel heavy or uninspiring, don’t be afraid to swap it out; your home should evolve alongside your personal journey.
Embracing Your Creative Flow: Final Thoughts
Remember that your gallery wall isn’t just a decor project; it’s a living reflection of your personal journey, so let it evolve as you do.
Don’t let the fear of a “mistake” stop you from starting—trust your intuition and remember that even a slightly crooked frame can add character and soul to your sanctuary.
Use the process as a mindfulness practice, allowing yourself the grace to pause and breathe rather than rushing toward a finished result.
The Soul of Your Space
“A gallery wall shouldn’t just be a collection of frames; it should be a visual heartbeat of your journey—a mindful curation of the moments, colors, and textures that make your soul feel truly at home.”
Sophia Reynolds
Creating Your Visual Sanctuary
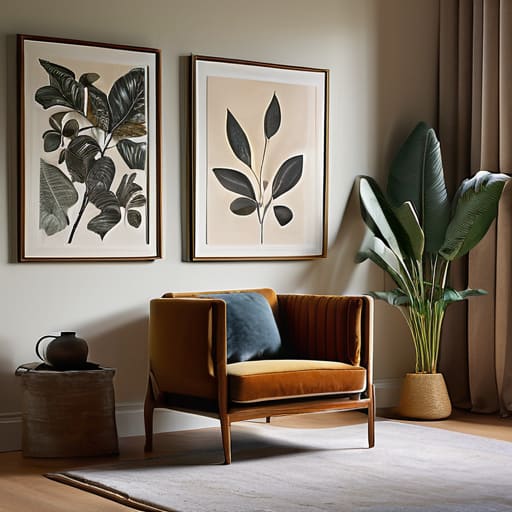
As you step back from your newly arranged wall, take a moment to really look at what you’ve built. We’ve covered everything from the technical side of measuring your space to the more soulful process of selecting pieces that truly resonate with your personal journey. Remember, a successful gallery wall isn’t just about perfect alignment or finding the right frames; it’s about the intentional balance between the art you love and the physical space it inhabits. By focusing on flow, spacing, and meaningful curation, you’ve transformed a blank, empty surface into a structured yet organic expression of your unique identity.
At the end of the day, your home should be a place that breathes with you. This gallery wall is more than just a decor project; it is a visual reminder of the moments, people, and inspirations that make your life beautiful. Don’t feel pressured to make it “perfect” on the first try—art is a living thing, and your walls can evolve just as you do. Let this space be a gentle invitation to pause and reconnect with your sense of self every time you walk through the room. You aren’t just decorating a house; you are cultivating a sanctuary for your soul.
Frequently Asked Questions
How do I balance different frame styles and colors without the whole wall feeling cluttered or chaotic?
I totally get that feeling—that moment where you step back and think, “Wait, is this a curated collection or just a pile of stuff?” To find that sweet spot, I always suggest picking one “anchor” element to create visual rhythm. Maybe it’s a consistent color palette in the art itself, or perhaps you use a single material, like light wood, across different frame styles. It’s about finding the thread that weaves the chaos into a cohesive story.
I'm worried about making a mistake—is there a way to test the layout before I start driving nails into my walls?
Oh, I completely hear you! That “nail-anxiety” is so real—I remember staring at my own living room wall for hours before finally making a move. Please, don’t rush into it! A wonderful way to find your flow is to trace each frame onto brown kraft paper, cut them out, and use painter’s tape to mock up the layout. It lets you visualize the energy of the space without any permanent commitment. Breathe; you’ve got this!
What’s the best way to incorporate meaningful, non-traditional items like heirlooms or dried botanicals into the arrangement?
I love this question! To me, a gallery wall shouldn’t just be a collection of prints; it should be a visual diary of your life. I always suggest treating heirlooms or dried botanicals as your “anchor pieces.” Instead of forcing them into a rigid grid, let them breathe. Place a sentimental vintage key or a pressed wildflower in a shadow box slightly off-center. This breaks the symmetry and invites a sense of soulful, organic storytelling.
