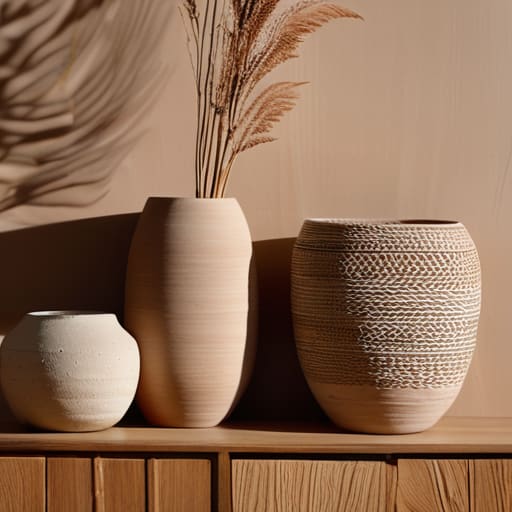
I remember sitting on my floor in my tiny first apartment, surrounded by half-finished ceramic bowls and tangled yarn, feeling completely overwhelmed. I had poured my heart into these pieces, but when I tried to set them out on a shelf, they just looked like… clutter. I kept seeing these glossy, expensive catalogs suggesting that you need high-end gallery lighting and custom-built pedestals to show off your work, but let’s be real: that’s a total myth that keeps so many talented creators stuck. Learning how to display handmade items shouldn’t feel like you’re trying to compete with a high-budget retail showroom; it should feel like an extension of your own creative soul.
In this guide, I’m stripping away the commercial hype and the “perfect” Instagram aesthetics to give you something much more useful. I want to share how you can create a visual narrative that honors your craft without breaking the bank or losing your peace of mind. We’re going to explore intentional, soulful ways to showcase your creations so they don’t just sit there, but actually tell your story to the world.
Table of Contents
Mastering Visual Merchandising for Makers
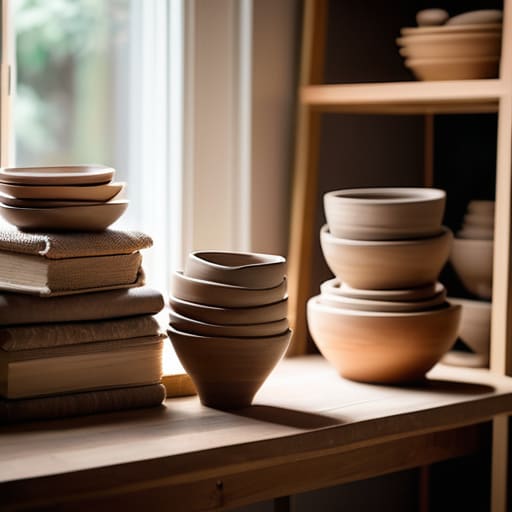
When I was consulting for corporate teams, I often talked about how our environments dictate our mental state. The same applies to your creative space; if your setup feels chaotic, your customers will feel that tension too. Mastering visual merchandising for makers isn’t just about aesthetics; it’s about creating a narrative that invites people in. Instead of just laying items flat on a table, think about levels. Use vintage crates, wooden risers, or even stacks of linen books to create height. This draws the eye upward and prevents your beautiful work from looking like a cluttered pile of inventory.
I remember one of my first local markets—I was so nervous that I just lined everything up in straight rows. It looked more like a grocery store than an art display! Now, I suggest focusing on creative product presentation that tells a story. Group items by color palette or “mood” rather than just category. If you’re setting up a craft fair booth setup, remember that lighting is your best friend. A little bit of warm, soft light can transform a simple display into something that feels truly magical and intentional.
Creative Product Presentation That Tells a Story
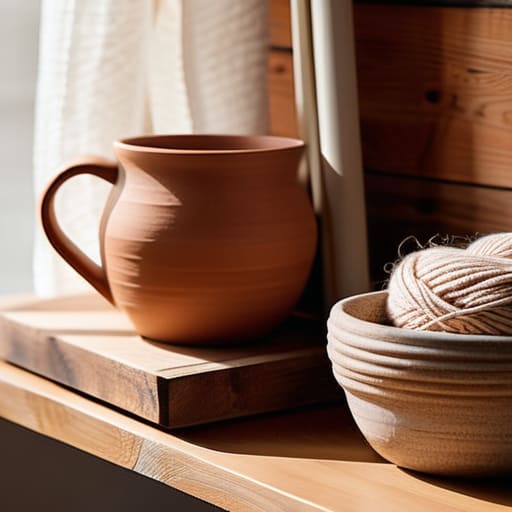
Think back to the first time you held something truly special—maybe a hand-thrown ceramic mug or a hand-knit scarf. You didn’t just see an object; you felt the intention behind it. When you’re working on your creative product presentation, your goal isn’t just to show what you made, but to invite people into the “why” behind your craft. I always tell my clients that your display should act as a silent storyteller. Instead of lining up items in rigid, clinical rows, try grouping them by mood or color palette. This creates a sense of flow that draws the eye in, making your space feel more like a curated boutique and less like a cluttered shelf.
I remember during my corporate days, I saw how much a change in atmosphere could shift a person’s entire mindset. You can apply that same magic to your craft fair booth setup. If you sell delicate items, consider using organic elements like driftwood or linen cloths to ground your display. This doesn’t just look beautiful; it provides a soft, tactile context that helps in protecting delicate handmade goods from the frantic energy of a busy market. When your setup feels intentional, your customers will feel that peace, too.
Small Shifts to Elevate Your Maker’s Presence
- Embrace the power of negative space; it’s tempting to crowd every inch of your table to show off your hard work, but giving your pieces room to breathe allows the eye to actually rest on the details that make them special.
- Layer your heights to create a visual journey, using vintage wooden crates or even simple ceramic bowls to lift some items higher than others, which keeps the viewer’s gaze moving naturally across your collection.
- Bring in organic elements to ground your display, like a sprig of dried eucalyptus or a smooth river stone, which subtly reinforces the “handmade” connection to nature that so many of us strive for in our crafts.
- Use soft, intentional lighting to set the mood, because nothing kills the magic of a handcrafted piece quite like harsh, overhead fluorescent lights—try a small, warm-toned lamp to create an inviting glow.
- Incorporate “sensory touchpoints” by leaving a sample piece out for people to actually feel, because when someone connects with the texture of your work, they aren’t just looking at a product anymore; they’re experiencing your artistry.
Bringing It All Together: My Heartfelt Advice for Your Journey
Remember that your display is more than just a way to show off products; it’s an extension of your energy. When you curate your space with intention, that sense of purpose radiates to your customers.
Don’t be afraid to lean into the “imperfect” beauty of your brand. Whether it’s a rustic wooden crate or a splash of vibrant color, let your setup reflect the same soul you poured into the making of your items.
Take a breath and step back. Sometimes, the best way to see if your presentation is working is to physically move away from it—just like we do in mindfulness—to see if the story you’re trying to tell is actually being heard.
The Soul Behind the Shelf
“When you’re arranging your creations, remember that you aren’t just organizing inventory; you’re setting the stage for a connection. Don’t just show them what you made—show them the intention, the quiet moments of focus, and the heart that went into every single piece.”
Sophia Reynolds
Bringing Your Vision to Life
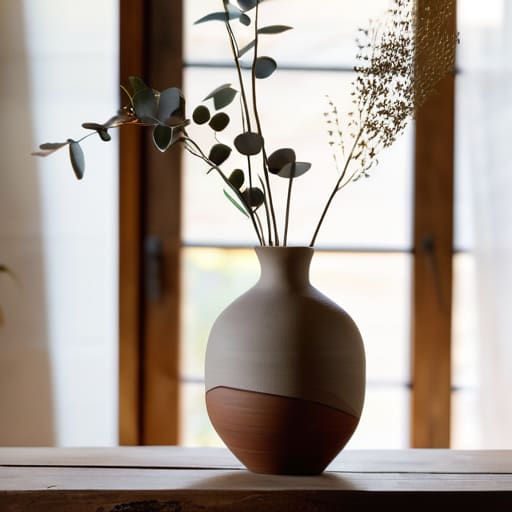
As we wrap up this journey of transforming your workspace into a curated experience, I hope you feel more equipped to showcase your beautiful creations. Remember, it isn’t just about placing an item on a shelf; it’s about the intentional dance between visual merchandising and the narrative you weave through your setup. From mastering the subtle art of lighting to ensuring your products have the breathing room they deserve to tell their unique stories, every small choice you make serves a greater purpose. When you align your display with the soul of your craft, you aren’t just selling a product—you are inviting someone into your world.
If I could leave you with one final thought, it’s this: don’t let the pursuit of perfection paralyze your creative flow. There will be days when the lighting isn’t quite right or the arrangement feels a bit off, and that is perfectly okay. Growth is a process, much like the way we cultivate our own inner peace. Treat your display as a living, breathing extension of your journey, and allow it to evolve as you do. Trust your intuition, embrace the beauty of imperfection, and most importantly, remember to pause and celebrate how far you’ve come. You are doing incredible work, and the world is waiting to see it shine.
Frequently Asked Questions
How do I balance a beautiful, artistic display with the practical need to keep my items safe and secure from curious hands?
I completely hear you—it’s that delicate dance between wanting people to touch your art and needing to protect it. I used to struggle with this during my corporate wellness days when setting up workshops! Try using “visual boundaries” instead of literal barriers. Think elegant glass cloches, subtle acrylic risers, or even varying heights to create a natural sense of importance. It guides the eye and sets a respectful distance without breaking the magic of your display.
I have a very small booth at local markets; what are some space-saving ways to create visual impact without feeling cluttered?
I totally feel you—small spaces can feel so claustrophobic! When I was consulting for boutique brands, I always suggested “verticality.” Instead of spreading everything flat, use tiered risers or even small wooden crates to draw the eye upward. It creates layers without the mess. Also, pick one “hero” piece to be your focal point. By letting one item breathe, you create a sense of intentionality rather than just a crowded table.
How can I use lighting to highlight the textures and details of my work without making the setup feel too artificial or overwhelming?
Think of lighting as the gentle nudge that invites someone to lean in closer. I always suggest leaning into soft, layered light rather than one harsh overhead bulb. If you’re working with tactile pieces, try using warm, directional task lamps to create subtle shadows; this actually pulls those beautiful textures to life! It feels much more organic—almost like a sunbeam hitting a cozy corner—rather than a clinical showroom. Let the light dance, not glare.
