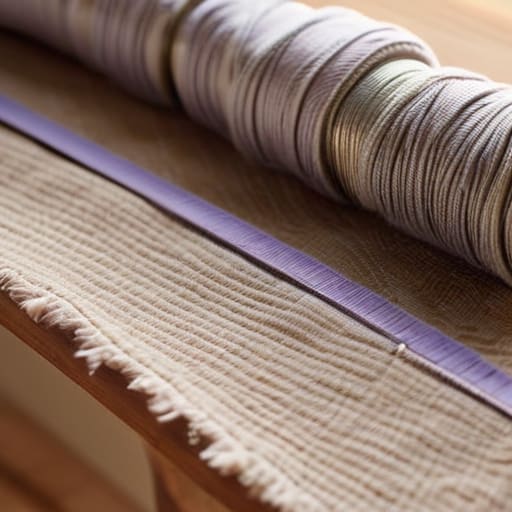
I remember sitting on my living room floor last November, wrapped in three different blankets, watching my breath mist in the air as a biting chill seeped through the bottom of my front door. I felt so defeated, thinking that creating a cozy, warm sanctuary required an expensive home renovation or a massive heating bill. But here’s the truth: you don’t need a contractor to reclaim your comfort. Learning how to make a draught excluder is actually one of the most simple, grounding acts of self-care you can perform for your home. It’s about more than just blocking the wind; it’s about reclaiming your space from the elements.
In this guide, I’m stripping away the complicated DIY jargon to give you a clear, stress-free roadmap to warmth. I’ll walk you through selecting the right materials—from upcycled fabrics to soothing scents—and show you exactly how to make a draught excluder that looks like a piece of intentional decor rather than a makeshift fix. We aren’t just building a tool; we are crafting a sense of peace and stability for your personal sanctuary. Let’s get started.
Table of Contents
- Step-by-Step Instructions
- Choosing Soulful Fabric Choices for Door Snakes
- Selecting the Best Stuffing for Draught Excluders
- Little Rituals for a Perfect Finish: My Top 5 Tips for Your DIY Draught Excluder
- Small Steps Toward a Cozier, More Mindful Home
- ## A Small Act of Home Sanctuary
- Creating Your Own Pocket of Peace
- Frequently Asked Questions
Guide Overview
Tools & Supplies
- Scissors for cutting fabric
- Sewing machine or needle and thread for assembly
- Fabric (approx. 1 meter)
- Filling material (sand, rice, or dried beans)
- Thread to match fabric color
Step-by-Step Instructions
- 1. First, I love to start by gathering all our materials, treating this more like a creative ritual than a chore. You’ll need a piece of sturdy, beautiful fabric—think soft linen or a heavy cotton that feels good to the touch—a sewing kit, some heavy-duty thread, and your stuffing. For the stuffing, I personally find that dried lavender or even clean sand works wonders to give it that grounding weight we need to block out those pesky drafts.
- 2. Once you have your materials, the next step is to measure the width of your door or window. I always suggest adding about an extra inch to your measurement; this little bit of intentional breathing room ensures the excluder doesn’t feel too tight or awkward when you lay it down. Use a piece of tailor’s chalk or a gentle pencil to mark your fabric, keeping in mind how you want the pattern to flow.
- 3. Now, it’s time to cut your fabric into a long, slender rectangle based on those measurements. As you glide your scissors through the cloth, try to stay present in the moment, noticing the texture and the sound of the cut. This is your time to slow down and connect with the physical task at hand before we move into the more technical sewing phase.
- 4. With your fabric cut, fold it lengthwise so that the “pretty sides” are touching on the inside. Pin it along the edge to keep it steady, and then begin sewing along the long edge. I usually recommend a straight, steady stitch to ensure the structure is sound, but don’t worry if it isn’t absolutely perfect—the beauty of a handmade item lies in its unique character.
- 5. After you’ve sewn down the long side, leave a small opening (about two or three inches) at one end. This is our gateway for the stuffing. Slowly pour in your chosen material, making sure to distribute it evenly so the excluder doesn’t feel lopsided. I find that feeling the weight of the stuffing in my hands is a very satisfying, tactile experience that helps me feel centered.
- 6. Once your fabric feels pleasantly plump and heavy, it’s time to close that final gap. Hand-sew the opening shut using a simple whipstitch. As you pull the thread through, think about how you are sealing your sanctuary from the outside elements, creating a more peaceful and controlled environment for yourself to rest in.
- 7. Finally, give your new creation a little fluff and place it snugly against the base of your door. You might want to add a few decorative touches, like a bit of embroidery or a ribbon, to make it feel truly yours. Now, take a deep breath and notice how much warmer and more inviting your space feels with this small, mindful addition.
Choosing Soulful Fabric Choices for Door Snakes
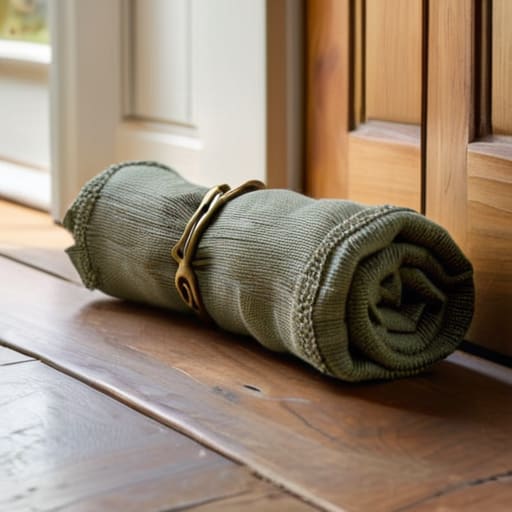
When you’re picking out materials for your project, I always encourage you to look beyond just the utility of the item. Since this little “door snake” will be resting right at the threshold of your sanctuary, why not choose something that brings you a sense of calm? I love scouring local thrift stores for vintage linens or soft, textured velvets. Selecting intentional fabric choices for door snakes allows you to turn a simple functional tool into a piece of home decor that resonates with your personal aesthetic. Whether it’s a calming sage linen or a cozy, patterned cotton, the texture can actually influence the mood of your entryway.
As you transition from the creative selection to the actual assembly, remember that the weight of the fabric matters. You’ll want something substantial enough to hold its shape, especially if you’re following a sewing tutorial for door snakes that involves a more structured design. If you find yourself working with a lighter silk or thin cotton, don’t worry—you can always compensate by being extra mindful of your stuffing choices later on. It’s all about creating a harmonious balance between beauty and the practical goal of keeping your space cozy.
Selecting the Best Stuffing for Draught Excluders
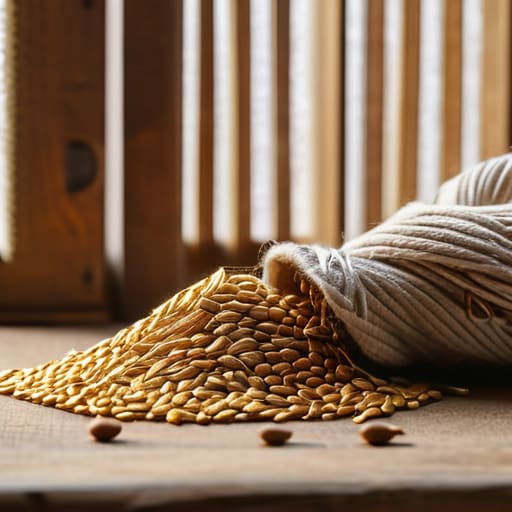
Now that we’ve picked out a fabric that speaks to our souls, it’s time to talk about the heart of our project: the filling. When you’re looking for the best stuffing for draught excluders, it’s easy to get overwhelmed by the options, but I like to think of this as choosing the “inner peace” of your door snake. If you want something heavy and substantial to truly stop heat loss from doors, dried rice or even clean, uncooked lentils work beautifully. They have a lovely, grounding weight to them that helps the snake sit snugly against the threshold.
However, if you’re looking for something more lightweight or perhaps more sustainable, you might consider using shredded fabric scraps from your previous sewing projects. This is such a wonderful way to practice mindful consumption! If you prefer a soft, plush feel, polyester fiberfill is a classic choice, though it lacks that satisfying weight. Just remember, if you’re following a homemade draft stopper tutorial using organic materials like rice, I always recommend adding a small, airtight inner bag to prevent any unexpected “organic surprises” down the road!
Little Rituals for a Perfect Finish: My Top 5 Tips for Your DIY Draught Excluder
- Measure twice, breathe once; before you even touch your fabric, take a moment to measure the width of your door frame at both the top and bottom, as floors aren’t always perfectly level.
- Embrace the weight of it; if you find your “door snake” is feeling a bit too light and sliding around, don’t be afraid to add a small pouch of dried lentils or rice inside to give it that grounding, heavy presence.
- Mind the seams for a seamless flow; when sewing your tube, try to use a double stitch along the edges to ensure that even with daily movement, your beautiful creation remains intact and cozy.
- Don’t fear the imperfection; if your stitching isn’t quite a straight line, remember that this is a handmade piece of your sanctuary, and those tiny irregularities are just reminders of the human touch.
- Scent your space with intention; as a little extra wellness hack, tuck a small sachet of dried lavender into the stuffing to turn your draught excluder into a gentle, calming aromatherapy tool for your home.
Small Steps Toward a Cozier, More Mindful Home
Remember that creating a draught excluder isn’t just a DIY project; it’s a gentle act of self-care that transforms your living space into a warmer, more intentional sanctuary.
By choosing fabrics and fillings that resonate with your personal style and values, you turn a simple functional tool into a beautiful expression of your unique home aesthetic.
Don’t underestimate the power of these small, mindful adjustments—protecting your environment from the chill is a simple way to nurture your well-being and find peace in the little things.
## A Small Act of Home Sanctuary
“Making a draught excluder isn’t just about sealing a gap under a door; it’s about the intentional act of reclaiming your space, creating a quiet barrier against the chaos outside so you can finally settle into your own warmth.”
Sophia Reynolds
Creating Your Own Pocket of Peace
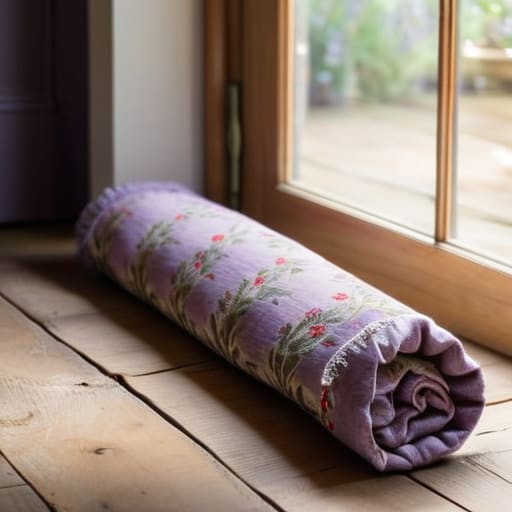
As we wrap up this little project, I hope you feel a sense of accomplishment in having transformed a simple necessity into something truly personal. By carefully selecting your soulful fabrics and choosing the perfect stuffing—whether it’s eco-friendly dried lavender or recycled scraps—you’ve done more than just block a chilly breeze. You have actively participated in the process of intentional home curation. We’ve moved through the steps of measuring, sewing, and filling, turning a functional task into a moment of mindful creation that serves both your comfort and your sanctuary.
At the end of the day, it isn’t just about the temperature in your hallway; it’s about the energy you allow into your living space. When we take the time to mend the small gaps in our environment, we are actually practicing a beautiful form of self-care. I truly believe that these tiny, handmade touches are what turn a house into a home that breathes with you. So, as you settle in tonight, take a deep breath and feel the warmth of a space that you have lovingly shaped with your own two hands. You deserve this quiet comfort.
Frequently Asked Questions
How can I make sure my draught excluder stays in place and doesn't just slide away every time the door moves?
I totally get that frustration! There’s nothing quite as disruptive as a little “door snake” sliding away just when you’ve settled into a peaceful moment. To keep yours grounded, I love using a bit of wayward Velcro tape on the underside, or even a tiny strip of non-slip rug padding. It creates just enough gentle friction to keep it anchored without being intrusive, allowing your sanctuary to stay cozy and undisturbed.
If I'm using recycled materials like old fabric scraps, how do I ensure the stuffing is clean and won't develop an unpleasant scent over time?
That is such a thoughtful question! When we repurpose old fabrics, we’re essentially practicing a beautiful form of mindfulness through upcycling. To keep your “door snake” fresh, I always recommend a deep, hot wash for any scraps before you start. If you’re using old stuffing, consider adding a sprinkle of dried lavender or a few drops of essential oil to the core. It turns a simple DIY project into a subtle, soothing aromatherapy ritual for your home.
Is there a way to customize the length of the door snake to fit irregular door shapes or even those tricky, curved thresholds?
That is such a thoughtful question! When our spaces have those unique, imperfect edges, we shouldn’t feel forced to follow a rigid pattern. I love using “segmented” door snakes for tricky thresholds. Instead of one long tube, sew several smaller, rounded modules and link them together with soft fabric ties. This allows the snake to “hug” curves and irregular shapes beautifully, turning a functional tool into a custom, flowing piece of art for your sanctuary.
