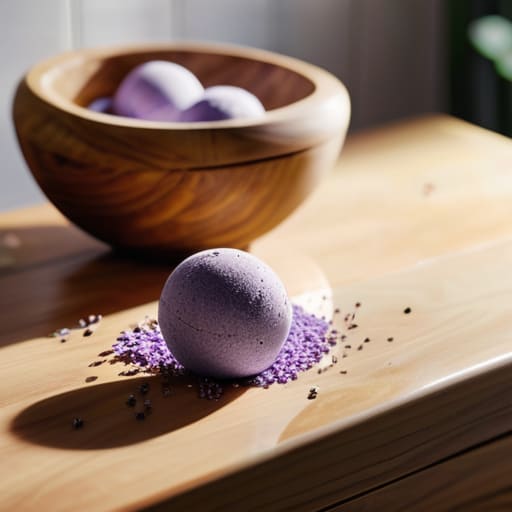
I remember sitting on my bathroom floor three years ago, surrounded by a mountain of expensive, half-dried clumps that looked more like sidewalk chalk than luxury spa treats. I had followed every “expert” tutorial online, yet I was left with nothing but a messy kitchen and a sense of total frustration. The truth is, most people think learning how to make bath bombs requires a chemistry degree or a pristine, professional studio, but that’s just not true. It’s actually much more about rhythm and intention than it is about perfect measurements or fancy equipment.
In this guide, I’m stripping away the fluff and the complicated jargon to show you the real, soulful way to create your own sanctuary at home. I’ll walk you through the exact, no-nonsense steps to master how to make bath bombs that actually fizz, smell divine, and provide that much-needed moment of deep rest. We aren’t just making products here; we are crafting intentional rituals to help you reclaim your peace in a world that never seems to stop moving. Let’s get started.
Table of Contents
- Step-by-Step Instructions
- Curating Pure Bliss With Natural Bath Bomb Ingredients
- Mastering the Essential Baking Soda and Citric Acid Ratio
- Small Tweaks for Big Bliss: My Pro-Tips for the Perfect Fizz
- Finding Your Rhythm in the Ritual
- ## More Than Just Fizz and Fragrance
- Embracing Your Ritual of Rest
- Frequently Asked Questions
Guide Overview
Tools & Supplies
- Mixing bowl for combining dry ingredients
- Measuring spoons for precision
- Bath bomb molds to shape the mixture
- Spray bottle for adding moisture
- Baking soda 2 cups
- Citric acid 1 cup
- Epsom salt 1/2 cup
- Cornstarch 1/2 cup
- Carrier oil (e.g., coconut oil) 2 tablespoons
- Essential oil 10-20 drops
- Dried flowers or mica powder for color (optional)
Step-by-Step Instructions
- 1. First, let’s get our dry ingredients organized. In a large mixing bowl, whisk together 1 cup of baking soda, 1/2 cup of citric acid, and 1/2 cup of Epsom salt. I find that using a fine-mesh whisk helps break up any little clumps, ensuring your bath bomb has that perfectly smooth, professional finish when it hits the water.
- 2. Once your base is nice and airy, it’s time to add a little bit of soul to the mixture. Gently stir in half a cup of cornstarch and a teaspoon of any dried botanicals you might have on hand, like lavender buds or rose petals. This isn’t just about the science; it’s about engaging your senses and setting an intention for the relaxation to come.
- 3. Now, we move on to the “wet” phase, which is where most people get a little nervous, so take a deep breath with me. In a separate small jar, mix together 2 tablespoons of melted coconut oil (or jojoba if you prefer), a few drops of your favorite essential oil, and a tiny splash of water. The trick here is to add the liquid incredibly slowly—think one teaspoon at a time—while whisking constantly.
- 4. This is the most critical moment of the process: you want the mixture to feel like damp sand. If you squeeze a handful of the mixture in your palm, it should hold its shape without crumbling apart. If it feels too dry, add a tiny bit more oil; if it starts fizzing immediately, you’ve added too much moisture, so just add a sprinkle more baking soda to balance it out.
- 5. Grab your molds—I personally love using silicone molds because they are so forgiving—and begin packing the mixture in firmly. Don’t be afraid to use a little pressure; you want the ingredients to be densely packed so the bath bomb doesn’t disintegrate the moment it touches the tub.
- 6. Let the molds sit undisturbed on your counter for about 24 hours. This is a wonderful opportunity to practice a little bit of patience, which is a core pillar of mindfulness. I like to use this time to set a digital timer and perhaps do a quick five-minute stretch, letting the anticipation build for your upcoming ritual.
- 7. Finally, gently tap the molds to release your creations and transfer them to a glass jar. Store them in a cool, dry place to keep them fresh. When you’re ready to use them, simply drop one into a warm bath, watch the beautiful effervescence, and allow yourself to truly let go.
Curating Pure Bliss With Natural Bath Bomb Ingredients
When I first started experimenting with DIY spa products at home, I quickly realized that the magic isn’t just in the fizz—it’s in the intention you pour into every ingredient. I remember one particularly stressful week at my old corporate job when I decided to ditch the synthetic, neon-colored store-bought versions for something more grounding. I found that leaning into natural bath bomb ingredients like dried lavender buds or rose petals transformed my tub into a true sanctuary. It’s about more than just chemistry; it’s about creating a sensory ritual that tells your nervous system it is finally safe to relax.
To get that perfect, professional-grade effervescence, you really have to respect the science of the bake. I can’t stress enough how vital the baking soda and citric acid ratio is to achieving that satisfying, long-lasting bubble. If you’re feeling a bit adventurous, I love playing with different essential oils for bath bombs—lavender for sleep, or perhaps a bright eucalyptus to clear the mind during a morning soak. Just remember, a little goes a long way! Treat this process as a form of moving meditation, and your skin (and soul) will thank you.
Mastering the Essential Baking Soda and Citric Acid Ratio
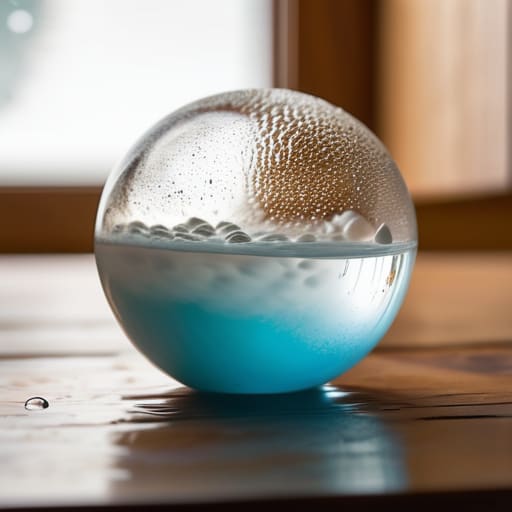
Now, I know what you’re thinking—it sounds like a simple chemistry experiment, but getting that perfect, fizzing sensation is actually where the magic happens. The secret lies entirely in mastering the baking soda and citric acid ratio. If you tip the scales too far in one direction, your bath bomb might crumble into dust or, worse, fail to bubble when it hits the water. I always recommend a standard 2:1 ratio (two parts baking soda to one part citric acid) as your baseline. Think of it like finding the right tempo in a yoga flow; it needs to be balanced to create that seamless, rhythmic effervescence we’re all looking for.
One little tip from my days in corporate wellness: precision is your friend, but don’t let it stress you out! If your mixture feels a bit too damp, you might trigger the reaction too early. You want a consistency similar to wet sand—it should hold its shape when you squeeze it in your hand. If you find yourself struggling with different bath bomb mold types, remember that the ratio stays the same; only the pressure you apply changes. Patience during the setting stage is key to ensuring your DIY creations are truly professional-grade.
Small Tweaks for Big Bliss: My Pro-Tips for the Perfect Fizz
- Keep your workspace dry! I learned this the hard way during my first attempt—if even a tiny bit of moisture gets into your bowl, the citric acid will start reacting prematurely, and you’ll end up with a clump rather than a beautiful bomb.
- Don’t rush the “set.” Once you’ve molded your bath bombs, give them plenty of time to harden in a cool, dry place. Think of it like a mindful meditation; you can’t force the stillness, you just have to allow it to happen.
- Embrace the power of essential oils, but go easy. A little goes a long way, and since we’re focusing on wellness, I always recommend using high-quality, therapeutic-grade oils like lavender or eucalyptus to truly turn your bathroom into a sanctuary.
- Use a fine-mesh sieve when mixing your dry ingredients. It might seem like an extra step, but it ensures your mixture is silky smooth and prevents those pesky little lumps from ruining the aesthetic of your beautiful creations.
- Pack them tight! When you’re pressing your mixture into the molds, use a bit of firm pressure. This helps the ingredients bind together properly so your bath bomb stays intact until the very moment it hits the water.
Finding Your Rhythm in the Ritual
Remember that the magic isn’t just in the fizz; it’s in the intentionality you bring to the process, treating the mixing and molding as a form of moving meditation.
Precision matters for the science, but intuition matters for the soul—stick to your ratios for a perfect reaction, but feel free to let your favorite scents guide your creative spirit.
View your homemade bath bombs as more than just products; see them as tangible invitations to pause, breathe, and reclaim a moment of peace in your busy day.
## More Than Just Fizz and Fragrance
“Making your own bath bombs isn’t just about the chemistry of citric acid and baking soda; it’s about the intentional act of reclaiming your time. When you hand-craft these little spheres of calm, you aren’t just preparing a bath—you’re designing a sacred ritual of self-care that tells your nervous system, ‘It is finally safe to slow down.'”
Sophia Reynolds
Embracing Your Ritual of Rest
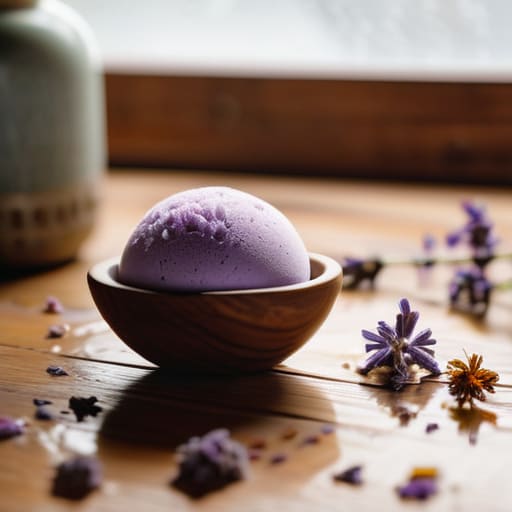
As you look at your finished bath bombs, take a second to appreciate the journey you’ve just taken. From mastering that crucial ratio of baking soda to citric acid to carefully selecting the botanical essences that speak to your soul, you haven’t just made a product; you have crafted a sensory experience. Remember, the secret to a perfect fizz isn’t just in the chemistry, but in the patience you practiced while mixing those ingredients. By choosing natural, high-quality components, you’ve ensured that your self-care ritual is as kind to your body as it is to your mind. You now have the tools to turn a standard evening into a curated moment of pure, restorative bliss.
At the end of the day, these little spheres of effervescence are about so much more than just bubbles and scents. They are a physical reminder that you deserve to pause, even when the world feels like it’s spinning out of control. In my years as a wellness consultant, I’ve learned that productivity isn’t just about how much we get done, but about how well we refuel our spirits. So, when you finally drop one of these into a warm tub, let the steam carry away your stress and let the scent ground you in the present moment. You’ve earned this quiet space. Go ahead, breathe deep, and enjoy the magic you created.
Frequently Asked Questions
Why are my bath bombs crumbling or falling apart as soon as I try to take them out of the mold?
Oh, I’ve been there! There is nothing more frustrating than pouring your heart into a DIY project only to have it crumble right when you’re feeling inspired. Usually, this happens because of a tiny bit of moisture—even a single drop of water can trigger that citric acid reaction prematurely. Try working in a very dry environment, and make sure you aren’t packing them too loosely. A little more pressure and a little less humidity go a long way!
Can I use essential oils instead of synthetic fragrances without causing skin irritation?
That is such a thoughtful question! I always tell my clients that what we put on our bodies is just as vital as what we put in them. Yes, you absolutely can—and should—use essential oils! They bring such a beautiful, therapeutic layer to your ritual. Just be mindful to dilute them properly in a carrier oil first, and always do a quick patch test. Your skin will thank you for the pure, botanical love.
How can I prevent my bath bombs from fizzing up and turning into mush while I'm actually trying to make them?
Oh, I have been exactly where you are—standing there with damp, mushy ingredients and feeling that instant wave of frustration! It usually happens because of a tiny bit of moisture in the air or adding your liquids too quickly. Think of it like a delicate dance; add your oils or hydrosols one tiny drop at a time, misting as you go. If it feels heavy, stop! You want that perfect, crumbly sand texture.
