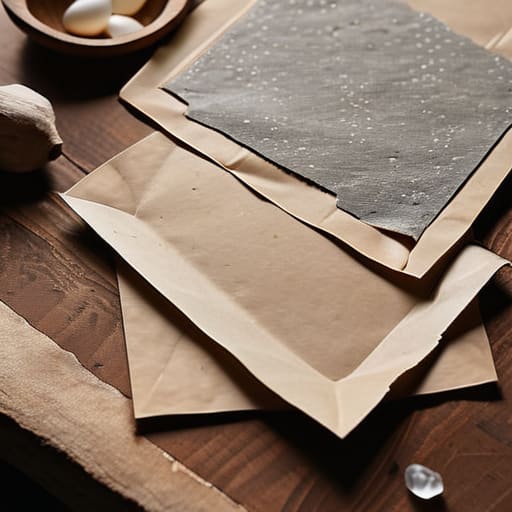
I remember sitting on my kitchen floor three years ago, surrounded by a literal mountain of soggy, grey sludge and feeling completely defeated. I had watched dozens of tutorials promising a seamless transition into crafting, but all I had to show for it was a mess and a sense of wasted time. We often fall into the trap of thinking that learning how to make paper at home requires a professional studio or expensive, specialized equipment, but that’s just not the truth. In reality, the most beautiful, tactile results often come from the simplest tools and a willingness to embrace the imperfection of the process.
In this guide, I’m stripping away the fluff and the intimidating jargon to give you a realistic, step-by-step roadmap. I won’t promise you’ll create museum-quality parchment overnight, but I will show you how to transform your recycling bin into something truly soulful. We’ll walk through the essential tools, the rhythm of the pulping process, and those tiny, unexpected tweaks that make all the difference. My goal is to help you find a sense of mindful creation in every sheet you press, turning a simple DIY project into a deeply rewarding ritual.
Table of Contents
- Step-by-Step Instructions
- Finding Joy in Sustainable Paper Crafting From Scrap Paper
- Essential Handmade Paper Making Tools for Your Creative Sanctuary
- Small Rituals for a Flawless Sheet: My Top 5 Tips for Success
- Embracing the Rhythm of Handmade Creation
- The Soul in the Sheet
- The Beauty of the Finished Page
- Frequently Asked Questions
Guide Overview
Tools & Supplies
- Blender for pulping the paper scraps
- Mold and deckle for shaping the sheets
- Large tub or basin for soaking the pulp
- Sponge for removing excess water
- Absorbent cloth or felt for drying
- Scrap paper (newspaper, junk mail, or egg cartons)
- Water (large volume)
- Liquid starch or gelatin (optional for sizing)
Step-by-Step Instructions
- 1. First, we need to gather our supplies, and I like to view this as setting the stage for a mindful ritual. You’ll need some scrap paper (old junk mail or even egg cartons work beautifully), a blender, a large tub or basin, a mold and deckle (which is essentially a wooden frame with a fine mesh screen), and some absorbent cloths or felt. I always suggest clearing your workspace first; a clutter-free environment helps foster a clutter-free mind as we begin.
- 2. Once your space is ready, it’s time to break down the old paper into something new. Tear your scrap paper into small, bite-sized pieces—think of it as a way to release the old to make room for the new. Place these pieces into your blender along with some warm water. Blend on a low setting until the mixture looks like a thick, cloudy soup. You’re looking for a consistency that is completely pulpy and smooth, without any large chunks remaining.
- 3. Now, let’s prepare our “bath.” Fill your large tub with a few inches of water and pour your blended pulp into it. Give it a gentle stir with your hand to ensure the fibers are suspended evenly throughout the water. This is a wonderful moment to just breathe and notice the texture of the pulp between your fingers; it’s incredibly grounding. If you want to add a touch of beauty, this is the perfect time to sprinkle in some dried lavender or wildflower petals.
- 4. This is where the magic truly happens: forming the sheet. Hold your mold and deckle together, dip them into the tub at a slight angle, and submerge them under the surface. Slowly level them out and lift them straight up, allowing the excess water to drain through the mesh. Try to keep your movements steady and intentional to ensure the pulp settles into an even layer. This step requires a bit of patience, but that’s exactly the point.
- 5. Once your sheet is formed, it’s time to “couch” the paper, which is just a fancy way of saying we’re transferring it. Carefully flip the mold over onto a piece of absorbent felt or a thick cloth, pressing down firmly with a sponge to soak up as much moisture as possible. When you gently lift the frame away, you should see your beautiful, wet sheet of paper clinging to the fabric. It’s a small victory, but a deeply satisfying one.
- 6. Finally, we enter the waiting phase. Place your fabric and paper in a warm, dry spot, or you can even use an iron on a low setting to speed up the drying process if you’re feeling eager. I personally love using this time to step away from my screens and practice a few minutes of meditation. Remember, the paper needs time to settle, just as we need time to process our own experiences. Once it’s completely dry, peel it away, and you’ll have a tangible piece of your own creation.
Finding Joy in Sustainable Paper Crafting From Scrap Paper
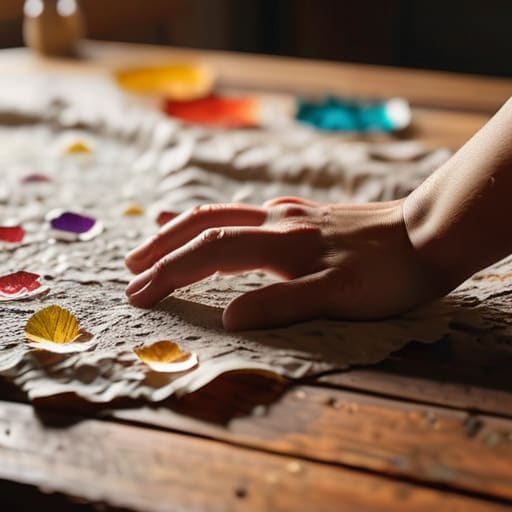
There’s something deeply healing about the rhythm of making paper from scrap paper. When I first started this journey, I was obsessed with perfection, trying to make every sheet look like it came from a high-end boutique. But through my studies in positive psychology, I’ve learned that true fulfillment often lies in the “wabi-sabi”—the beauty of imperfection. Instead of seeing a pile of old mail or used printer sheets as waste, I’ve learned to view them as a canvas for mindfulness. It’s a beautiful way to practice sustainable paper crafting while slowing down your racing thoughts.
To really elevate the experience, I love adding botanical elements to paper. While your pulp is setting, try pressing a tiny wildflower or a sprig of lavender into the fibers. It turns a simple craft into a sensory ritual. If you’re just starting out, don’t feel like you need expensive, professional equipment; some basic handmade paper making tools like an old picture frame and some mesh screen can work wonders. Remember, this isn’t about the final product—it’s about the peace you find in the process.
Essential Handmade Paper Making Tools for Your Creative Sanctuary
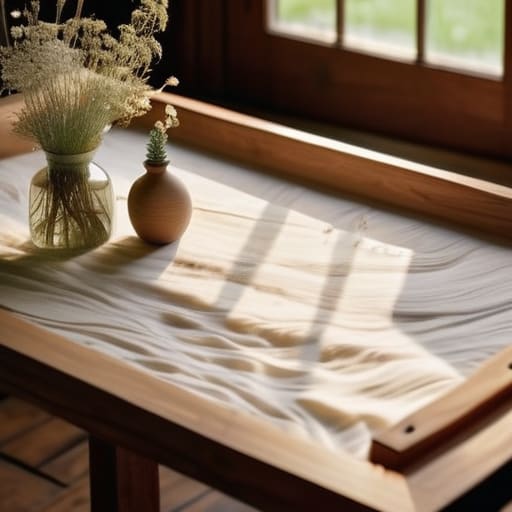
When I first started my journey into sustainable paper crafting, I made the mistake of thinking I needed a professional studio setup to begin. In reality, creating your creative sanctuary is more about intention than expensive equipment. For anyone diving into paper making for beginners, the most vital tool is actually your mold and deckle. This frame is what gives your sheets their structure and soul. I always recommend finding a sturdy wooden frame or even crafting your own from reclaimed materials; there is something so grounding about using tools that carry their own history.
Beyond the basics, don’t overlook the importance of your workspace environment. A large, shallow tub for your pulp vat is essential, but I also love keeping a collection of fine mesh screens and absorbent cloths nearby. These are crucial when you start exploring different drying handmade paper techniques, such as air-drying on a rack versus using a heavy press to achieve a smoother finish. Think of these items not just as utility pieces, but as the companions that help you transition from a busy workday into a flow state of pure, tactile creativity.
Small Rituals for a Flawless Sheet: My Top 5 Tips for Success
- Embrace the “Slow Pour”: When you’re dipping your mold and deckle into the vat, try to keep your movements steady and rhythmic. I used to rush this part when I was stressed, but I’ve learned that a calm, even motion is the secret to getting a consistent thickness across your entire sheet.
- Listen to Your Fibers: Not all scraps are created equal! If you’re finding your paper feels a bit too brittle, try blending in some softer, more absorbent materials like old cotton t-shirts or even some tissue paper. It’s all about finding that perfect, tactile balance.
- The Magic is in the Squeeze: Don’t be afraid to get your hands a little messy during the couching process. Using a piece of felt or an old sponge to gently press out excess water can make a world of difference in how smoothly your paper dries and how well it takes ink later on.
- Curate Your Color Palette: Instead of just grabbing any random scrap, I love to pre-sort my paper bits by hue. It turns the preparation into a meditative, color-sorting exercise, and you’ll end up with much more intentional, beautiful sheets that feel like little pieces of art.
- Patience is Your Best Tool: This is the hardest one for us high-achievers, but resist the urge to peel your paper off the drying surface too early! Let it dry completely in a cool, airy spot. Rushing the drying process is the fastest way to end up with wavy, uneven edges.
Embracing the Rhythm of Handmade Creation
Remember that the goal isn’t perfection, but presence; allow the tactile process of pulping and pressing to serve as a mindful escape from your digital world.
Honor the planet by seeing beauty in what others discard, turning yesterday’s junk mail into tomorrow’s meaningful stationery through sustainable upcycling.
View your workspace not just as a production zone, but as a creative sanctuary where slow, intentional work nourishes both your soul and your productivity.
The Soul in the Sheet
Making paper isn’t just about recycling old scraps; it’s a rhythmic, meditative dance between intention and imperfection. When we slow down to transform something discarded into something beautiful, we aren’t just crafting a page—we’re practicing the profound art of seeing potential in the things the world has overlooked.
Sophia Reynolds
The Beauty of the Finished Page
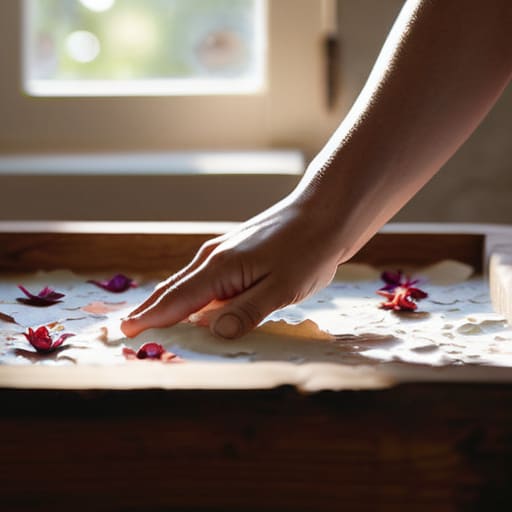
As we bring this journey to a close, I hope you feel a sense of accomplishment from everything we’ve explored together. From gathering your essential tools to transforming old scraps into something entirely new, you’ve moved through a process that is as much about intentionality as it is about craft. We’ve learned that making paper isn’t just a series of mechanical steps; it’s about choosing the right materials, embracing the tactile nature of the pulp, and allowing the drying process to unfold at its own pace. By integrating these sustainable practices into your creative sanctuary, you aren’t just making stationery—you are cultivating a ritual of mindfulness that honors both the planet and your own creative spirit.
As you hold your first sheet of handmade paper, I want you to take a moment to really feel its texture and reflect on the quiet patience it required to create it. In our fast-paced, digital-heavy world, there is something deeply healing about slowing down to work with our hands. Let this craft be a gentle reminder that true fulfillment often lives in the slow, messy, and beautiful moments of creation. Whether you use your new paper for a heartfelt letter or a simple sketch, remember that you have the power to turn the discarded into the divine. Go forth and create with intention, knowing that every single sheet is a testament to your unique, steady rhythm.
Frequently Asked Questions
Can I use different types of paper, like old magazines or heavy cardstock, or will that affect the texture too much?
That is such a wonderful question! Think of it like a culinary experiment—each paper type brings its own unique “flavor” to your creation. Using glossy magazine pages can add beautiful pops of color, though they might make the texture a bit slicker. Heavy cardstock, on the other hand, creates a lovely, sturdy feel. I always say, don’t fear the variety; embrace the different textures as a way to express your unique creative rhythm!
How long do I actually need to wait for my handmade sheets to dry completely before I can start writing on them?
Patience is a beautiful practice, isn’t it? While it’s tempting to rush to the writing stage, I usually recommend waiting at least 24 to 48 hours. Depending on your home’s humidity, those fibers need ample time to settle and fully stabilize. If the sheets feel even slightly cool or damp to the touch, give them another day. Trust the process—waiting ensures your paper is sturdy enough to hold your beautiful thoughts!
Is there a way to add natural colors or scents to the pulp to make the paper feel even more intentional and sensory?
Oh, I love that you’re thinking about the sensory experience! It’s exactly that kind of intention that transforms a task into a ritual. To add color, try steeping dried flower petals, turmeric, or even coffee grounds directly into your pulp. For scent, you can mix a few drops of high-quality essential oils into the water bath. It turns the whole process into a beautiful, aromatic meditation that engages every single sense.
