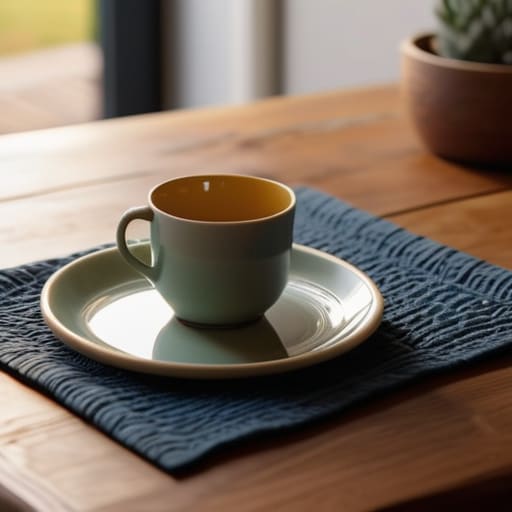
I remember sitting at my kitchen table three years ago, staring at a pile of mismatched, chipped plates and feeling a strange sense of overwhelming chaos. It wasn’t just the clutter; it was the lack of intention in my daily rituals. I realized that we often think we need expensive, high-end decor to create a sanctuary, but the truth is much simpler. Learning how to make placemats isn’t just about a DIY craft project; it’s about the mindful act of framing your meals and creating a dedicated space for presence. When I finally sat down to stitch my first set, I wasn’t just making fabric holders—I was reclaiming my morning coffee ritual from the frantic pace of my old corporate life.
In this guide, I’m stripping away the complicated, overwhelming tutorials that make crafting feel like another chore on your to-do list. I’ll walk you through a few gentle, beginner-friendly methods to create beautiful, functional pieces that reflect your unique style. We’ll cover everything from selecting the right textures to simple finishing touches, all while keeping the process calm and restorative. Let’s turn your dining area into a place of connection, one handmade layer at a time.
Table of Contents
- Step-by-Step Instructions
- Choosing Meaningful Textures Using Quilt Batting for Table Mats
- Mastering the Details a Fabric Placemat Sewing Tutorial
- Small Rituals for a Seamless Crafting Experience
- Bringing Intention to Your Table
- The Ritual of the Handmade
- Bringing Your Vision to the Table
- Frequently Asked Questions
Guide Overview
Tools & Supplies
- Fabric scissors for cutting material
- Sewing machine or needle and thread for stitching
- Iron for pressing edges
- Fabric (1 yard of cotton or linen)
- Interfacing (1 yard for stability)
- Thread (1 spool matching fabric color)
Step-by-Step Instructions
- 1. First, let’s gather our intentions and our materials. I find that the preparation phase is actually a wonderful way to practice mindfulness before the creative work begins. You’ll need your chosen fabric (I love a sturdy linen or a heavy cotton for that grounded feel), a pair of sharp fabric scissors, a measuring tape, some pins, and a needle and thread—or even a sewing machine if you’re feeling extra efficient.
- 2. Once you have everything laid out, it’s time to find your rhythm through measuring. Decide on the size that feels right for your dining space; a standard 12×18 inch rectangle is a classic, but don’t be afraid to follow your intuition if you want something more unique. Use your measuring tape to mark the dimensions on the back of your fabric, making sure to add an extra inch on all sides to account for the hem.
- 3. Now, let’s bring some structure to our creativity by cutting the fabric. Carefully follow your pencil marks with your scissors, trying to keep your movements steady and intentional. This isn’t just about getting a straight line; it’s about the quiet focus that comes from working with your hands.
- 4. With your pieces cut, we move into the “folding” phase, which I find incredibly soothing. Fold the edges of your fabric inward by half an inch, then fold it again to hide the raw edge completely. This creates a clean, professional finish and is a great moment to take a deep breath and simply exist in the process.
- 5. Secure your edges with pins to keep everything in place while you work. If you’re sewing by hand, use a simple running stitch or a backstitch for extra durability. If you’re using a machine, just take it slow—there’s no need to rush. I often tell my clients that speed is the enemy of presence, so let the needle move at its own natural pace.
- 6. As you sew your way around the perimeter, you might notice your mind starting to wander toward your “to-do” list. When that happens, gently guide your focus back to the texture of the fabric and the sound of the thread pulling through. This is where the real magic happens—turning a simple task into a moving meditation.
- 7. Finally, once you’ve completed the loop, snip any loose threads and give your new placemats a gentle press with an iron. There is something so deeply satisfying about seeing a finished product that you created with your own two hands. Set them on your table, light a candle, and prepare to enjoy the beauty of a meal shared with intention.
Choosing Meaningful Textures Using Quilt Batting for Table Mats
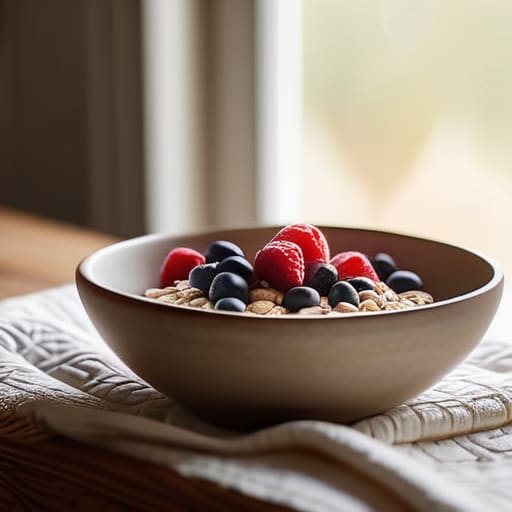
When we talk about creating a sanctuary at home, it’s often the tactile details that ground us. I remember back in my corporate days, I used to rush through meals standing up, never truly feeling present. Now, I find so much peace in the sensory experience of a meal. Using quilt batting for table mats is a game-changer in this regard. It adds a lovely, cushioned loft that makes your dining area feel instantly more inviting and high-end. That extra layer doesn’t just provide a beautiful aesthetic; it offers a soft, comforting weight that transforms a simple meal into a mindful ritual.
As you move forward with your fabric placemat sewing tutorial, keep in mind that texture serves a functional purpose, too. A thicker batting provides a natural buffer, protecting your table surface from heat and noise. If you’re looking to elevate your decorative table setting DIY, I highly recommend choosing a batting that complements the weight of your chosen fabric. It’s all about finding that perfect harmony between durability and softness, ensuring your handmade pieces feel as good as they look every time you sit down to breathe and enjoy.
Mastering the Details a Fabric Placemat Sewing Tutorial
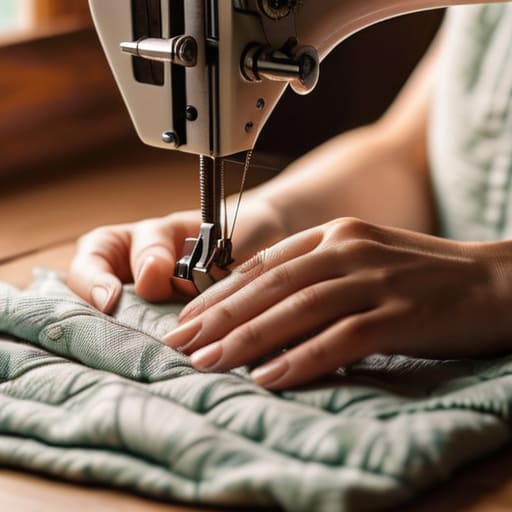
As you move into the actual construction phase, I want you to think of this not as a chore, but as a meditative practice. When you dive into this fabric placemat sewing tutorial, try to find a rhythm in the movement of the needle. One thing I learned during my corporate days—when I was constantly rushing through tasks—is that the quality of our output is deeply tied to our presence. If you’re working with multiple layers, including that lovely quilt batting we discussed, you might find your machine struggling a bit. I highly recommend adjusting your sewing machine settings for thick fabric by using a slightly larger needle and a longer stitch length; this prevents the fabric from bunching and ensures those beautiful edges stay crisp and professional.
To truly elevate your decorative table setting DIY, don’t forget about the practical side of living well. We all want things to look beautiful, but life happens—coffee spills, and crumbs appear. I always suggest opting for high-quality cottons so you can create washable fabric placemats that stand up to daily use. If you find your mats sliding around during a cozy brunch, adding a bit of non-slip backing for placemats is a total game-changer for both stability and peace of mind.
Small Rituals for a Seamless Crafting Experience
- Honor your creative energy by setting a timer for short, focused bursts; I’ve found that working in twenty-minute intervals prevents that mid-project burnout we all know too well.
- Mindfully select your fabric scraps based on how they feel against your skin, because choosing tactile, high-quality cotton can turn a simple sewing task into a sensory grounding exercise.
- Don’t rush the pressing stage—taking a moment to steam each seam flat is like a deep breath for your project, ensuring everything aligns with intention and grace.
- Keep a small “inspiration basket” nearby with calming scents or a favorite tea, transforming your workspace from a mere production zone into a sanctuary of slow living.
- Embrace the beauty of imperfection; if a stitch isn’t perfectly straight, remember that these tiny “human” touches are what give your handmade pieces their soul and story.
Bringing Intention to Your Table
Remember that making placemats isn’t just a DIY project; it’s a way to create a sensory ritual that encourages you to slow down and truly connect during mealtime.
Don’t be afraid to play with textures like quilt batting, as the tactile experience of a well-made mat can act as a grounding tool for mindfulness while you eat.
Focus on the process rather than perfection, letting the small, rhythmic acts of sewing and crafting serve as your own personal moment of calm in a busy week.
The Ritual of the Handmade
“Making your own placemats is about so much more than just covering a table; it’s about the intentional act of crafting a landing pad for connection, turning a simple meal into a sacred pause in a busy world.”
Sophia Reynolds
Bringing Your Vision to the Table
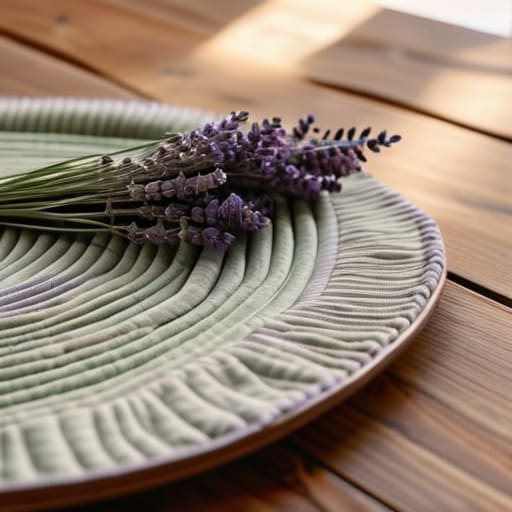
As we wrap up this little creative journey, I hope you feel more confident in your ability to transform simple pieces of fabric into something truly special. We’ve explored everything from selecting the perfect, grounding textures like quilt batting to mastering those precise sewing details that turn a basic craft into a professional-grade piece. Remember, whether you chose bold, vibrant patterns to energize your dining room or soft, muted tones to encourage a sense of calm, the most important part was the intentionality you poured into every stitch. You’ve successfully moved from a pile of raw materials to a functional work of art that is ready to serve your home.
Beyond the sewing machine and the fabric scraps, I want you to remember why we do things like this in the first place. Making your own placemats isn’t just about home decor; it’s about creating a physical anchor for your daily rituals. When you set these handmade mats down, you are setting a stage for connection and presence. I encourage you to use them as an excuse to slow down, put the phones away, and truly savor your meals. You aren’t just decorating a table; you are cultivating a sanctuary for yourself and your loved ones, one meal at a time. Enjoy the beautiful space you’ve created!
Frequently Asked Questions
Since I’m using fabric and batting, what’s the best way to clean these placemats without them losing their shape or getting too stiff?
That is such a thoughtful question! When we pour intention into handmade pieces, we want them to last. To keep that lovely softness, I recommend a gentle cycle in cold water with a mild detergent. Avoid the high heat of the dryer—it’s a total shape-killer for batting! Instead, lay them flat to air dry. It’s a small, mindful ritual that preserves the texture and ensures your beautiful creations stay cozy for years.
I love the idea of using different textures, but how do I make sure my fabric choices aren't too bulky for everyday use?
That is such a thoughtful question! I used to struggle with this too when I was first decorating my apartment. To keep things practical for daily meals, I recommend layering a medium-weight cotton batting rather than the thick, fluffy stuff. It provides that lovely, tactile cushion without the “mountainous” look. Also, try choosing a crisp linen or a sturdy cotton canvas; they offer beautiful texture but lay much flatter against the table!
If I’m working with a smaller scrap of fabric, how can I ensure my placemats stay consistent in size throughout the whole set?
I completely understand that feeling—it’s so easy to get caught up in the creative flow and lose track of the dimensions! When you’re working with those precious little scraps, I always recommend creating a single, sturdy cardboard template first. Trace it onto your fabric every single time. It’s a tiny bit of extra mindfulness in the process, but it ensures your set feels intentional and cohesive, rather than a collection of mismatched pieces.
