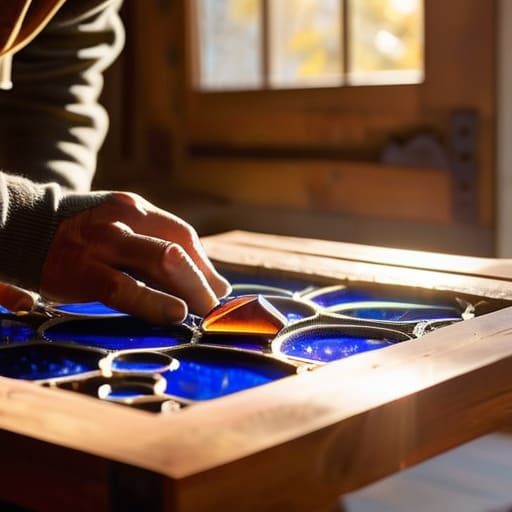
I remember sitting on my studio floor in Oregon, surrounded by jagged shards of cobalt and amber, feeling completely overwhelmed by the sheer precision everyone says is required. We’ve all heard the myth that you need the steady hands of a surgeon or a massive, expensive workshop to begin; but honestly? That’s just a barrier to entry that keeps so many beautiful ideas from ever seeing the light. Learning how to make stained glass isn’t actually about achieving mathematical perfection on your first try—it’s about learning to trust your intuition as you manipulate light and color.
In this guide, I’m stripping away the intimidating jargon to give you a grounded, soulful approach to this craft. I won’t bore you with endless technical manuals, but I will walk you through the essential, no-nonsense steps of cutting, foiling, and soldering so you can find your own creative rhythm. My goal is to show you that mastering the basics of how to make stained glass can be a deeply meditative practice that brings a sense of intentional stillness into your busy life. Let’s get started.
Table of Contents
- Step-by-Step Instructions
- Curating Your Sanctuary With Essential Stained Glass Supplies for Beginners
- Choosing Your Path the Gentle Art of Copper Foil vs Lead Came
- Finding Your Flow: 5 Soulful Tips for a Smoother Stained Glass Journey
- Embracing the Glow: My Final Thoughts for Your Creative Journey
- The Rhythm of the Glass
- Embracing the Radiance of Your Creation
- Frequently Asked Questions
Guide Overview
Tools & Supplies
- Glass cutter for scoring the surface
- Grozing pliers for nibbling edges
- Soldering iron for joining pieces
- Fraying/Grinding tool for smoothing edges
- Stained glass sheets (various colors)
- Copper foil tape (rolls)
- Solder (60/40 tin-lead alloy)
- Flux (liquid or paste)
Step-by-Step Instructions
- 1. First, I always suggest starting with your pattern and gathering your tools, but don’t rush this part. You’ll need your glass cutter, running pliers, a grinder, copper foil, and a soldering iron. I remember my first time trying this in my tiny apartment back in Oregon; I was so nervous I nearly dropped everything, but I realized that preparing your space is actually a form of meditation in itself. Lay your pattern out on a flat, sturdy surface and make sure you have plenty of light.
- 2. Once your pattern is ready, it’s time to transfer those lines onto your glass sheets. I like to use a permanent marker to trace the shapes directly onto the surface, being careful to work with intention so you don’t lose your way. If you’re feeling a bit overwhelmed by the complexity of the design, just remember that even the most intricate mosaic started as a single, simple shape.
- 3. Now comes the part that requires a steady hand and a bit of courage: the cutting. Hold your glass cutter like a fine pen and apply consistent pressure as you glide along your traced lines. It’s a bit like a deep exhale—you want a smooth, continuous motion rather than a series of jagged stabs. After the cut, use your running pliers to gently break the glass along the score line, listening for that satisfying, crisp snap that tells you you’ve done it right.
- 4. After you’ve cut all your pieces, you’ll need to smooth out those raw edges using a glass grinder. This step is crucial because it ensures every piece fits perfectly into the puzzle you’re creating. I find that the rhythmic hum of the grinder can be strangely soothing if you focus on the sensation of the glass transforming from sharp to smooth under your touch.
- 5. Next, we move into the “foiling” phase, which is where the magic starts to hold together. Wrap the edges of each individual piece with adhesive-backed copper foil, ensuring it’s even and snug against the glass. This is a moment to practice patience; if the foil is uneven, your solder won’t sit right later. Think of this as laying the foundation for the beauty that’s about to emerge.
- 6. Now, it’s time to bring the heat and the light with the soldering process. Using your soldering iron, melt a thin bead of solder over the copper foil to join the pieces together. I always tell my clients to treat this like a flow state—don’t overthink the movement, just let the iron follow the lines you’ve established. You’re not just joining glass; you’re weaving light and metal into a single, cohesive piece of art.
- 7. Finally, once your piece has cooled, give it a thorough cleaning and consider applying a patina if you want to change the color of the metal. I personally love a dark, antique finish because it makes the colors of the glass really sing. Take a moment to step back, breathe deeply, and admire what you’ve created from nothing but raw elements and a little bit of focused soul.
Curating Your Sanctuary With Essential Stained Glass Supplies for Beginners
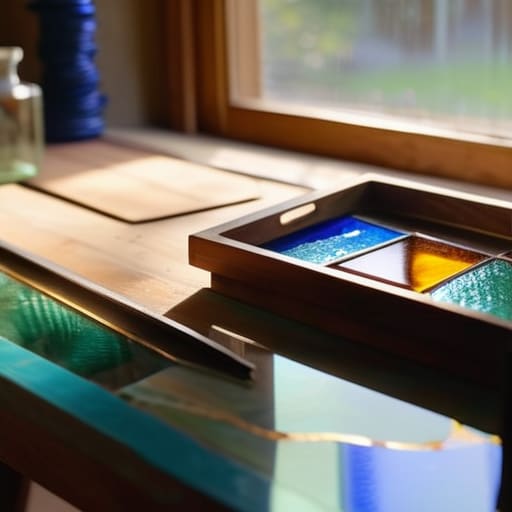
Curating Your Sanctuary with Essential Stained Glass Supplies for Beginners
Before you dive into the actual cutting and shaping, I want you to think about your workspace as more than just a desk—it’s your creative sanctuary. When I first started, I tried to squeeze my projects into the corner of my kitchen, but I quickly learned that having a dedicated, organized area is vital for your mental clarity. As you gather your stained glass supplies for beginners, don’t just focus on the colors; prioritize your environment. I always recommend setting up a well-lit station with plenty of ventilation, which helps keep that sense of calm as you transition from your busy workday into your creative flow.
One thing I often tell my clients is that quality tools are an investment in your own peace of mind. For instance, if you’re feeling a bit overwhelmed by the technicalities, I suggest starting with copper foil techniques rather than lead came, as it offers a bit more flexibility for those of us still finding our rhythm. Also, please don’t overlook your stained glass safety equipment. Wearing proper eye protection and gloves isn’t just about following rules; it’s about honoring your physical well-being so you can enjoy this beautiful craft for years to come.
Choosing Your Path the Gentle Art of Copper Foil vs Lead Came
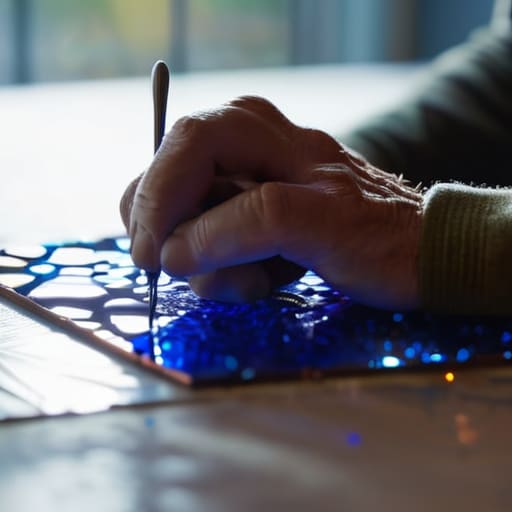
Now that you’ve gathered your supplies, you might find yourself standing at a bit of a crossroads: do you go with the delicate precision of copper foil or the classic, structural feel of lead came? In my years of coaching, I’ve found that much like choosing a meditation style, it really comes down to your personal rhythm. The copper foil method is incredibly popular for those who love intricate, detailed patterns—it’s almost like sketching with light. It allows for much more fluidity, making it a favorite for smaller, more whimsical pieces that you might want to hang in a sunny nook of your home.
On the other hand, choosing lead came feels a bit more grounded and traditional. It’s wonderful if you’re looking to create larger, more architectural windows that require a sense of sturdy elegance. While the copper foil technique is often more approachable when you’re first learning copper foil vs lead came, lead came offers a different kind of meditative flow through its heavier, more rhythmic process. Whichever path you choose, remember to honor your pace; there is no “right” way, only the way that brings you the most peace.
Finding Your Flow: 5 Soulful Tips for a Smoother Stained Glass Journey
- Embrace the imperfections in your cuts; remember that much like our own lives, a little irregularity can actually add character and a unique, human touch to your finished piece.
- Prioritize your breath during the soldering process, as steady hands are often just a byproduct of a steady mind—if you feel your tension rising, step back and take a moment to reset.
- Don’t rush the cleaning stage, because the way you care for your glass after the heat is gone is what truly allows that inner light to shine through without the distraction of residue.
- Treat your workspace as a sacred zone by keeping it organized, because a cluttered bench often leads to a cluttered headspace, making it much harder to find your creative rhythm.
- Listen to the “language” of your glass by feeling the edges and textures, allowing your intuition to guide your design rather than just following a rigid, pre-set pattern.
Embracing the Glow: My Final Thoughts for Your Creative Journey
Remember that stained glass is a practice of patience, not just a craft; allow yourself the grace to make mistakes, as they often lead to the most beautiful, unexpected light patterns.
Focus on the ritual of preparation, from selecting your tools to setting your space, ensuring that your workspace feels like a sanctuary rather than just a workshop.
Choose the method—whether it’s the delicate copper foil or the classic lead came—that resonates most with your personal rhythm and allows you to find your flow state more easily.
The Rhythm of the Glass
“Stained glass isn’t just about shaping material; it’s about learning to breathe with the process. When you stop rushing to see the finished piece and instead find stillness in the way the light catches a single shard of cobalt, you realize that the true masterpiece is the calm you find within yourself while creating it.”
Sophia Reynolds
Embracing the Radiance of Your Creation
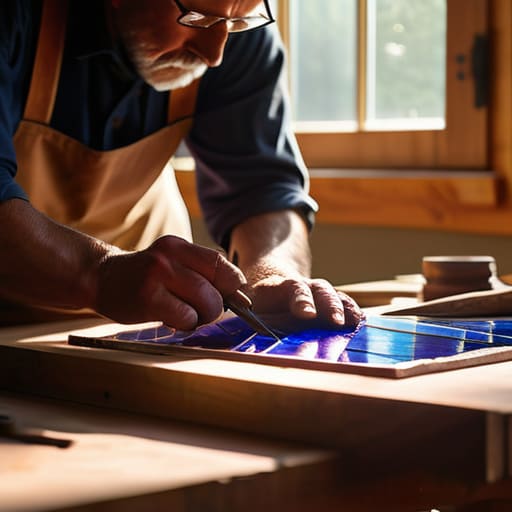
As we bring this journey to a close, I want you to take a moment to look back at everything you’ve navigated. From gathering your essential supplies and curating your sanctuary to making that pivotal decision between the delicate precision of copper foil and the traditional strength of lead came, you have laid the groundwork for something truly beautiful. Remember, making stained glass isn’t just about the technicalities of cutting and soldering; it is about the intentionality you bring to every shard of color. By mastering these foundational steps, you aren’t just building a piece of art—you are building a new skill that requires patience, presence, and a gentle touch.
Beyond the finished piece hanging in your window, I hope you carry the sense of peace you found in the process. There is something profoundly healing about watching light dance through glass that your own hands shaped. In our fast-paced world, these moments of focused, creative flow are what keep us grounded and whole. So, as you step away from your workbench, don’t just aim for perfection; aim for connection. Let your art be a reminder that even when life feels fragmented, we have the power to piece it all together into something luminous and bright.
Frequently Asked Questions
Is it difficult to manage the fumes and safety precautions while working in a small home studio?
It’s a valid concern, and honestly, one I worried about too when I first set up my little nook in Oregon. While you don’t need a massive industrial warehouse, you do need to respect the chemistry. I always say: treat your studio like a sanctuary, not a garage. Invest in a high-quality respirator and ensure you have consistent cross-ventilation—even a simple window fan makes a world of difference for your peace of mind and respiratory health.
How can I find the right rhythm between the precision of cutting glass and the patience required for soldering?
Finding that rhythm is such a beautiful, meditative challenge. I used to rush through the cutting phase, only to find myself frustrated and shaky during soldering. Now, I treat the cutting as my “active” focus—sharp, intentional, and precise. When it’s time to solder, I consciously shift into a “slow flow” state. Think of it as a dance between intensity and stillness; let the precision of the cut ground you, then let the solder melt away your tension.
What are some mindful ways to handle mistakes or broken pieces without feeling discouraged?
When a piece snaps or a solder line goes wonky, I know that sinking feeling in your chest all too well. My first tip? Step away. Breathe. I like to think of these moments not as failures, but as “creative recalibrations.” In my old corporate days, we called it pivoting; here, it’s just part of the flow. Treat the broken glass like a lesson in impermanence. Take a sip of tea, reset, and remember: even the most beautiful mosaics are made of fragments.
