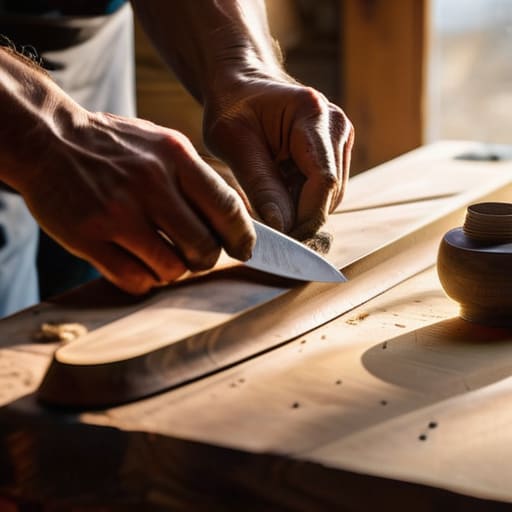
I remember sitting on my porch back in Oregon, my hands shaking slightly as I stared at a block of basswood and a knife that felt far too intimidating. I had this idea that learning how to whittle wood required some sort of innate, rugged masculinity or a lifetime of carpentry experience, but I quickly realized that was a total myth. In reality, whittling isn’t about conquering a piece of timber; it’s about surrendering to the rhythm of the grain. When I finally stopped trying to force the blade and started listening to the wood, the frantic noise of my old corporate life finally began to fade into the background.
In this guide, I’m stripping away the complex jargon and the intimidating “expert” gatekeeping to give you a grounded, soulful approach to this craft. I’ll walk you through the essential tools you actually need, how to maintain a safe and steady grip, and the fundamental strokes that turn a shapeless hunk of wood into something beautiful. My goal isn’t just to teach you a skill, but to help you discover a meditative sanctuary right at your kitchen table. Let’s pick up those knives and find our center, one shaving at a time.
Table of Contents
- Step-by-Step Instructions
- Finding Your Flow With Essential Hand Carving Tools Guide
- Choosing the Best Wood Types for Whittling and Gentle Beginnings
- Finding Your Rhythm: 5 Soulful Tips for a Safer, More Mindful Carving Practice
- Embracing the Rhythm of the Blade
- ## The Rhythm of the Grain
- Finding Your Rhythm in the Grain
- Frequently Asked Questions
Guide Overview
Tools & Supplies
- Carving knife (fixed blade for control)
- Sharpening strop (leather with compound to maintain edge)
- Basswood (1-2 small blocks)
- Safety glove (1 cut-resistant glove)
Step-by-Step Instructions
- 1. Before you even touch a blade to wood, you need to gather your tools and, more importantly, create your sanctuary. I always recommend starting with a high-quality whittling knife—something that feels like an extension of your hand rather than a heavy tool—and a piece of soft wood like basswood, which is incredibly forgiving for beginners. Set yourself up in a space with good lighting and a comfortable chair, because if your body is tense, your hands will be too.
- 2. Once you’re settled, find your rhythm by practicing the safety stance. I can’t stress this enough: always keep your non-carving hand behind the direction of the blade. Think of it as a mindful boundary between your creativity and your physical well-being. If you find your mind racing toward your to-do list, take a deep breath and bring your focus back to the physical sensation of the wood in your palm.
- 3. Now, let’s begin with the “paring cut,” which is the foundation of almost everything we do in whittling. Hold the wood firmly and use your thumb on the back of the knife to gently guide the blade toward the wood. It’s not about force; it’s about intentional precision. I like to think of it as a conversation between the steel and the grain—you’re listening to how the wood wants to yield.
- 4. As you move deeper into the piece, you’ll want to try the “roughing cut” to remove larger chunks of material. This is where you can really feel the release of tension. Instead of short, choppy movements, try to use long, sweeping strokes that follow the natural direction of the wood grain. If the wood starts to resist or splinter, it’s a gentle nudge from the universe telling you to change your angle.
- 5. When you start seeing a shape emerge, it’s tempting to rush toward the finish line, but this is where the magic happens. Switch to smaller, more delicate shaving motions to refine the contours. I often tell my clients that this stage is a lot like meditation in motion; you aren’t just shaping wood, you are practicing the art of being present in the micro-moments.
- 6. As you approach the final details, pay close attention to the texture. You might use the tip of your knife to etch fine lines or create grooves that add character to your piece. Remember, perfection isn’t the goal here—authenticity is. A slight imperfection can often be the very thing that gives your creation its soul and tells the story of the hands that made it.
- 7. Finally, once you’ve reached a point of satisfaction, take a moment to clean your tools and honor the process. Wipe down your knife and set your wood aside. This closing ritual helps signal to your brain that the “work” is done and it’s time to transition back into the rest of your day. You’ve just practiced a form of moving mindfulness, and that is a win for your soul.
Finding Your Flow With Essential Hand Carving Tools Guide
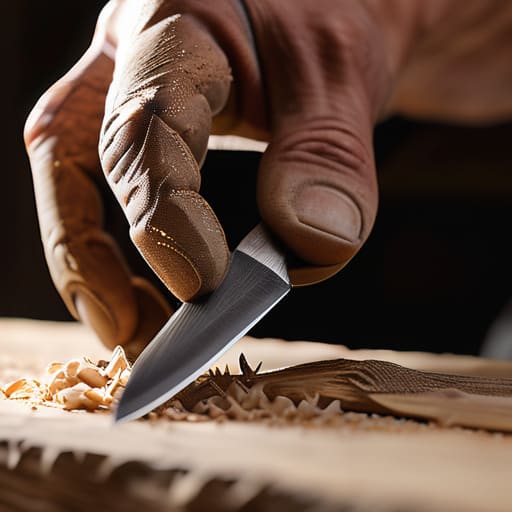
There’s a certain magic that happens when the tool in your hand feels less like an object and more like an extension of your own intention. When I first started exploring this craft, I felt so intimidated by the sheer variety of implements available. However, I quickly learned that a quality hand carving tools guide isn’t just about having the most expensive kit; it’s about finding the right weight and balance for your specific grip. I always tell my clients that just like in mindfulness practice, the quality of your connection to your tools dictates the quality of your experience.
As you begin to experiment with different wood carving techniques for beginners, you’ll notice that your tools are only as good as their edge. I can’t stress this enough: nothing disrupts your mental flow quite like a dull blade that tugs instead of glides. I make it a ritual to spend a few minutes sharpening a carving knife before I even sit down to work. It’s a meditative transition that prepares your mind for the precision ahead. When your tools are sharp and your hands are steady, the wood seems to practically shape itself under your touch.
Choosing the Best Wood Types for Whittling and Gentle Beginnings
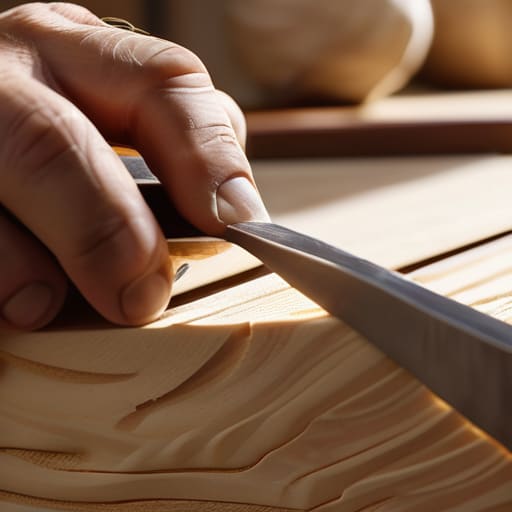
When I first started my journey into woodcraft, I made the mistake of grabbing whatever scrap piece I could find in my garage. I quickly learned that the soul of your project lies in the grain. If you’re just starting out, I can’t recommend enough seeking out softer varieties. Basswood is truly the gold standard; its tight, even grain makes it incredibly forgiving as you experiment with different wood carving techniques for beginners. It responds beautifully to a sharp blade, allowing you to focus on the sensation of the cut rather than fighting against stubborn knots or hard fibers.
Think of selecting your wood as the first step in a mindfulness practice—you’re setting the intention for the experience ahead. While something like oak is stunning, its density can be quite frustrating when you’re still mastering your grip. Instead, look for something like butternut or even high-quality pine. Finding the best wood types for whittling is really about finding a partner for your creativity that won’t fight you every step of the way. When the wood is right, the carving process transforms from a chore into a meditative flow state.
Finding Your Rhythm: 5 Soulful Tips for a Safer, More Mindful Carving Practice
- Always carve away from your body and your “non-dominant” hand. It sounds basic, but when you’re deep in a flow state, it’s easy to lose that spatial awareness. Think of it as protecting your creative space—literally.
- Listen to the wood. If you feel the blade snagging or resisting, don’t force it. That’s the wood’s way of telling you that your angle is slightly off or that you’re fighting the grain. A gentle, rhythmic stroke is much more rewarding than a forceful one.
- Keep your tools razor-sharp. I know it sounds counterintuitive, but a dull knife requires much more physical pressure, which is exactly when accidents happen. A sharp blade does the work for you, allowing you to stay relaxed and present.
- Embrace the “micro-breaks.” Just like in my yoga practice, your hands and eyes need moments to reset. Every twenty minutes or so, set the knife down, stretch your fingers, and take a deep breath. It prevents fatigue and keeps your focus sharp.
- Don’t chase perfection; chase the process. You’re going to make mistakes, and honestly? That’s where the character of the piece lives. Instead of getting frustrated by a slip, see it as an opportunity to pivot and see where the wood wants to go next.
Embracing the Rhythm of the Blade
Remember that whittling isn’t about the finished product, but about the meditative state you enter while creating it; let the rhythm of your cuts become your moving meditation.
Respect the tools and the wood as partners in your creative journey, prioritizing safety and patience over speed to ensure your practice remains a source of joy rather than stress.
Start small and stay gentle with yourself, choosing soft woods and simple shapes to build your confidence and allow your connection to the craft to grow naturally.
## The Rhythm of the Grain
“Whittling isn’t just about shaping a piece of wood; it’s about the quiet dialogue between your hands and the grain, teaching us that true creation requires us to slow down, breathe, and honor the natural pace of the moment.”
Sophia Reynolds
Finding Your Rhythm in the Grain
As we wrap up this journey into the art of whittling, I hope you feel a sense of readiness to pick up that blade. We’ve covered a lot of ground together—from selecting the perfect, soft wood like basswood to ensure a smooth experience, to finding that essential flow through the right hand-carving tools. Remember, the technical side is important, but the magic truly happens when you listen to the wood and respect the rhythm of your own breath. Whether you are mastering the basic cuts or experimenting with intricate details, the goal isn’t just to create an object, but to cultivate a mindful connection between your hands and the material in front of you.
If I could leave you with one final thought, it’s this: please be gentle with yourself during the process. There will be moments when a cut goes a little too deep or the grain refuses to cooperate, and that is perfectly okay. In my own practice of mindfulness, I’ve learned that the beauty often lies in the imperfections. Treat every shaving that falls to the floor as a small step toward growth. Let whittling be your sanctuary of stillness in a loud, busy world. Now, take a deep breath, grab your tools, and simply begin. I can’t wait to see what you create.
Frequently Asked Questions
How can I keep my hands from getting tired or cramped during a longer carving session?
I remember when I first started, I’d push through the tension until my hands felt like they were in a vice. Please, don’t do that! Think of your hands as part of your mindfulness practice. Every twenty minutes, set the knife down. Stretch your fingers wide, rotate your wrists, and take a deep breath. It’s about working with your body’s rhythm, not fighting it. Listen to those tiny signals of fatigue before they become pain.
Is there a way to safely manage wood shavings so they don't clutter my workspace or get in my eyes?
Honestly, I used to dread the “cleanup” part of my carving sessions—it always felt like I was leaving a trail of chaos behind me. To keep your space (and your eyes!) clear, I highly recommend working over a dedicated carving mat or even a simple piece of canvas; it catches those tiny curls beautifully. Also, please, please wear lightweight safety glasses. It’s such a small ritual, but it protects your focus and your peace.
I'm a bit nervous about the sharp blades—what are some simple ways to practice better knife control as a beginner?
It’s completely normal to feel that flutter of nerves; honestly, even after years of mindfulness practice, I still respect the edge of a blade. To build confidence, try practicing “dry runs” with a blunt tool or even a butter knife on soft clay first. Focus on your breath—if you’re holding your breath, your hands will be tense. Keep your non-carving hand behind the blade, and remember: slow, intentional movements always beat speed.
