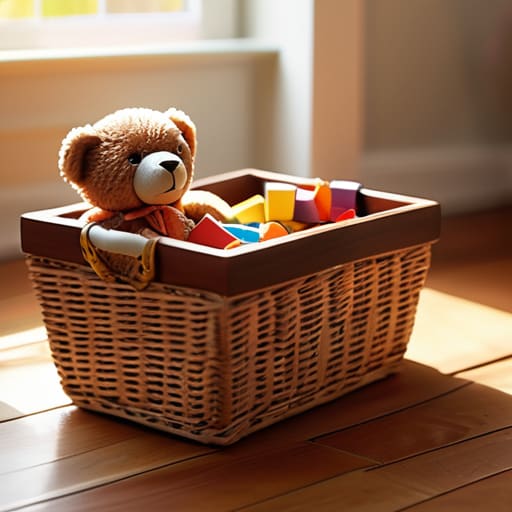
I remember standing in the middle of my living room three years ago, staring at a literal sea of plastic building blocks and stuffed animals that seemed to be slowly swallowing my sense of peace. I felt that familiar tightening in my chest—the same one I used to get during high-stress corporate meetings—realizing that my physical environment was directly sabotaging my mental clarity. I used to think that professional organization required expensive, store-bought systems, but I quickly learned that the real secret to a calm home isn’t about buying more; it’s about intentionality. Learning how to make a toy basket that actually fits your life was the first step in reclaiming my space and my sanity.
In this guide, I’m stripping away the complicated DIY fluff to give you a practical, soul-soothing approach to organization. I’ll walk you through simple, sustainable methods to create something beautiful that works with your family’s rhythm, rather than against it. We aren’t just building storage; we are crafting a way to invite more mindful moments back into your home. Let’s dive in and turn that chaos into a sanctuary.
Table of Contents
- Step-by-Step Instructions
- Upcycling Materials for Kids Room Decor
- Sturdy Toy Storage Solutions for Mindful Living
- Small Touches, Big Impact: My Top 5 Tips for a Harmonious Play Space
- Finding Calm in the Chaos: My Final Thoughts
- More Than Just Organization
- Creating Space for What Matters
- Frequently Asked Questions
Guide Overview
Tools & Supplies
- Measuring tape for sizing fabric and basket
- Sewing machine for stitching seams
- Fabric scissors for cutting material
- Pins to hold layers in place
- Heavyweight cotton fabric (1-2 yards)
- Interfacing or stiffener (1 yard)
- Thread (1 spool)
- Decorative trim or ribbon (optional)
Step-by-Step Instructions
- 1. First, I want you to take a moment to gather your supplies, but don’t view this as a chore—view it as setting the stage for your creative flow. You’ll need some sturdy fabric (like a heavy canvas or thick linen), a pair of sharp fabric scissors, some matching thread, a sewing machine (though hand-sewing works beautifully if you want a more meditative experience), and some stiff interfacing to give the basket its structure.
- 2. Once you have everything laid out, start by measuring and cutting your fabric. I usually suggest cutting two large rectangles for the sides and one long strip for the base. Remember, it’s not about being mathematically perfect; it’s about creating a vessel that feels right for your space. If you’re feeling a bit nervous about the cutting, just take a deep breath and remind yourself that imperfections add character.
- 3. Now, let’s add some soul to the structure by applying your interfacing. Iron the interfacing onto the wrong side of your main fabric pieces. This is a crucial step because it provides that essential support that keeps the basket standing tall rather than collapsing into a heap of fabric. It’s a lot like building a strong foundation in our own lives—stability makes everything else easier.
- 4. Next, it’s time to bring the pieces together. Pin your side panels to your base piece, right sides facing each other. As you move to your sewing machine, try to focus on the rhythmic movement of the needle. Sewing the sides to the base creates the “walls” of your sanctuary. I find that focusing on the steady hum of the machine can be incredibly grounding and calming.
- 5. To give the basket a finished, professional look, we’ll work on the top edge. Fold the top rim inward by about an inch and press it with an iron. This creates a clean, smooth edge that feels gentle to the touch. If you’re feeling extra creative, this is the perfect moment to sew on a little fabric loop or a leather handle, which adds a lovely tactile element to the piece.
- 6. Finally, turn your basket right-side out and give it a gentle press with the iron to smooth out any lingering wrinkles. As you hold your finished creation, I want you to visualize the calm it will bring to your home. This isn’t just a container for clutter; it’s a tool to help you reclaim your peace, one toy at a time.
Upcycling Materials for Kids Room Decor
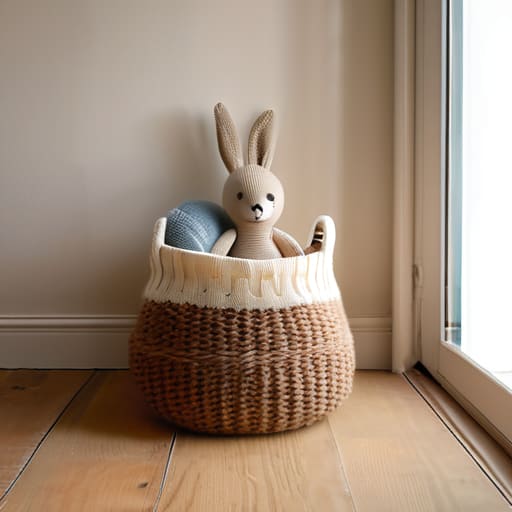
One of my favorite things about creating something with your own hands is the ability to breathe new life into things that might otherwise be discarded. When I was working as a corporate wellness consultant, I saw how much a cluttered environment could spike cortisol levels; for a child, a chaotic room can feel equally overwhelming. That’s why I’m such a huge advocate for upcycling materials for kids room decor. Instead of rushing to a big-box store, look around your home for forgotten treasures. An old, sturdy wicker laundry basket can be transformed with a bit of leftover fabric, or even an oversized vintage sweater can be repurposed into a soft, cozy bin for plushies.
If you’re feeling a bit more adventurous with your craft, you can dive into more specialized handmade storage containers to add a layer of intentionality to your space. I once spent a rainy afternoon in Oregon turning old denim jeans into structured bins—it was incredibly meditative! Whether you decide to hunt for specific sewing patterns for fabric bins or try a simple macrame rope basket tutorial, the goal is the same: creating a sense of order that feels personal and warm. Making these pieces isn’t just about organization; it’s about curating a sanctuary where your little ones can truly thrive.
Sturdy Toy Storage Solutions for Mindful Living
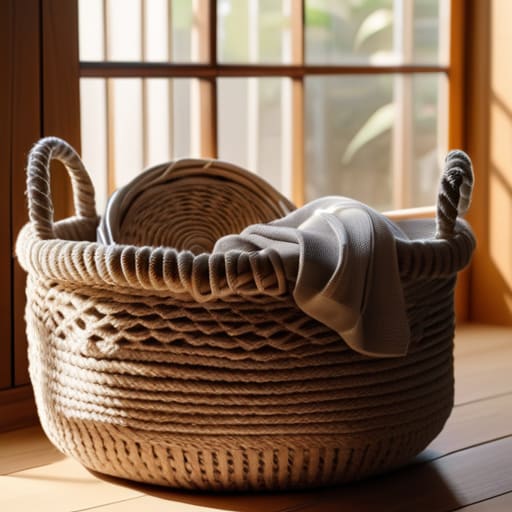
When we talk about creating a peaceful home, we aren’t just talking about aesthetics; we’re talking about reducing the cognitive load that clutter places on our minds. I’ve found that when toys are scattered, it creates a subtle sense of chaos that can make even a simple evening feel overwhelming. To counter this, investing time in sturdy toy storage solutions is a game-changer. Instead of flimsy plastic bins that tip over at the slightest touch, I love focusing on weightier, more intentional pieces. Whether you are experimenting with a macrame rope basket tutorial to add some bohemian texture or building wooden crates, the goal is to create containers that feel substantial and permanent.
If you’re looking to deepen your commitment to a mindful environment, consider how your storage reflects your values. Using handmade storage containers allows you to integrate tactile, natural elements into the playroom, which can actually help ground children during play. I often suggest looking into diy nursery organization ideas that prioritize accessibility; when a child can easily tidy up their own space, it fosters a sense of autonomy and calm. By choosing durable, beautiful vessels, you’re not just organizing a room—you’re crafting a sanctuary.
Small Touches, Big Impact: My Top 5 Tips for a Harmonious Play Space
- Choose natural textures like cotton rope or seagrass; I’ve found that bringing organic elements into a child’s room helps lower cortisol levels and creates a much more grounding, peaceful atmosphere for both of you.
- Keep it tactile and sensory-friendly by selecting soft-touch fabrics; since kids explore the world through their senses, a basket that feels good to the touch can actually make the “cleanup ritual” feel like a soothing transition rather than a chore.
- Designate a “special spot” for the basket to prevent clutter creep; in my corporate wellness days, I learned that visual noise is a major productivity killer, and the same applies to a child’s focus—a dedicated home for toys helps keep their little minds calm and organized.
- Involve your little ones in the decorating process; whether it’s choosing the color or adding a few hand-painted details, giving them agency in creating their sanctuary fosters a sense of responsibility and pride in their environment.
- Don’t forget the “breathability” factor by using open-top designs; it makes it much easier for kids to engage with their toys without feeling overwhelmed, allowing for a more mindful and less frantic play experience.
Finding Calm in the Chaos: My Final Thoughts
Remember that a tidy space is more than just organization; it’s about creating a visual sanctuary that allows both you and your little ones to breathe more easily.
Don’t be afraid to get creative with upcycled materials—the most meaningful pieces are often the ones that tell a story and connect your family’s values to your home decor.
Focus on durability and intentionality rather than perfection, choosing storage solutions that grow with your child and support a more mindful, less cluttered lifestyle.
More Than Just Organization
“When we take the time to hand-craft a space for our children’s treasures, we aren’t just tidying up a room; we are intentionally creating a sanctuary of order that allows their creativity to breathe and their little hearts to feel at home.”
Sophia Reynolds
Creating Space for What Matters
As we wrap up this little project, I hope you feel a sense of pride in what you’ve accomplished. From selecting the right upcycled materials to ensuring your basket is sturdy enough for daily play, every choice you made was a step toward a more intentional home. By building this toy basket yourself, you haven’t just organized a corner of a room; you have actively worked to reduce the visual noise that often leads to mental clutter. Remember, whether you chose a rustic aesthetic or a bright, colorful design, the goal was always to create a functional piece that supports a sense of order and ease within your family’s sanctuary.
Beyond the glue, the fabric, and the structure, I want you to remember why we do these things in the first place. We create these small pockets of organization so that we can stop managing “stuff” and start focusing on the magic of the moment. When the toys have a beautiful place to rest, it leaves more room in your heart and mind to simply play, to laugh, and to be present with your little ones. So, take a deep breath, look at your handiwork, and know that you are building a foundation for a more mindful life, one small, beautiful project at a time.
Frequently Asked Questions
What are the safest, non-toxic finishes I should use if I'm crafting a basket for a toddler?
When you’re crafting for those precious little hands, safety is everything. I always recommend sticking to food-grade mineral oil or beeswax; they’re incredibly gentle and non-toxic if a toddler decides to have a little “taste test.” If you’re looking for a bit more sheen, look for finishes labeled “Zero-VOC” or those specifically certified as child-safe. It’s all about creating a beautiful space that feels just as safe as it does serene.
How can I ensure my DIY toy basket is durable enough to handle heavy wooden blocks or metal cars without falling apart?
I completely hear you—there’s nothing more frustrating than a beautiful project falling apart under the weight of a few heavy wooden blocks! To ensure your basket stands the test of time, I recommend reinforcing the base with a double layer of heavy-duty felt or even a thin piece of plywood. Also, don’t skip the structural integrity; use heavy-duty stitching or even a bit of non-toxic wood glue at the seams. It’s all about building a foundation that lasts!
Are there any specific dimensions I should keep in mind to make sure these baskets actually fit into my existing storage spaces?
That is such a thoughtful question! Before you start crafting, I always recommend grabbing a measuring tape—think of it as a little moment of mindfulness for your space. Measure the height, width, and depth of your intended nook, then subtract about an inch from each side. This “breathing room” prevents the basket from feeling cramped and makes it much easier to slide in and out, keeping your home feeling airy rather than cluttered.