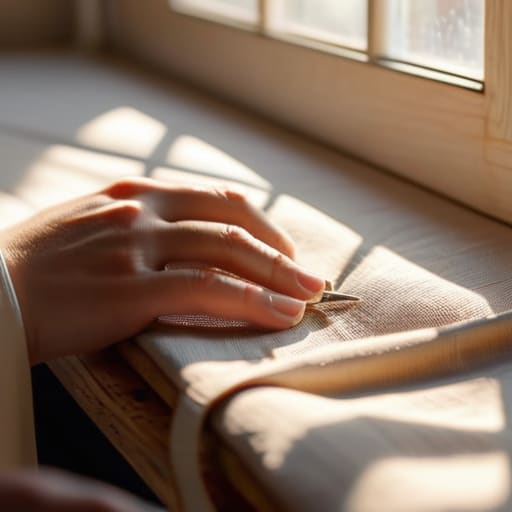
I remember sitting on my floor in my first tiny apartment in San Francisco, surrounded by scraps of linen and feeling completely defeated by a pile of expensive, store-bought fabric. I had convinced myself that learning how to make curtains was a high-level skill reserved only for master seamstresses with perfectly manicured studios. But as I sat there, feeling the frantic rush of the city outside my window, I realized that my struggle wasn’t actually about the sewing machine—it was about my need to reclaim my space through something tactile and slow.
In this guide, I’m stripping away the intimidation factor to show you that creating beautiful window treatments is actually a profound act of mindfulness. I won’t overwhelm you with complex tailoring jargon or expensive industrial equipment; instead, I’ll provide you with a clear, gentle roadmap to help you master the basics. We are going to walk through everything from measuring your windows with intention to the final, satisfying hem, ensuring you walk away with more than just fabric—you’ll have a sense of accomplishment and a home that truly feels like your sanctuary.
Table of Contents
- Step-by-Step Instructions
- Choosing Curtain Fabric Types to Reflect Your Inner Calm
- Measuring Window Width and Height for Perfect Proportions
- Small Rituals for a Seamless Sewing Experience
- Bringing Intention into Your Space: My Final Thoughts
- Creating More Than Just Window Coverings
- Bringing Your Vision Home
- Frequently Asked Questions
Guide Overview
Tools & Supplies
- Sewing machine for stitching hems and edges
- Fabric scissors for precise cutting
- Measuring tape for accurate dimensions
- Iron and ironing board for crisp seams
- Pins or clips to hold fabric in place
- Fabric (2-3 yards depending on window size)
- Thread (1 spool matching fabric color)
- Curtain tape or header tape (1 roll)
- Chalk or fabric marker for marking lines
Step-by-Step Instructions
- 1. Before we dive into the actual sewing, we need to gather our materials with intention. I always like to think of this as setting the stage for our creative flow. You’ll need your chosen fabric—I highly recommend something with a lovely, natural drape like linen or a soft cotton—fabric scissors, measuring tape, pins, a sewing machine, and matching thread. Don’t forget to wash and dry your fabric beforehand; this is a little trick I learned during my corporate wellness days to prevent the “stress” of shrinking curtains after they’re already hung!
- 2. Now, let’s find our rhythm by measuring your windows. This is where precision meets peace. Measure the width of your window and multiply it by two (or even two and a half if you want those luxurious, deep folds) to ensure you have enough fullness. For the length, measure from the rod to where you want the fabric to end. Always add about 8 to 10 inches to your total length to account for the top header and the bottom hem.
- 3. Once you have your measurements, it’s time to lay out your fabric on a large, flat surface. Using your fabric chalk or a pencil, mark your cutting lines. Take a deep breath and focus on the steady movement of your hand as you draw these lines. Cutting the fabric is the first physical manifestation of your vision, so try to move with a sense of calm and purpose rather than rushing to get it done.
- 4. Next, we’ll create the “header,” which is the top part of the curtain where the rod will slide through. Fold the top edge of your fabric down by about half an inch and press it with an iron, then fold it down again to your desired header width (usually 3 or 4 inches). Pin it securely in place. I find that using an iron is a meditative way to transition from the messy cutting phase into the structured sewing phase; it helps everything feel orderly and intentional.
- 5. Now, grab your sewing machine and let’s bring this to life. Stitch along the raw edges of your folded header, being careful to leave the very ends open so you can slide the rod through later. If you’re making rod pocket curtains, you’ll want to stitch a straight line across the width of the fabric within that folded section. As you sew, try to stay present in the moment, noticing the rhythmic hum of the machine and the way the fabric glides beneath the needle.
- 6. With the top finished, we turn our attention to the bottom hem. This is where the weight of the curtain comes from, giving it that high-end, grounded feel. Fold the bottom edge up by about an inch, press it, and then fold it up again to your preferred hem depth. Pin it carefully, ensuring the edges are straight. A heavy, well-done hem is the secret to curtains that hang with grace and dignity, much like how we strive to carry ourselves through a busy day.
- 7. The final step is the long, satisfying stitch along the bottom hem. Sew a straight, even line all the way around the base of your curtain. Once you’ve finished, give the fabric a final press with your iron to set everything in place. Take a moment to step back and look at what you’ve created. You haven’t just made a piece of home decor; you’ve cultivated a piece of your sanctuary through your own hands and patience.
Choosing Curtain Fabric Types to Reflect Your Inner Calm
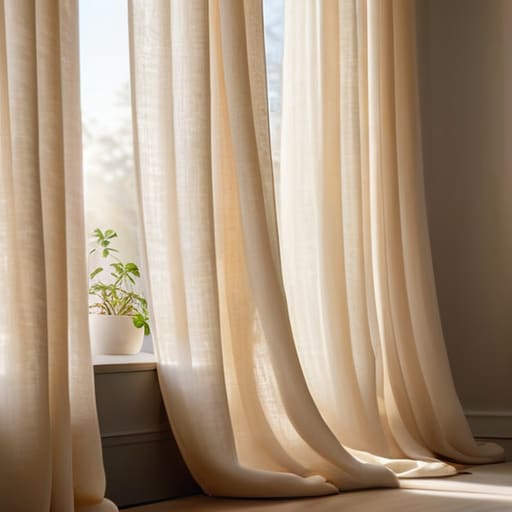
When we think about our homes, we often forget that our environment acts as a mirror for our internal state. When I was working those grueling hours in corporate consulting, my apartment felt frantic because everything was sharp and cluttered. I realized that choosing curtain fabric types wasn’t just a design decision; it was an act of self-care. If you’re seeking a sense of groundedness, I highly recommend leaning into natural fibers like linen or heavy cotton. These materials have a beautiful, organic weight that helps anchor a room, creating a soft visual hush that invites you to finally exhale.
Of course, the tactile experience is just as important as the look. A breezy, lightweight voile can make a space feel airy and expansive, perfect for those morning meditation sessions. However, keep in mind that different textures require different levels of care—and different sewing machine settings for fabric—to ensure they drape with intention rather than bunching up awkwardly. Whether you opt for the structured elegance of velvet or the ethereal flow of silk, remember that your curtains are the soft boundaries of your sanctuary. Choose a fabric that feels like a warm embrace every time you walk into the room.
Measuring Window Width and Height for Perfect Proportions
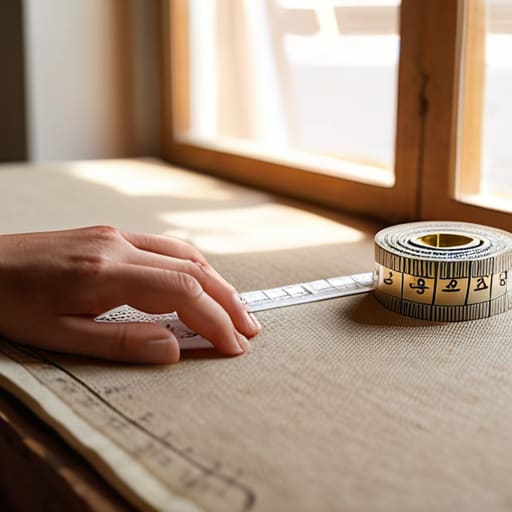
Before we even think about touching a needle, we need to ground ourselves in the geometry of our space. I remember my first attempt at this; I was so rushed to get to the creative part that I completely ignored the math, and my beautiful linen ended up looking more like a makeshift tent than a polished window treatment. To avoid that, take a deep breath and approach measuring window width and height with intention. Don’t just measure the glass itself; consider where you want the curtains to hang. For a truly designer look, I always recommend extending your width about 6 to 10 inches beyond the window frame on each side. This creates an illusion of space and allows more natural light to flood in when the curtains are open.
When you’re gathering your window treatment DIY tools, make sure you have a soft metal measuring tape—avoid those stiff construction tapes, as they can bend and give you inaccurate readings. As you record your numbers, remember to account for your sewing hem allowance tips by adding a few extra inches to your total length. This ensures that when you finally sit down at your machine, you have the luxury of adjusting the drape to find that perfect, floor-skimming elegance.
Small Rituals for a Seamless Sewing Experience
- Embrace the “Measure Twice, Cut Once” Philosophy: In my corporate days, I learned that rushing through the preparation phase is where most errors live. Before you even touch your shears, take a deep breath and double-check your measurements. It’s not just about accuracy; it’s about honoring the time you’re investing in your home.
- Create a Mindful Workspace: Just as we curate our mental space, curate your sewing station. Clear away the clutter and ensure you have soft, warm lighting. When your environment feels intentional, the act of sewing becomes a meditative flow rather than a stressful chore.
- The Magic of the Iron: If there is one secret tip I’ve picked up from years of wellness and craft, it’s this: never underestimate the power of a good press. Ironing your seams as you go isn’t just a technical step; it’s a way to smooth out the tension in your project (and perhaps your own mind, too).
- Listen to Your Fabric’s Rhythm: Every material has its own “personality.” A heavy linen behaves very differently than a breezy cotton voile. Take a moment to feel the drape and weight of your fabric before you start; understanding its temperament will help you work with it rather than fighting against it.
- Celebrate the Imperfect Stitch: We often fall into the trap of perfectionism, especially when we’re trying to create something beautiful. If a stitch is slightly uneven, don’t let it derail your peace. Remember, these curtains are a testament to your hands and your heart—the slight imperfections are what make your sanctuary truly human.
Bringing Intention into Your Space: My Final Thoughts
Remember that making your own curtains isn’t just a DIY project; it’s an act of mindfulness that allows you to curate the energy and light within your sanctuary.
Don’t let the technicalities overwhelm you—focus on the rhythm of the process and trust that your unique touch will create something far more meaningful than anything store-bought.
Use this creative journey as a reminder to slow down, breathe, and invest time in the small, tactile details that make a house truly feel like a home.
Creating More Than Just Window Coverings
“When we take the time to hand-stitch our own curtains, we aren’t just covering a window; we are intentionally weaving softness and light into the very fabric of our sanctuary, turning a simple household task into a beautiful ritual of mindfulness.”
Sophia Reynolds
Bringing Your Vision Home
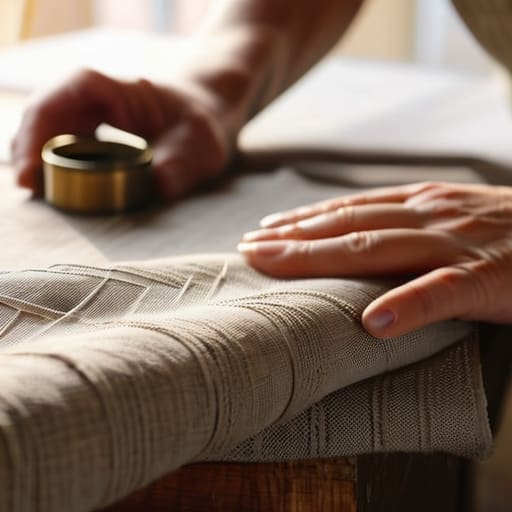
As we wrap up this journey of creation, take a moment to look back at how far you’ve come. From the initial decision to select a fabric that resonates with your soul to the precision required in measuring your windows, you have navigated the technicalities with intention. We’ve explored how the right texture can transform a room and how mathematical accuracy ensures that your hard work hangs beautifully in your space. By focusing on both the practical steps of construction and the emotional resonance of your material choices, you haven’t just followed a tutorial; you have practiced the art of mindful making, turning a simple household task into a meaningful ritual of self-expression.
At the end of the day, these curtains are so much more than just pieces of cloth shielding you from the sun. They are a testament to your ability to slow down and cultivate your own sanctuary. Whenever you see them swaying in a gentle breeze or catching the golden hour light, I hope you remember that you have the power to shape your environment to match your inner peace. Life can be incredibly loud and chaotic, but within the walls of your home, you get to decide the rhythm. May your new handmade curtains serve as a constant, soft reminder to breathe deeply and cherish the beautiful, intentional life you are building, one stitch at a time.
Frequently Asked Questions
How do I choose the right way to hang my curtains so they don't feel too heavy or overwhelming in my space?
To keep your space feeling light and airy, I always suggest “high and wide.” Instead of mounting the rod right at the window frame, try hanging it a few inches above and wider than the actual window. This creates an illusion of height and prevents the fabric from feeling like it’s “crowding” your view. It lets the light flow more freely, turning your window into a breezy portal rather than a heavy barrier.
I'm a bit nervous about the sewing part—are there any beginner-friendly ways to finish the edges if I don't have a professional sewing machine?
Oh, I hear you! That little flutter of nerves is completely normal—I remember feeling the exact same way when I first tried to reclaim my space through DIY. If a sewing machine feels intimidating, please don’t let it stop your creative flow. You can absolutely use iron-on hem tape for a seamless, “no-sew” finish, or even a simple needle and thread for a mindful hand-stitch. It’s all about finding a rhythm that feels peaceful to you.
How can I make sure my curtains hang beautifully without looking too stiff or artificial?
To keep your curtains from looking too “showroom stiff,” I always suggest embracing a little natural movement. Instead of pulling them tight, let them drape with a soft, organic flow. A little secret from my wellness toolkit? Try a gentle steam once they’re hung; it relaxes the fibers and lets them settle into their natural weight. It’s all about that effortless, lived-in elegance—creating a space that feels breathed-in, not just staged.
