I remember sitting at my heavy oak dining table during a particularly frantic week in my old corporate job, staring at a bare, cold surface that felt as lifeless as my to-do list. I had this nagging feeling that if I could just add one soft, tactile element to the room, I might actually feel grounded enough to breathe. That’s when I realized that learning how to make a table runner wasn’t just about home decor; it was about reclaiming a sense of warmth and intention in my own sanctuary. Most people think you need professional tailoring skills or expensive equipment to create something beautiful, but the truth is that the most meaningful pieces often come from the simplest, most mindful beginnings.
In this guide, I’m stripping away all the intimidating jargon and complex sewing techniques that make DIY projects feel like another chore on your list. I’ll walk you through a straightforward, rhythmic process that allows you to focus on the joy of creating rather than the stress of perfection. You’re going to learn exactly how to make a table runner that reflects your personal style, using practical, no-nonsense steps that fit perfectly into a busy, modern life. Let’s slow down and create something wonderful together.
Table of Contents
- Step-by-Step Instructions
- Selecting the Perfect Canvas a Table Runner Fabric Weight Guide
- Measuring Your Dining Table for Runners With Intention
- Small Details, Big Impact: 5 Ways to Infuse Your Runner with Soul
- Bringing Intention to Your Table: My Three Golden Rules
- The Soul of the Setting
- Bringing Your Vision to Life
- Frequently Asked Questions
Guide Overview
Tools & Supplies
- Fabric scissors for clean cutting
- Sewing machine or hand needles for stitching
- Measuring tape for accurate dimensions
- Pins or clips to hold fabric in place
- Fabric (approx. 1-2 yards depending on table length)
- Thread (matching color to fabric)
- Iron and ironing board for pressing seams
Step-by-Step Instructions
- 1. First, let’s gather our materials, but try to do this with a sense of intentionality. You’ll need a beautiful piece of fabric—I personally love linen or a soft cotton for that organic feel—a pair of sharp fabric scissors, a measuring tape, pins, an iron, and a sewing machine (though you can certainly do this by hand if you want to lean into the meditative aspect). I remember when I first started sewing during a particularly stressful quarter at my old corporate job; the simple act of touching different textures helped ground me instantly.
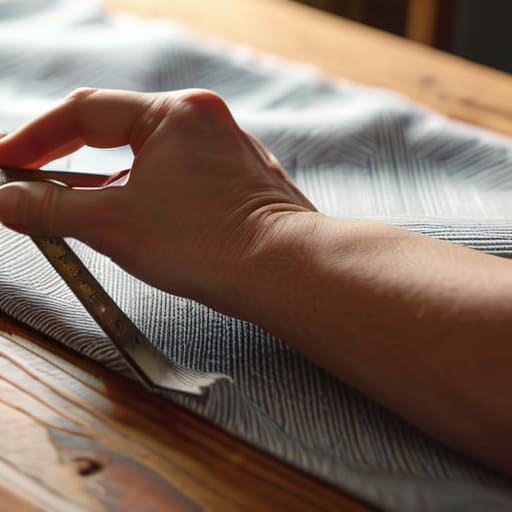
- 2. Once you have your supplies, it’s time to measure and cut. Lay your fabric out on a flat surface and decide on the dimensions of your runner. A good rule of thumb is to have it hang about 6 to 12 inches off each end of your table. Use your measuring tape to mark the length and width, then use your scissors to cut along the lines. Try to breathe through the process, making sure your cuts are steady and calm rather than rushed.
- 3. Now, we’re going to prepare the edges by creating a hem. Fold the raw edge of the fabric over by about half an inch and press it flat with your iron. Then, fold it over one more time to hide that raw edge completely. This is where the iron becomes your best friend; a crisp, clean fold makes the entire project feel much more professional and gives you a sense of order amidst the creative chaos.
- 4. Secure your hems using pins. I like to go slow here, pinning every few inches to ensure the fabric stays exactly where you want it. This little step of precision is a wonderful way to practice mindfulness in motion. It’s easy to want to skip ahead to the sewing, but taking this moment to ensure everything is aligned is what truly sets the foundation for a beautiful result.
- 5. It’s time to bring it all together with your sewing machine. Stitch along the folded edges you’ve created, keeping a consistent distance from the fold. If you’re sewing by hand, use a sturdy thread and a simple running stitch. As you move the fabric through the machine, try to match your rhythm to the steady hum of the motor; it can be surprisingly soothing, almost like a tiny, mechanical meditation.
- 6. After you’ve finished sewing all four sides, give your runner one final, loving press with the iron. This smooths out any tiny wrinkles and makes the seams lie perfectly flat. I always find that this final step is the most rewarding because it’s the moment the project transforms from a collection of scraps into a finished piece of art that you can actually use to beautify your home.
- 7. Finally, find a beautiful spot for your new creation. Whether it’s under a vase of fresh eucalyptus or centered around a bowl of seasonal fruit, let this runner be a reminder that beauty is found in the details. Every time you see it, let it serve as a gentle nudge to slow down and appreciate the intentional space you’ve created for yourself and your loved ones.
Selecting the Perfect Canvas a Table Runner Fabric Weight Guide
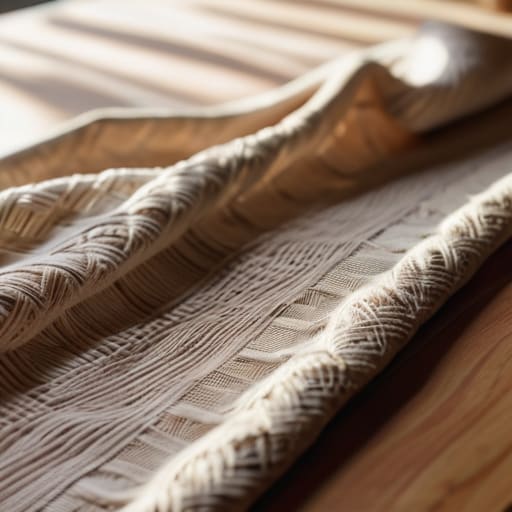
When I first started experimenting with textiles back in my apartment in Oregon, I quickly realized that the “soul” of your project lives in the texture of the cloth. Choosing the right material is about more than just color; it’s about how the piece interacts with your space. If you’re looking for something that feels substantial and intentional, a table runner fabric weight guide is your best friend. For a casual, breezy brunch vibe, I love lightweight linens that drape beautifully. However, if you want a piece that feels like a grounding centerpiece for a formal dinner, aim for a heavier cotton duck or a structured canvas that won’t slip or slide every time someone reaches for the salt.
Keep in mind that the weight of your fabric will also influence your technical approach. If you’ve chosen a thicker, more robust material, you might need to adjust your sewing machine settings for home decor to ensure your stitches remain even and strong. A heavier weave provides a wonderful foundation for decorative stitching techniques, allowing you to add tactile interest without the fabric puckering. Think of your fabric choice as the foundation of your mindfulness practice—the more stable and intentional the base, the more beautiful the final expression becomes.
Measuring Your Dining Table for Runners With Intention
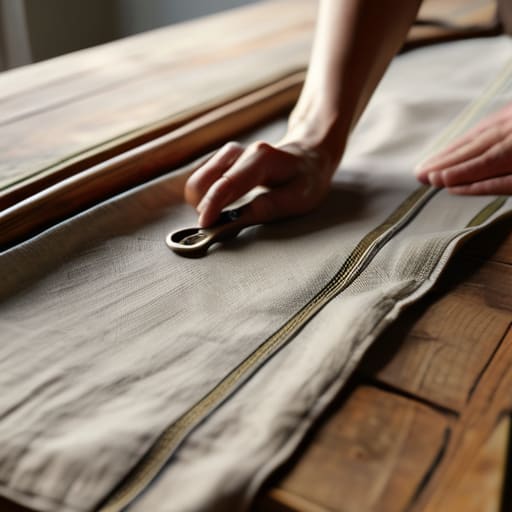
Before we pick up the shears, I want you to take a deep breath and really visualize the space you’re creating. When it comes to measuring dining table for runners, it’s tempting to just grab a tape measure and rush through it, but I’ve learned that the magic is in the details. I remember back in my corporate days, I used to rush through every task just to check it off a list, only to realize I’d missed the nuances that actually made the work meaningful. Instead of just measuring the length of the tabletop, consider the “drop”—the amount of fabric that hangs over the edges. A little extra length can add a sense of effortless elegance, while a shorter, crisper look feels more modern and intentional.
Once you have your dimensions, don’t forget to account for your seam allowances! If you’re following a sewing tutorial for beginners, it’s easy to forget that your final piece will shrink slightly once you start working on those edges. I always suggest adding an extra inch or two to your measurements to give yourself some breathing room. This ensures that when you eventually learn how to hem fabric edges, you aren’t left with a runner that feels uncomfortably small for your beautiful dining setup.
Small Details, Big Impact: 5 Ways to Infuse Your Runner with Soul
- Mindful Color Selection: Before you pick up the shears, think about the energy you want your dining space to hold. I always suggest choosing hues that ground you—soft linens for a calming breakfast nook or deep, rich tones to foster warmth during a long dinner with friends.
- The Art of the Hem: Don’t rush the edges. A clean, straight hem is more than just a technical step; it’s a moment to practice patience. Taking that extra minute to press your seams with a warm iron ensures your hard work looks intentional and polished rather than hurried.
- Texture for Tactile Connection: We often forget how much our sense of touch influences our mood. Try mixing textures—perhaps a slightly coarse weave paired with a soft cotton—to create a sensory experience that makes your guests feel immediately at ease.
- Embrace the Imperfect: In my years of coaching, I’ve learned that perfection is the enemy of presence. If a stitch is slightly uneven or a line isn’t perfectly straight, don’t sweat it. Those tiny “imperfections” are actually the fingerprints of your creativity, making the piece uniquely yours.
- Incorporating Seasonal Intentions: Think of your runner as a rotating canvas for your life’s seasons. Leave enough “breathing room” in your design—perhaps a bit of extra length or a simpler pattern—so you can easily layer on dried eucalyptus in the fall or fresh citrus in the spring.
Bringing Intention to Your Table: My Three Golden Rules
Remember that the fabric you choose isn’t just about aesthetics; it’s about the tactile experience of your home. Choosing a weight that feels grounding and durable allows you to focus on the conversation rather than worrying about a spill.
Don’t rush the measuring process. Taking that extra minute to ensure your runner drapes just right creates a sense of visual harmony that can actually help lower your stress levels during a meal.
View this project as a ritual, not a chore. Whether you’re sewing or simply styling, let the process of creating your centerpiece be a mindful pause in your busy day, turning a simple piece of cloth into a catalyst for connection.
The Soul of the Setting
“Making a table runner isn’t just about covering a surface; it’s about creating a soft, tactile boundary that invites us to slow down, pull up a chair, and truly show up for the people sitting across from us.”
Sophia Reynolds
Bringing Your Vision to Life
As we bring this project to a close, I hope you feel a sense of pride in the intentional steps you’ve taken. We’ve moved from selecting the perfect, tactile fabric that speaks to your style, to the mindful process of measuring your space to ensure everything feels just right. Remember, making a table runner isn’t just about the technicality of cutting cloth or straight seams; it’s about the deliberate choices you made to create something that anchors your dining area. By focusing on the weight of your materials and the precision of your measurements, you have laid the groundwork for a piece that is as durable as it is beautiful.
Beyond the stitches and the fabric, I want you to remember why you started this journey in the first place. In our fast-paced, digital lives, there is something profoundly healing about working with our hands to create a physical centerpiece for connection. When you finally lay your finished runner across your table, I hope it serves as a gentle reminder to pause and breathe during your next meal. Let this handmade treasure be an invitation to slow down, savor the flavors, and truly be present with the people you love most. You didn’t just make a decoration; you created a space for meaningful living.
Frequently Asked Questions
How do I choose between a hemmed edge and a more relaxed, frayed look to match my home's vibe?
Choosing between a clean hem and a frayed edge really comes down to the “energy” you want your dining space to hold. If your home is a sanctuary of order and minimalist calm, a crisp, hemmed edge offers that sense of intentional structure. But if you’re leaning into a cozy, lived-in bohemian vibe, I love a relaxed, frayed look. It invites a sense of imperfection that tells your guests, “Relax, you’re home.”
What are some easy ways to add texture or personality, like embroidery or tassels, without making it feel overwhelming?
I love this question because it’s all about finding that “sweet spot” between meaningful detail and visual clutter. To keep it mindful, I suggest the “rule of one.” Choose just one focal point—maybe a delicate line of embroidery along one edge or a few soft, linen tassels at the corners. It adds a tactile, soulful touch that invites connection without shouting for attention, allowing your dining space to remain a calm sanctuary.
How can I care for my handmade runner so it stays beautiful through every family dinner and holiday gathering?
Treating your runner with care is really about honoring the intention you put into making it. I always recommend a gentle hand wash or a delicate cycle in a mesh bag to protect those fibers. Avoid harsh chemicals; a bit of mild, eco-friendly detergent goes a long way. When it’s dry, smooth out any wrinkles by hand rather than using high heat. Think of it as a ritual of preservation for the memories you’ll create around it.
