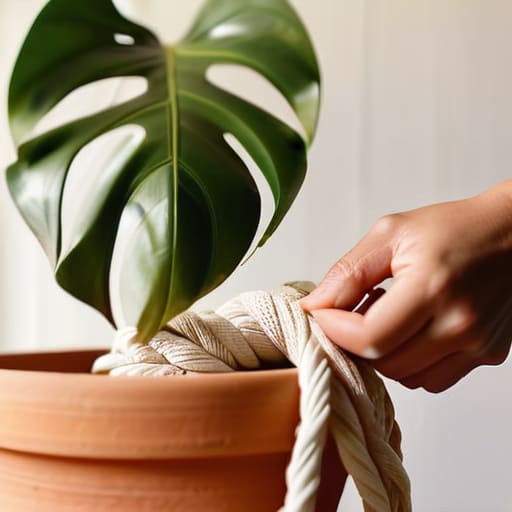
I remember sitting on my living room floor three years ago, surrounded by tangled heaps of cotton cord and a mounting sense of frustration, convinced that I simply didn’t have the “artistic gene.” I had watched dozens of tutorials, yet every time I tried to learn how to macrame a plant hanger, I ended up with a knotted mess that looked more like a bird’s nest than a bohemian dream. We often think that crafting requires this intense, perfectionist focus, but the truth is that the magic actually happens when you let go of the need to be perfect and just let your hands find their rhythm.
In this guide, I’m stripping away the complicated jargon and the intimidating, high-speed demonstrations to give you a gentle, step-by-step roadmap. I’ll walk you through the essential knots and the most common pitfalls so you can finally master how to macrame a plant hanger with confidence. My goal isn’t just to help you hang a beautiful fern in your window, but to help you use this process as a mindful sanctuary from the digital noise of everyday life. Let’s grab some cord and breathe through this together.
Table of Contents
- Step-by-Step Instructions
- Selecting the Perfect Macrame Supplies for Beginners
- Mastering the Square Knot Tutorial for Soulful Creation
- Small Rituals for a Flow State: My Top Tips for Your Macrame Journey
- Finding Your Rhythm in the Knots
- ## The Rhythm of the Knot
- Bringing Your Creation Home
- Frequently Asked Questions
Guide Overview
Tools & Supplies
- Scissors for cutting cord
- Measuring tape for cord length
- Cotton macrame cord (approx. 50-100 meters)
- Wooden ring or S-hook for hanging
Step-by-Step Instructions
- 1. To begin, I like to gather everything I need in a way that feels intentional rather than rushed. You’ll need about four to six lengths of cotton cord—I usually go with a soft, cream-colored macrame rope—a wooden ring or a metal hoop, and a pair of sharp scissors. I always find that setting up a dedicated space helps me transition from the “doing” mode of my workday into a more creative, flowing state of mind.
- 2. Once you have your materials, take your cords and loop them through your ring using a lark’s head knot. This is such a simple, grounding movement: fold your cord in half, pull the loop over the ring, and then thread the ends through that loop. Repeat this with all your cords until they are all hanging evenly; it’s a lovely way to feel the rhythm of the task taking shape right before your eyes.
- 3. Now, let’s move into the heart of the piece with the square knot. This is where the magic really happens! Take four strands of cord: the two in the middle will act as your “core,” while the two on the outside are your “workers.” Cross the left cord over the core to form a shape like the number four, then place the right cord over that tail, tuck it under the core, and pull it through the loop on the left. It might feel a little clumsy at first, but just breathe through it—that’s part of the process.
- 4. To keep your pattern consistent, you’ll want to repeat that square knot several times in a row to create what we call a “square knot pattern.” I often find that focusing on the repetitive motion of my hands acts as a form of moving meditation, helping me quiet the mental chatter about my inbox or my to-do list. Just focus on the tension of the cord and the feel of the fiber.
- 5. After you’ve created a beautiful row of square knots, it’s time to create the “basket” that will actually hold your plant. To do this, you’ll want to group your cords into sets of four and tie a series of alternating knots. Essentially, you are creating a diamond-shaped web by connecting the different strands. This is the moment where you can really see your progress blooming into something structural and beautiful.
- 6. Once your diamond pattern is secure, gather all your cords together at the bottom. This is where you’ll create the final knot to hold everything in place. You can use a large gathering knot, which is quite satisfying to tie, or simply loop them through a small ring. I like to take a moment here to admire the symmetry we’ve created together before we move to the final touch.
- 7. Finally, grab your scissors and trim the excess cord at the bottom. You can leave them long for a bohemian, fringed look, or cut them into a neat, even line. As you finish, I encourage you to take a deep breath and celebrate this small win. You’ve created something with your own two hands, and that is a wonderful way to reconnect with yourself.
Selecting the Perfect Macrame Supplies for Beginners
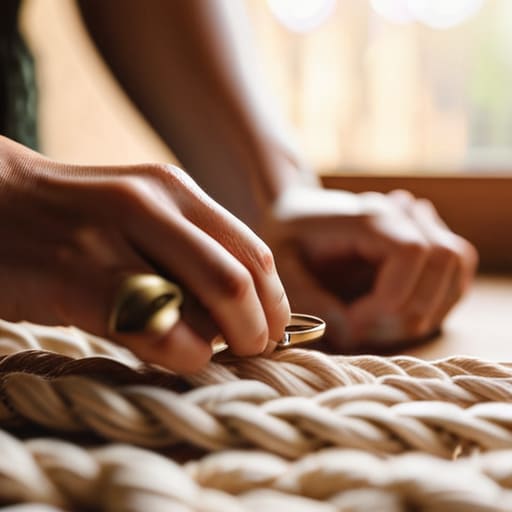
Before we dive into the knots, let’s talk about setting ourselves up for success. When I first started my journey into fiber arts, I made the mistake of grabbing whatever string I could find in my craft drawer, only to realize it wasn’t quite right for the task. To avoid that frustration, I highly recommend investing in high-quality macrame supplies for beginners that feel good in your hands. You want something that offers a bit of “give” so your hands don’t cramp up while you’re finding your flow.
One of the most common questions I get is about the ideal cotton cord weight for macrame. For a standard DIY bohemian plant holder, I personally love working with a 3mm or 4mm single-strand cotton cord. It’s substantial enough to provide beautiful structure for your hanging indoor plants decor, yet soft enough that you can easily manipulate the fibers as you learn. Choosing the right weight makes the entire process feel much more intuitive and, more importantly, much more relaxing. Remember, this is your time to unwind, so let’s make sure your tools feel like an extension of your creativity.
Mastering the Square Knot Tutorial for Soulful Creation

Now that you have your materials ready, let’s dive into the heart of the craft: the square knot. I remember when I first sat down to try this during a particularly stressful week in my corporate job; I realized that the rhythmic, repetitive motion of the cord was almost like a form of moving meditation. As you follow this square knot tutorial, I want you to resist the urge to rush. If your tension feels uneven, don’t sweat it! It’s often that slight irregularity that gives a DIY bohemian plant holder its unique, soulful character.
When you’re working through this macrame project step by step, pay close attention to how your fingers interact with the fibers. I’ve found that if you use a slightly thicker cotton cord weight for macrame, the knots feel much more substantial and are easier to manipulate while you’re still learning. Take a deep breath, find your center, and let the tension in your shoulders melt away with every loop you complete. You aren’t just tying string; you’re creating a sanctuary for your greenery.
Small Rituals for a Flow State: My Top Tips for Your Macrame Journey
- Embrace the imperfections. I remember my first plant hanger; the knots were uneven and, honestly, a little chaotic. But that’s where the beauty lies. Instead of chasing perfection, focus on the rhythm of your hands. Those little “mistakes” are just reminders of the human touch in your work.
- Mindful tension is everything. As you pull each knot, try to do it with intention. If you pull too tight, you might feel tension in your own shoulders; if it’s too loose, the piece loses its structure. Think of it as finding that sweet spot of balance, much like we do in our daily lives.
- Create a sacred workspace. Before you even touch your cord, clear your desk or table. A cluttered space often leads to a cluttered mind. Light a candle or put on some soft lo-fi beats—turn this from a “task” into a restorative ritual for your soul.
- Work with your body in mind. It’s so easy to get lost in the flow and forget that you’re sitting hunched over for an hour. Every fifteen minutes, I like to do a quick “micro-stretch”—roll your shoulders and take one deep, conscious breath. Your spine will thank you!
- Don’t rush the process. In our “hustle culture,” we’re conditioned to finish things as fast as possible. But macrame is a slow art. If you find your mind wandering to your to-do list, gently bring yourself back to the texture of the cotton cord. The plant hanger isn’t just a decoration; it’s a meditation.
Finding Your Rhythm in the Knots
Remember that macrame is a moving meditation; it’s not about achieving perfection in every knot, but about finding a sense of presence and flow in the process itself.
Don’t rush the learning curve—mastering the fundamental knots like the square knot provides the sturdy foundation you need to eventually let your creativity run wild.
Create a dedicated, soothing space for your crafting, treating your time with the cord as a sacred ritual of self-care rather than just another task on your to-do list.
## The Rhythm of the Knot
“When you’re working with macrame, try not to focus solely on the finished plant hanger; instead, find the rhythm in the tension of the cord and the steady repetition of the knots. It’s in that quiet, tactile dance between your hands and the string that you truly find your center.”
Sophia Reynolds
Bringing Your Creation Home
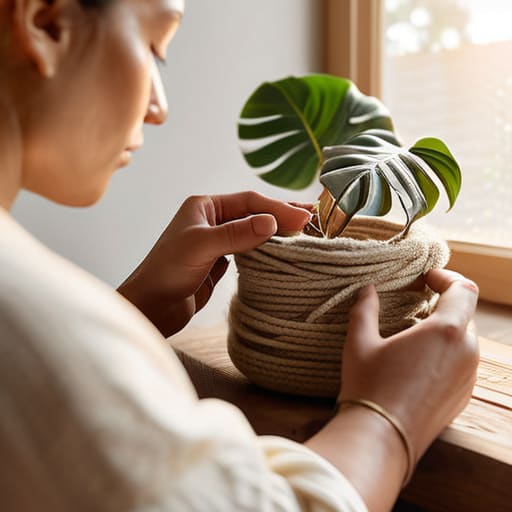
As we wrap up this journey, take a moment to look at what you’ve actually accomplished. You’ve moved from selecting the right textures and cords to mastering those foundational square knots, transforming a simple length of cotton into something functional and beautiful. Remember, the magic isn’t just in the finished plant hanger hanging in your window, but in the way you intentionally chose to spend your time. By focusing on your supplies and refining your technique, you haven’t just made a home accessory; you have practiced the art of mindful creation, proving to yourself that you can build something meaningful one knot at a time.
As you hang your new creation and watch your favorite leafy green friend settle into its new home, I want you to carry this feeling forward. Life can often feel like a series of tangled threads, but just like macrame, we have the power to find structure and beauty within the complexity. Don’t worry if your knots aren’t perfectly symmetrical or if your tension varies; those little imperfections are simply the fingerprints of your soul on your work. Keep breathing, keep creating, and remember that even in the busiest seasons, there is always space to pause and bloom.
Frequently Asked Questions
I'm a bit worried about the weight—how do I know if my macrame design is strong enough to hold a heavy ceramic pot without stretching?
That is such a valid concern, and honestly, I used to stress about the same thing when I first started! To ensure your creation is sturdy, I recommend using a higher-weight cotton cord—think 4mm or 5mm—and focusing on a dense knot pattern. A quick tip from my yoga days: just like a strong core stabilizes a pose, a tightly packed series of square knots provides the structural integrity your beautiful ceramic pot needs.
Since I'm just starting out, is there a specific type of cotton cord that's easier on the hands and less likely to fray while I'm knotting?
Oh, I am so glad you asked that! When I first started my journey into fiber arts, I struggled with frayed cords too, and it was so frustrating for my focus. For beginners, I highly recommend a 3mm or 4mm single-strand twisted cotton cord. It’s much smoother on your hands and holds its shape beautifully. If you want to avoid that “fuzzy” mess, look for a high-quality, tightly spun cord—it makes the whole process feel so much more intentional and soothing.
If I accidentally mess up a knot or lose my rhythm, is it possible to undo my work without ruining the entire hanger?
Oh, I have been exactly where you are! Please, take a deep breath and know that this is a completely natural part of the creative process. You can absolutely undo a knot without losing your progress. If you’re using cotton cord, just carefully use a seam ripper or even your fingers to gently untwist the fibers. Think of it as a moment to pause, reset your intention, and try again with fresh energy.
