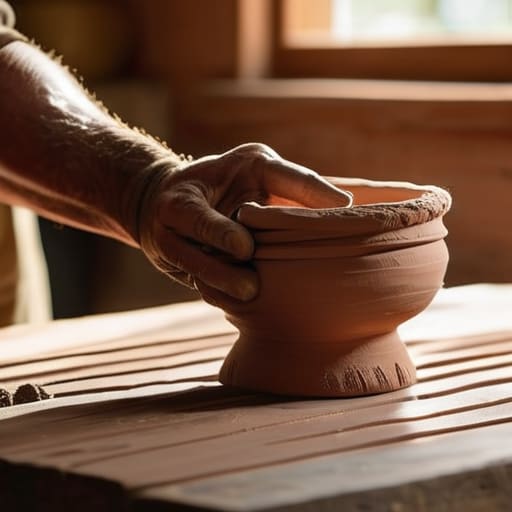
I remember sitting on my kitchen floor in my tiny Oregon apartment, staring at a lump of gray clay and feeling a profound sense of inadequacy because I didn’t own a spinning wheel. I had this idea in my head that if I couldn’t achieve that perfect, symmetrical, high-speed rotation, I wasn’t actually “doing” pottery. But as I sat there, breathing through the frustration, I realized that the obsession with the machine was actually blocking my connection to the craft. Learning how to make pottery without a wheel isn’t about settling for less; it’s about reclaiming the tactile intimacy of the medium and finding a rhythm that belongs entirely to you.
In this guide, I’m stripping away the intimidation factor and sharing the practical, hand-building techniques I’ve used to find my own creative flow. We’re going to dive into the soulful methods of pinching, coiling, and slab building—no expensive equipment required. I promise to give you honest, no-nonsense advice on everything from clay consistency to finishing your pieces, so you can move past the perfectionism and start finding stillness in the clay. Let’s get our hands dirty and rediscover the joy of creating something beautiful, one slow, intentional movement at a time.
Table of Contents
- Step-by-Step Instructions
- Mastering Sculpting Clay Techniques for Beginners
- Slab Building Pottery Methods for Mindful Creation
- Small Rituals for a More Soulful Studio Session
- Finding Your Rhythm: Lessons from the Clay
- Finding Rhythm in the Unstructured
- Embracing the Beauty of Imperfection
- Frequently Asked Questions
Guide Overview
Tools & Supplies
- Needle tool or toothpick for trimming edges
- Sponge for smoothing surfaces
- Rolling pin or smooth bottle for flattening clay
- Butter knife or wooden skewer for scoring/cutting
- Air-dry clay or kiln-fire clay (1-2 kg)
- Small bowl of water for smoothing
- Sandpaper for finishing once dry
Step-by-Step Instructions
- 1. First, we need to gather our essentials and, more importantly, our mindset. You don’t need a heavy, spinning machine to create something beautiful; all you really need is a decent bag of clay, a small bowl of water, and a few simple tools like a wooden spatula or even just your own hands. Before you even touch the clay, I want you to take a deep breath and set an intention for this session, whether that’s to release stress or simply to play.
- 2. Let’s start with the “pinch pot” method, which is my absolute favorite for beginners because it feels so intimate and grounded. Take a golf-ball-sized piece of clay and roll it into a smooth sphere between your palms. Once it’s perfectly round, press your thumb into the center, being careful not to go all the way through, and begin gently pinching the sides between your thumb and fingers. As you rotate the clay, you’ll feel it slowly transform from a lump into a delicate vessel.
- 3. If you’re feeling a bit more ambitious, we can move on to “coil building,” a technique that is incredibly meditative and rhythmic. Start by rolling out long, snake-like coils of clay on a flat surface. You’ll then build your piece by stacking these coils one on top of the other in a circular pattern. As you go, use your fingers to smooth the walls together, ensuring the structure is strong and stable before you move to the next layer.
- 4. Now, let’s talk about “slabbing,” which is wonderful if you want to create something with more defined, architectural lines. Roll your clay out flat using a rolling pin (or even a smooth wine bottle!) until it reaches your desired thickness. You can then cut out shapes—like squares or rectangles—and join them together to create boxes or even small planters. Just remember to “score and slip” the edges, which means scratching the surfaces and adding a bit of watery clay to act as a natural glue.
- 5. Once your shape is taking form, it’s time to refine the texture and smooth out any imperfections. I always find that this is the stage where you can really listen to the material. Use a damp sponge or a soft cloth to gently wipe away any cracks or uneven ridges. Don’t aim for perfection, though; those tiny, organic irregularities are what give hand-built pottery its soul and character.
- 6. Finally, we have to respect the “leather-hard” stage, which is a crucial part of the patience-building process. As your piece sits, it will lose moisture and become firm, like hard cheese. This is the perfect time to carve intricate patterns or add decorative textures into the surface. Once it feels sturdy enough to handle without deforming, you’re ready to let it dry completely before it eventually heads off to the kiln for its final transformation.
Mastering Sculpting Clay Techniques for Beginners
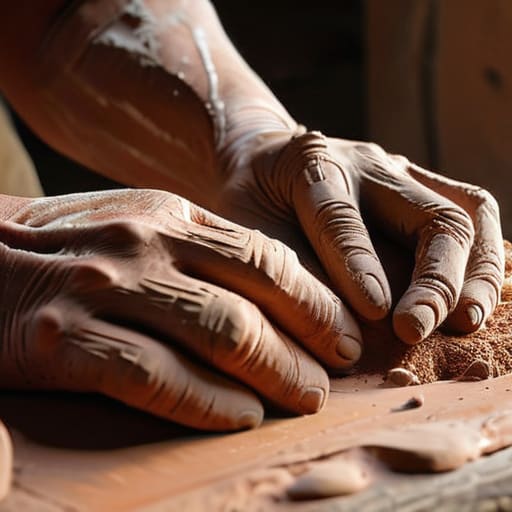
As you begin to get comfortable with the feel of the earth between your fingers, I want to encourage you to lean into the tactile rhythm of the process. One of my favorite slab building pottery methods is creating flat, even sheets of clay to stack and join; it feels incredibly grounding, almost like a form of moving meditation. When you’re first starting out, don’t feel pressured to create perfection. Instead, focus on the sensation of the material. If you find yourself feeling a bit stuck, try experimenting with different pottery tools for hand building, like a simple wooden rib or even a smooth stone from your garden, to help shape your vision.
I remember when I first transitioned from the high-stress corporate world to focusing on mindful crafts, I used to obsess over every tiny imperfection. But here’s a little secret: the beauty of hand-building lies in those unique, human touches. As you progress, you’ll learn the delicate art of smoothing clay surfaces without a wheel, using just a damp sponge and a gentle touch. It’s a beautiful way to practice patience and presence, one soft stroke at a time.
Slab Building Pottery Methods for Mindful Creation
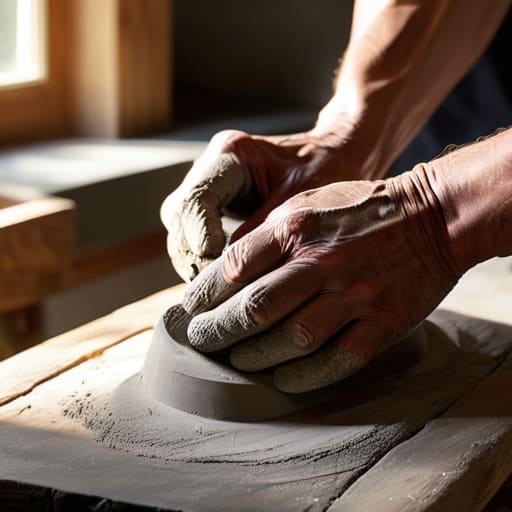
If sculpting feels a bit too freeform for your current headspace, I often recommend leaning into the structured, meditative rhythm of slab building pottery methods. There is something incredibly grounding about using a rolling pin to transform a lump of earth into a perfectly even, flat sheet. It requires a level of presence that I find helps quiet the mental chatter of a busy workday. As you roll, focus on the steady pressure of your hands and the tactile sensation of the texture changing beneath your palms. It’s a beautiful way to practice intentionality in every movement.
Once you’ve rolled out your slabs, the real magic happens in the assembly. You don’t need an expensive studio setup; simple pottery tools for hand building, like a basic wooden ruler or even a clean kitchen knife, can help you achieve those crisp, intentional lines. I always suggest letting your slabs sit until they reach a “leather-hard” state before joining them. This prevents the walls from collapsing and is essential for drying clay to prevent cracking later on. It’s a lesson in patience that we could all use a little more of in our daily lives.
Small Rituals for a More Soulful Studio Session
- Embrace the imperfection of your hands; remember that when we ditch the wheel, we aren’t looking for factory precision, but rather the beautiful, tactile story of our own touch.
- Keep a small bowl of water nearby, not just for smoothing edges, but as a sensory cue to pause and ground yourself whenever the creative process feels overwhelming.
- Listen to the rhythm of your breathing as you pinch and pull the clay, letting your breath dictate the pace of your movements rather than rushing toward a finished product.
- Don’t be afraid to let your clay dry a little too much; sometimes, a slightly firmer texture provides the exact resistance we need to feel truly connected to the medium.
- Set aside a “mistake journal” where you can note the textures or shapes that didn’t work, viewing them not as failures, but as necessary experiments in your journey toward mindfulness.
Finding Your Rhythm: Lessons from the Clay
Remember that hand-building isn’t about perfection or mimicking a machine; it’s about embracing the unique, organic textures that only your hands can create.
Use the tactile process as a moving meditation, allowing the rhythmic motion of pinching or smoothing to ground you in the present moment.
Don’t rush the drying process—just as we need rest to thrive, your clay needs patience and a slow pace to truly find its strength.
Finding Rhythm in the Unstructured
“When we step away from the relentless spin of the wheel, we stop trying to force perfection and finally start listening to the clay; it’s in those intentional, hand-shaped imperfections that we truly find our center.”
Sophia Reynolds
Embracing the Beauty of Imperfection
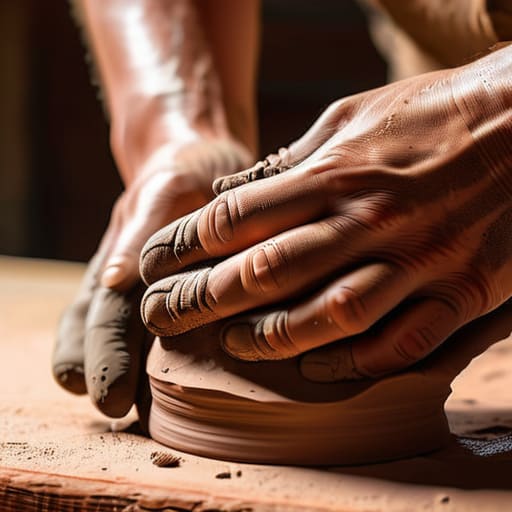
As we wrap up our journey into the world of hand-building, I hope you feel a little more connected to the tactile magic of clay. We’ve explored everything from the rhythmic, grounding nature of pinch pots to the structured, intentional process of slab building and the organic flow of coil construction. Remember, the goal here isn’t to replicate a factory-made vessel or to achieve a level of symmetry that feels sterile. Instead, it’s about embracing the unique textures and slight irregularities that only your hands can create. By stepping away from the high-speed whirl of the potter’s wheel, you’ve allowed yourself to engage in a much more deliberate and meditative form of creation.
Ultimately, this practice is about so much more than just making a bowl or a mug; it is a profound act of reclaiming your time. In my own journey from the high-stress corporate world to a life centered on wellness, I’ve learned that our most meaningful growth often happens in these quiet, unhurried spaces. Let your pottery be a testament to your patience and a reminder that it is okay to move at your own pace. I encourage you to keep playing, keep getting your hands messy, and most importantly, trust your intuition as you shape something beautiful from nothing. You are doing wonderful work.
Frequently Asked Questions
I'm a bit worried about my pieces cracking as they dry—how can I tell if my hand-built clay is drying too quickly?
Oh, I’ve been there! I remember my first batch of hand-built bowls—I was so excited, but they ended up with tiny, heartbreaking cracks. If you notice the clay feeling unusually brittle or see those fine “spiderweb” lines appearing on the surface, it’s a sign it’s drying too fast. To keep things steady, try covering your work loosely with plastic. It’s all about slowing down the process, just like we do with our breath.
Do I really need a kiln to finish these, or can I get away with using air-dry clay for a more casual hobby?
That is such a great question, and honestly, it’s one I get asked a lot when people are looking to lower the barrier to entry. If you’re looking for a way to decompress without the intense commitment (or the heavy equipment!), air-dry clay is a wonderful, low-pressure alternative. It allows you to embrace the process without worrying about the technicalities of firing. Just keep in mind it won’t be waterproof, so let’s keep those pieces purely decorative!
Since I'm not using a wheel to center the clay, what are your best tips for making sure my pinch pots don't end up looking too wonky or uneven?
I totally get it—without that centrifugal force from a wheel, it can feel like you’re just wrestling with a lump of mud! To keep things steady, I always recommend working in small, rhythmic increments. Instead of trying to thin the walls all at once, focus on consistent, even pressure with your thumb and fingers. Think of it like a slow, mindful breath; if you rush the pinch, the walls will follow suit. Stay patient with yourself!
