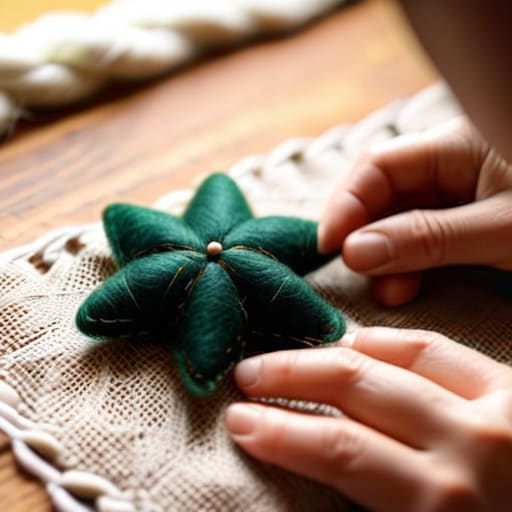
I remember sitting on my living room floor three years ago, surrounded by tangled threads and scraps of fabric, feeling completely overwhelmed by the sheer chaos of the holiday season. I had this vision of a perfectly curated, cozy home, but instead, I was just staring at a pile of messy craft supplies, wondering if I’d ever actually figure out how to make felt ornaments that didn’t look like a frantic toddler had made them. It’s easy to fall into the trap of thinking that crafting has to be this high-stakes, perfect endeavor, but I’ve learned that the real magic happens when we let go of that pressure and just embrace the process.
In this guide, I’m stripping away the complicated jargon and the intimidating “Pinterest-perfect” expectations to give you a gentle, step-by-step roadmap. I’ll share my most reliable, no-nonsense techniques for choosing the right materials and stitching with intention, so you can create something truly beautiful without the stress. Whether you’re looking to reclaim a bit of mindfulness or simply want to add a personal touch to your decor, we’re going to explore how to make felt ornaments that bring a sense of quiet joy into your home.
Table of Contents
- Step-by-Step Instructions
- Choosing the Best Felt Fabric for Crafts and Comfort
- Essential Needle and Thread for Sewing Felt With Intention
- Little Rituals for a Joyful Crafting Experience
- Embracing the Joy of Slow Crafting
- ## Finding Stillness in Every Stitch
- Bringing Your Creations to Life
- Frequently Asked Questions
Guide Overview
Tools & Supplies
- Fabric scissors for cutting felt shapes
- Hand sewing needle for stitching edges
- Embroidery hoop or pins to hold fabric in place
- Felt sheets (various colors and amounts)
- Embroidery floss or sewing thread
- Polyester fiberfill stuffing
- Ornament hooks or twine
Step-by-Step Instructions
- 1. First, let’s gather our supplies, but I want you to approach this like a ritual rather than a chore. You’ll need some high-quality felt sheets in colors that speak to your soul, a pair of sharp fabric scissors, embroidery floss or thick thread, a blunt-tipped needle, and perhaps some stuffing if you’re feeling ambitious. I always find that curating your space with beautiful materials makes the process feel much more intentional from the very start.
- 2. Once your supplies are laid out, it’s time to create your templates. You can draw shapes directly onto the felt using a chalk pencil, or if you’re feeling a bit more structured, trace around household objects like a small tea saucer or a star cutout. I love using organic, slightly imperfect shapes because they remind me that beauty often lies in the asymmetry of real life.
- 3. Now, carefully cut out your shapes. If you’re making a 3D ornament, like a little star or a heart, remember to cut out two identical pieces. As you glide the scissors through the soft fabric, try to stay present in the movement; it’s a wonderful way to practice that mindful awareness we’re always striving for during a busy workday.
- 4. Next, we begin the stitching. If you’re making a flat ornament, you might just want to sew a decorative border, but for something with more dimension, we’ll use a simple whip stitch to join your two felt pieces together. I personally find that a blanket stitch adds such a lovely, artisanal texture to the edges, making the ornament feel truly handmade and special.
- 5. If you’ve decided to go for a stuffed, plushie-style ornament, don’t forget to leave a small gap in your stitching. Before you close it up, take a tiny bit of polyester fiberfill or even some cotton wool and tuck it inside. It’s a bit like nurturing a small intention; you’re giving the shape its substance and life before sealing it off.
- 6. Once your ornament is stuffed and the gap is sewn shut, it’s time for the finishing touch: the hanging loop. You can use a small scrap of felt or a piece of twine to create a loop, securing it firmly with a few extra stitches at the top. This is the moment where the piece truly becomes ready to invite stillness into your home once it’s hung on a branch or a hook.
- 7. Finally, take a moment to step back and admire what you’ve created. Don’t worry if a stitch is a little crooked or if the shape isn’t perfectly symmetrical. Those tiny “imperfections” are actually markers of your presence and the time you took to slow down and create something with your own two hands.
Choosing the Best Felt Fabric for Crafts and Comfort
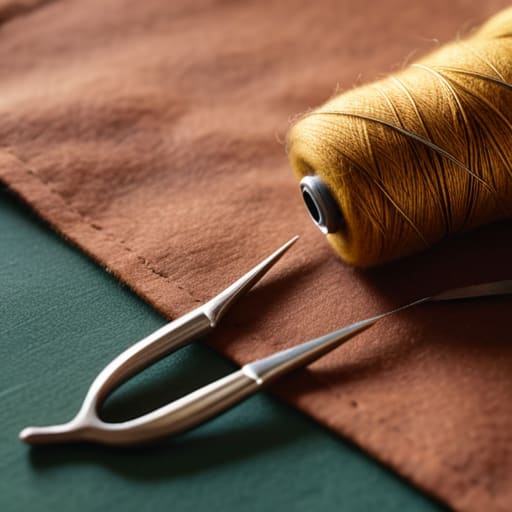
When you’re standing in the craft aisle, the sheer variety of textures can feel a little overwhelming—trust me, I’ve been there! While it’s tempting to grab whatever looks prettiest, I always suggest looking for quality over quantity. If you want your creations to hold their shape beautifully, you’ll want to find the best felt fabric for crafts, which usually means opting for a higher wool content or a dense, stiff felt rather than the thin, flimsy versions often found in discount bins. A sturdier fabric makes practicing your hand sewing techniques for felt so much more rewarding because the material won’t warp or fray as easily under your needle.
I also like to think about the sensory experience of crafting. There is something so grounding about running your fingers over a soft, high-quality felt; it turns the process from a chore into a true moment of mindfulness. If you’re planning on adding delicate details, pair your fabric with a fine embroidery floss for felt crafts to add that touch of elegance. Remember, the goal isn’t just to finish a project, but to enjoy the tactile rhythm of the work itself.
Essential Needle and Thread for Sewing Felt With Intention
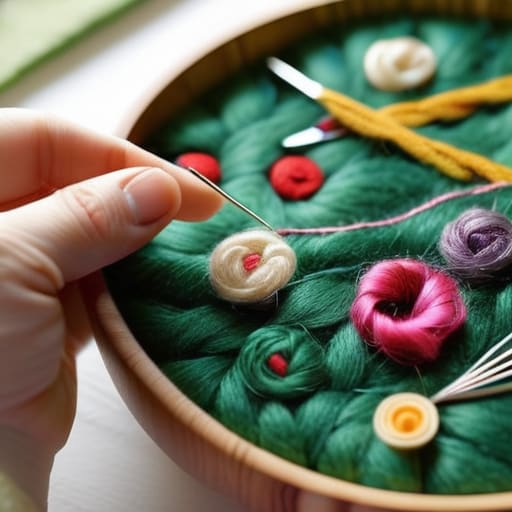
When we sit down to create, the tools we choose can actually change the entire energy of the experience. I remember back in my corporate days, I used to rush through everything, but now I see that even selecting your needle and thread for sewing felt is an opportunity to practice mindfulness. I always recommend grabbing a pack of sharp, fine-tipped embroidery needles; they glide through the fibers without snagging, which prevents that frustrating tension that can lead to stress. If you’re looking to add a bit of whimsical color to your holiday ornament DIY ideas, don’t be afraid to experiment with different weights of embroidery floss for felt crafts to create texture and depth.
As you begin practicing your hand sewing techniques for felt, try to view each stitch as a rhythmic, grounding breath. It’s easy to get caught up in wanting the final product to be perfect, but the magic is actually in the intentionality of the process. Whether you are following simple felt ornament templates for beginners or trying something more complex, choosing high-quality thread ensures your hard work lasts for many seasons to come.
Little Rituals for a Joyful Crafting Experience
- Embrace the beauty of imperfection; remember that these ornaments aren’t meant to be factory-made, but rather a reflection of your unique, human touch and the slow pace of your afternoon.
- Create a sensory sanctuary by lighting a beeswax candle or putting on a soft acoustic playlist, turning your sewing time into a meditative ritual rather than just another task on your to-do list.
- Work in small, intentional bursts to avoid burnout; I’ve found that sewing just two or three shapes while sipping a warm tea keeps the process feeling like a gift to myself rather than a chore.
- Use a stabilizer or a piece of cardboard underneath your felt when tracing patterns to ensure your lines stay crisp, which helps prevent that mid-project frustration that can disrupt your flow.
- Don’t forget to breathe through the tricky parts, like threading a tiny needle; if you feel your shoulders tensing up, set the fabric down, take three deep breaths, and return to it when your nervous system feels more settled.
Embracing the Joy of Slow Crafting
Remember that the goal isn’t perfection, but presence; let the rhythmic motion of your needle through the soft felt become a form of moving meditation.
Choose your materials with intention, selecting textures and colors that don’t just look beautiful, but actually bring a sense of warmth and calm to your personal space.
View each ornament as a small victory in mindfulness, a tangible reminder that taking the time to create something by hand is a profound act of self-care.
## Finding Stillness in Every Stitch
“When we sit down to craft something as simple as a felt ornament, we aren’t just making decorations for a tree; we are practicing the art of being present, turning a quiet afternoon into a meditative ritual of creation and calm.”
Sophia Reynolds
Bringing Your Creations to Life
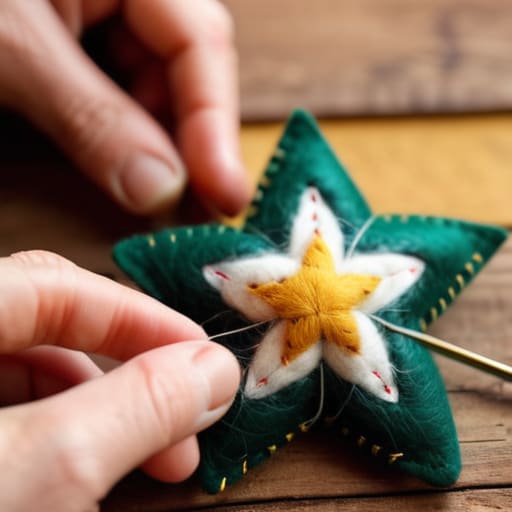
As we wrap up this little journey of creation, I hope you feel more prepared to dive into your felt projects with confidence. We’ve covered everything from selecting that perfectly soft, high-quality felt to choosing the right needles that won’t frustrate your flow, and of course, the actual steps to stitch your visions into reality. Remember, the goal isn’t just to end up with a beautiful ornament hanging on your tree, but to embrace the intentionality of the process itself. Whether you’re using bold colors or subtle textures, every stitch you place is a testament to your ability to slow down and create something meaningful with your own two hands.
Beyond the craft itself, I want you to remember that these ornaments are more than just decorations; they are tiny, tactile anchors for your mindfulness practice. In the rush of the holiday season, let these handmade pieces serve as a gentle reminder to breathe and be present. When you look up at your tree and see those soft shapes catching the light, I hope you don’t just see crafts, but a reflection of the peace you cultivated while making them. You are doing wonderful work, both in your creativity and in your journey toward a more balanced life. Happy crafting, and may your home be filled with warmth and stillness.
Frequently Asked Questions
How can I prevent the edges of my felt ornaments from fraying or looking messy over time?
I completely understand that frustration—there’s nothing quite like seeing a beautiful project start to lose its shape. To keep those edges crisp, I love using a tiny bit of fray check or even a clear fabric glue along the perimeter. Also, a quick tip from my yoga days: just as we find stability in our poses, you can find it in your stitches. Using a tighter whipstitch helps lock the fibers in place beautifully.
Are there ways to incorporate natural elements, like dried lavender or cedar, into the ornaments to make them a sensory experience?
Oh, I love that you’re thinking about this! Turning a craft into a sensory ritual is exactly how we move from “doing” to “being.” You can absolutely tuck small bundles of dried lavender or cedar sprigs inside your felt shapes before sewing them shut. As you hold your ornament, the subtle scent acts as a gentle grounding anchor, turning a simple decoration into a tiny, fragrant reminder to breathe and stay present.
What are some simple ways to hang these ornaments so they don't damage my delicate tree branches?
I completely understand that hesitation—there’s nothing more heartbreaking than seeing a beautiful, delicate branch snap under the weight of a holiday memory. To keep your tree safe, I love using thin, silk ribbons or even fine florist wire; they distribute the weight much more gently than heavy twine. You can also try tiny, clear command hooks tucked away in the greenery. It’s all about finding that soft touch, much like how we approach our own boundaries.
